Showing posts with label Bread. Show all posts

Sunday, March 22, 2015

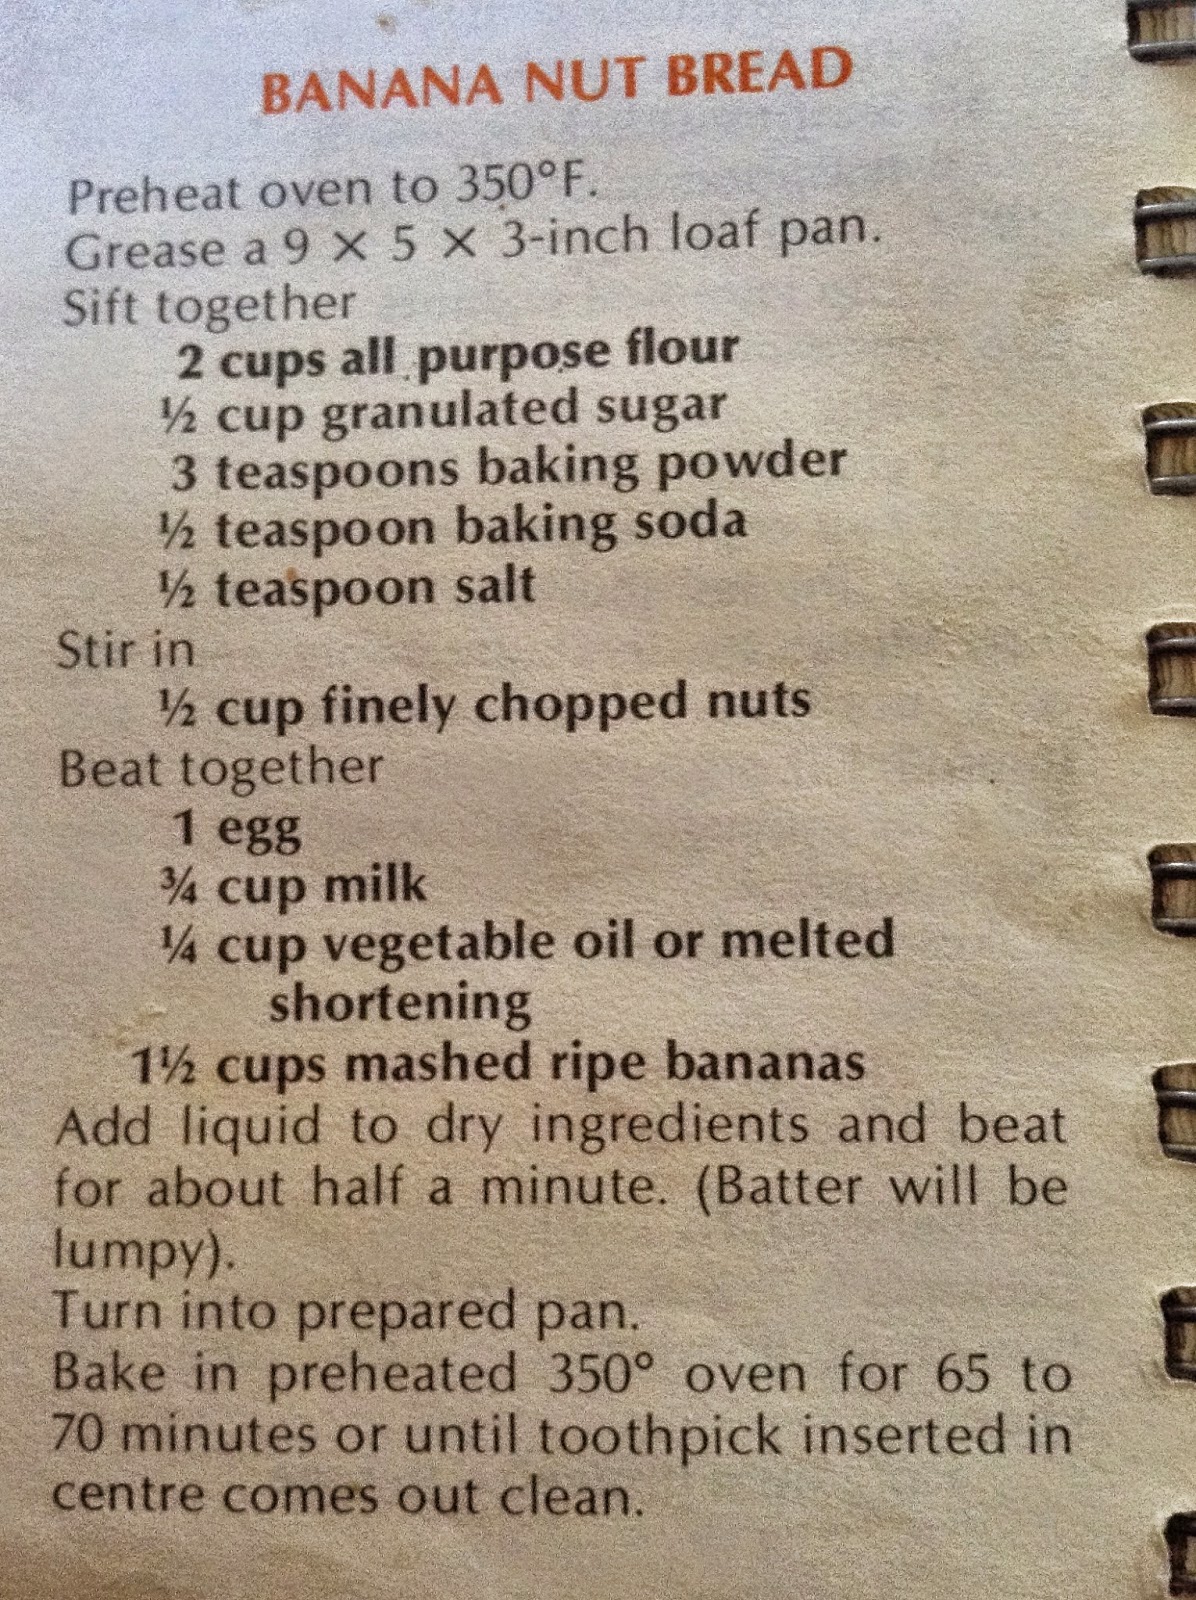
Banana Bread Bake Off - Five Roses vs Purity

I love Banana Bread that actually tastes like it has bananas in it. Not big mushy chunks, but a nice banana flavour through the bread. Yum, combined with the soft crunchiness of walnuts - yummy in my tummy. Oooh, can't forget the crust bit either....give me a minute, must go eat a slice...or two...for testing!

Banana Bread Bake Off
Purity on the left, Five Roses on the right

I had a bunch of ripe bananas, more than enough for just one loaf.  I have a go to recipe, but this is about the cookbooks, so..which one to make? Why not a loaf from each book, right? Right!

I decided to make them both at the same time, so I kept everything divided left and right so I wouldnt mix anything up! haha, it could easily happen, I don't know how many times I've recounted cups of flour when making bread because I wasn't paying attention.

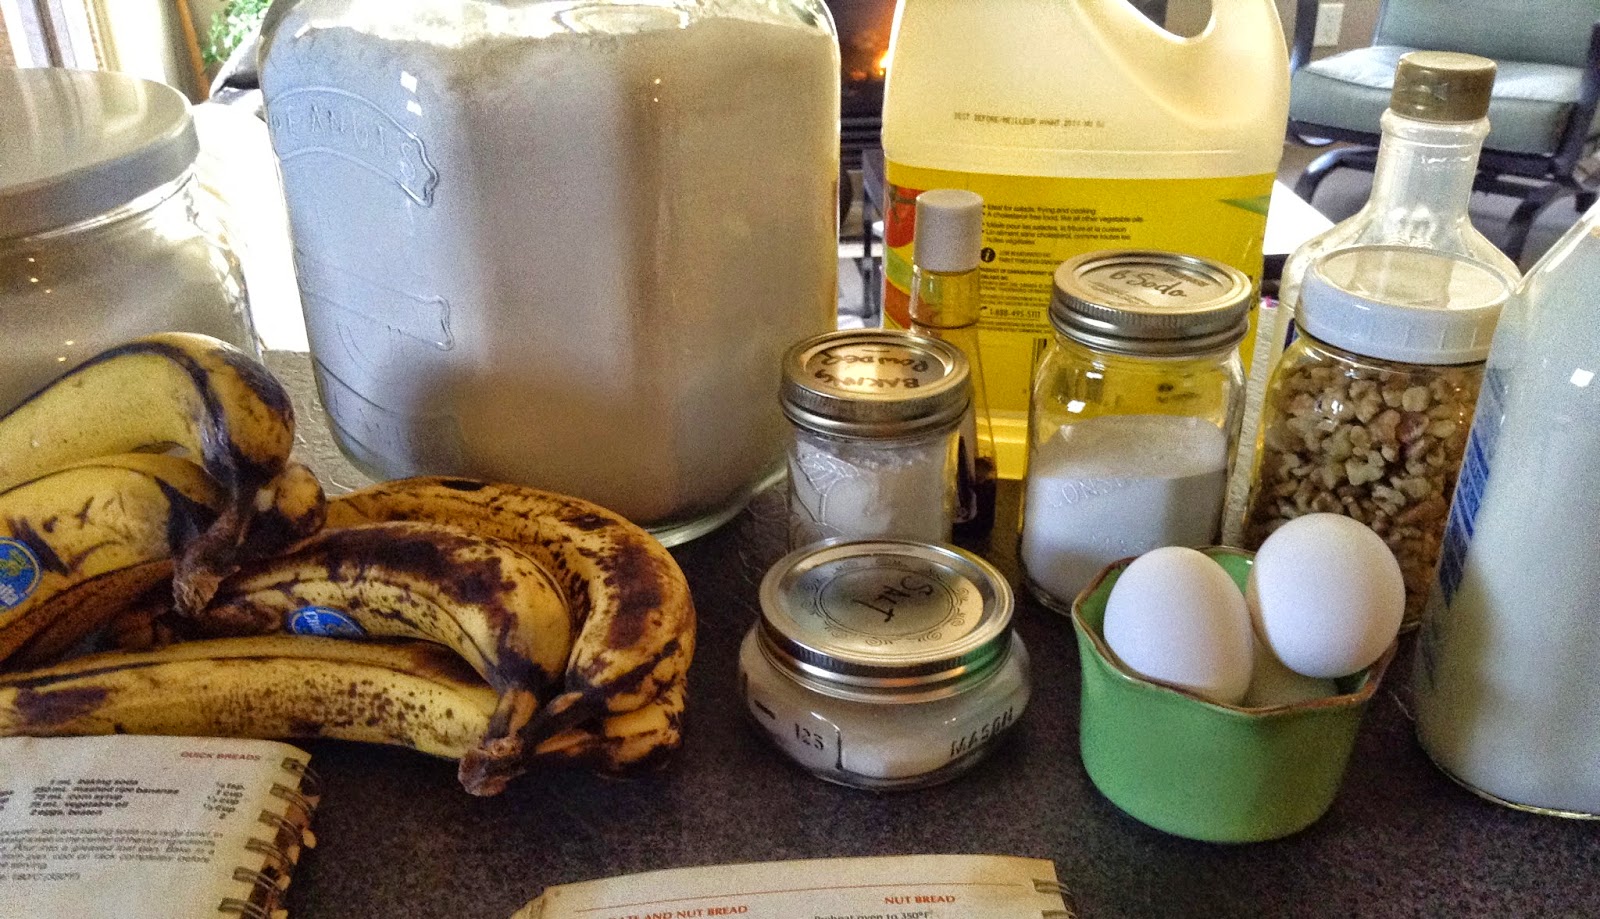
I gathered up all the ingredients and then got started.  The only real difference in the recipes are the amounts of flour, bananas, etc.

I wont bore you with the step by step of each. The actual steps for making them were pretty much identical. Put all the dry together. Mix all the wet with the mashed bananas and then mix those together and put in oven.
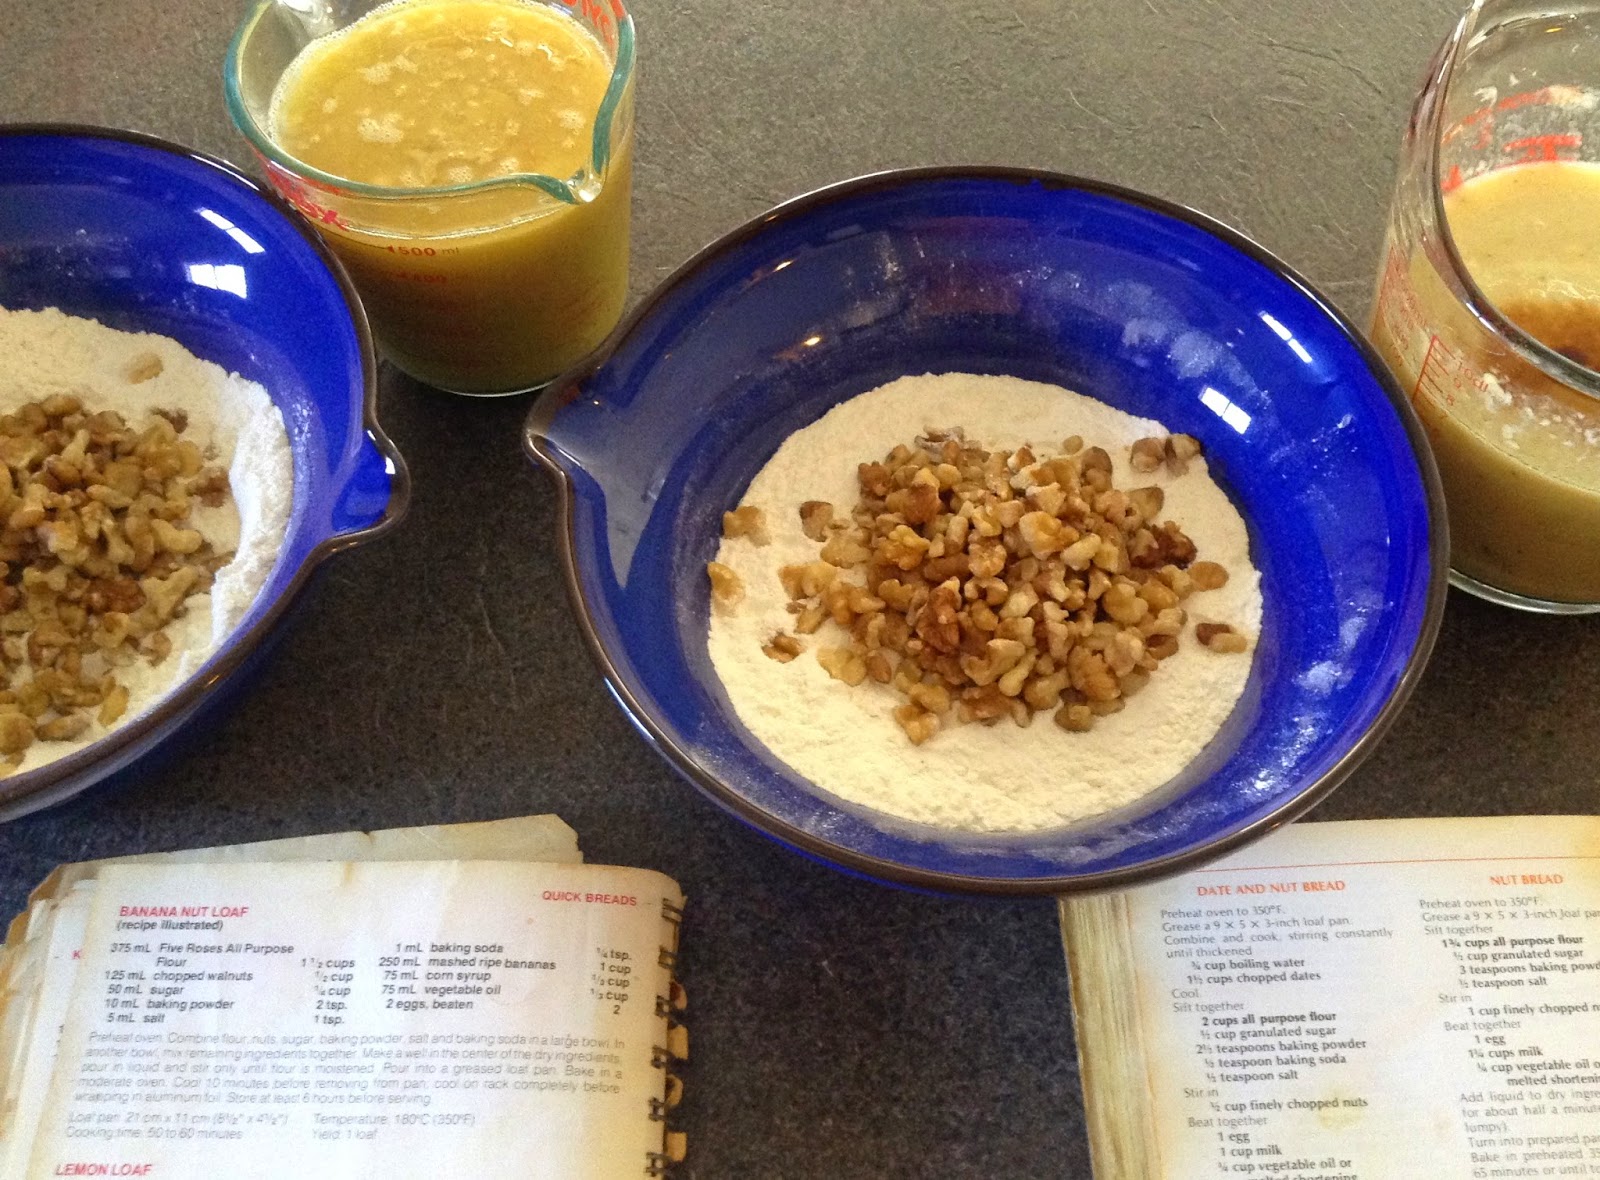

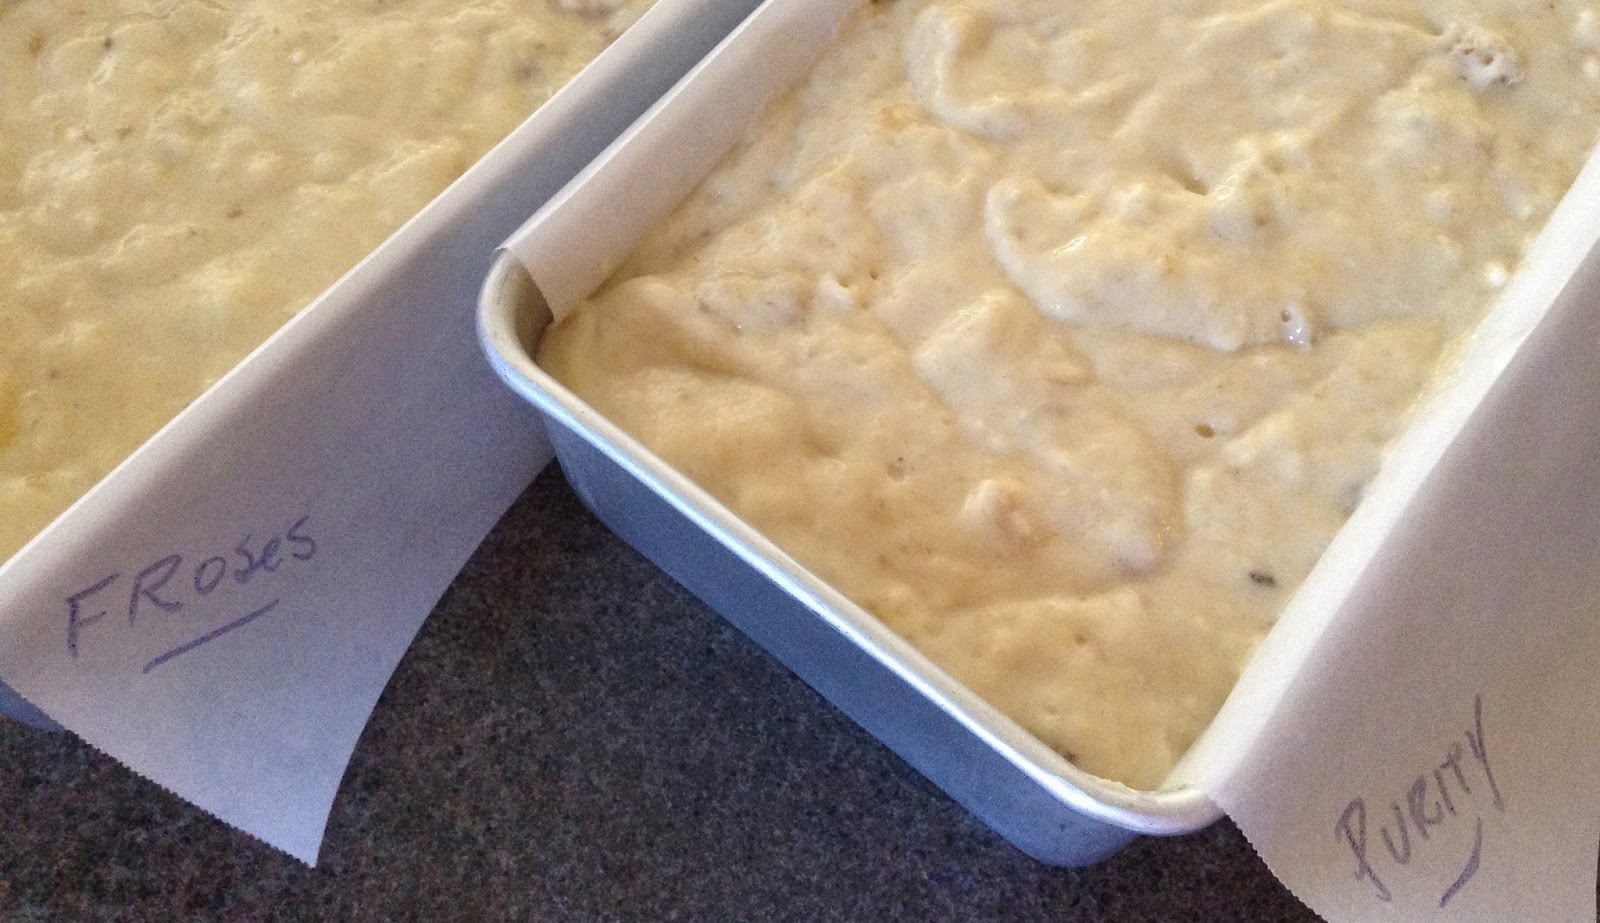
The Purity Banana bread has more flour, more bananas, more baking powder etc. And this can be seen in the batter - it's more frothy and gassy looking....

while baking;  you can really see the height of the loafs...
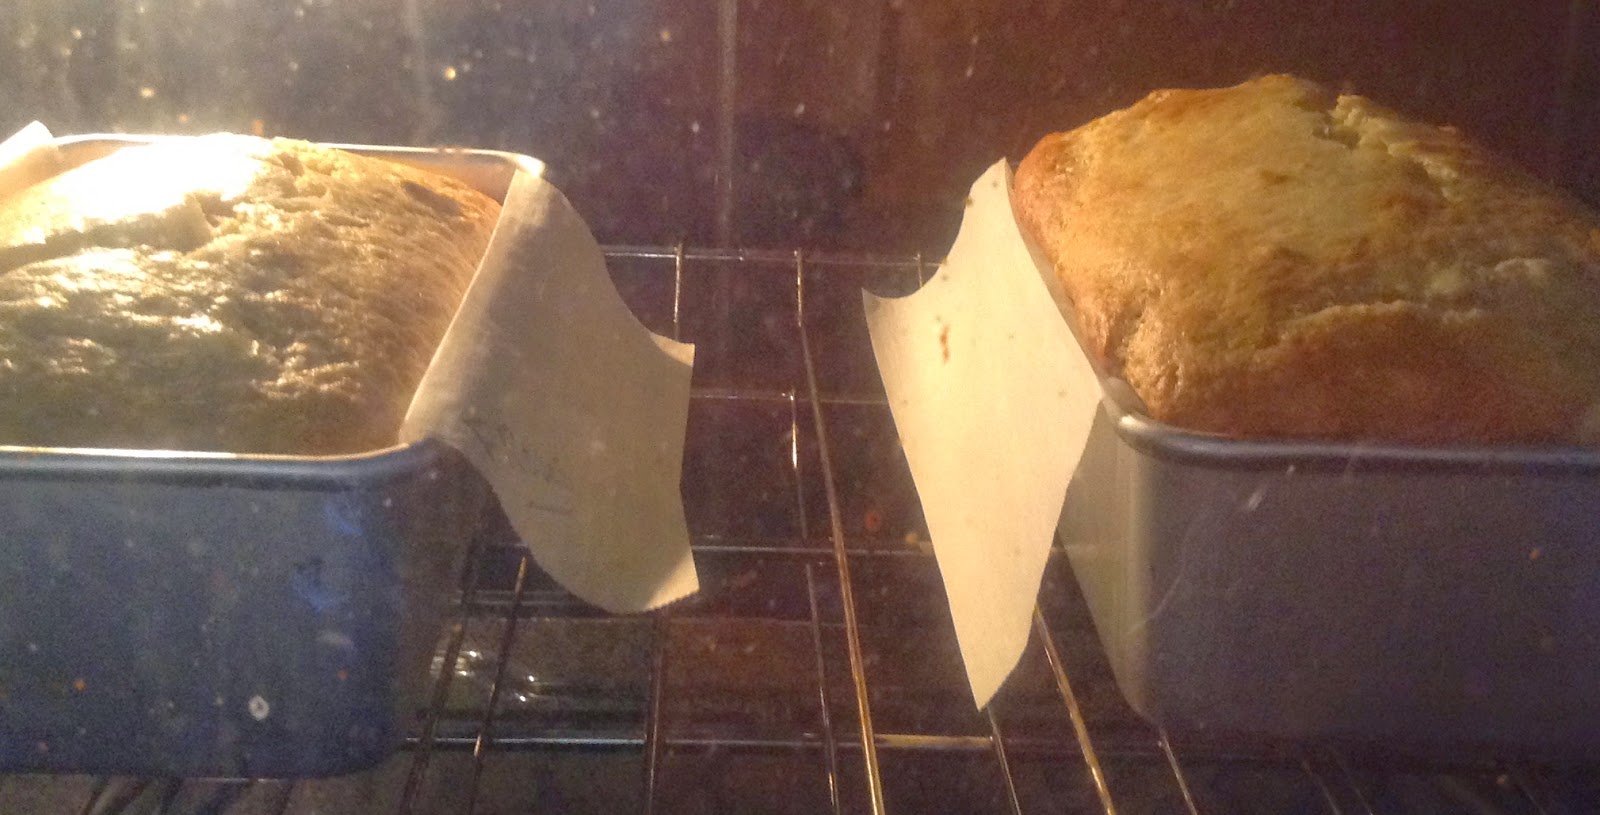
Five Roses on the left, Purity on the right

and when cooling and getting ready for my tummy....
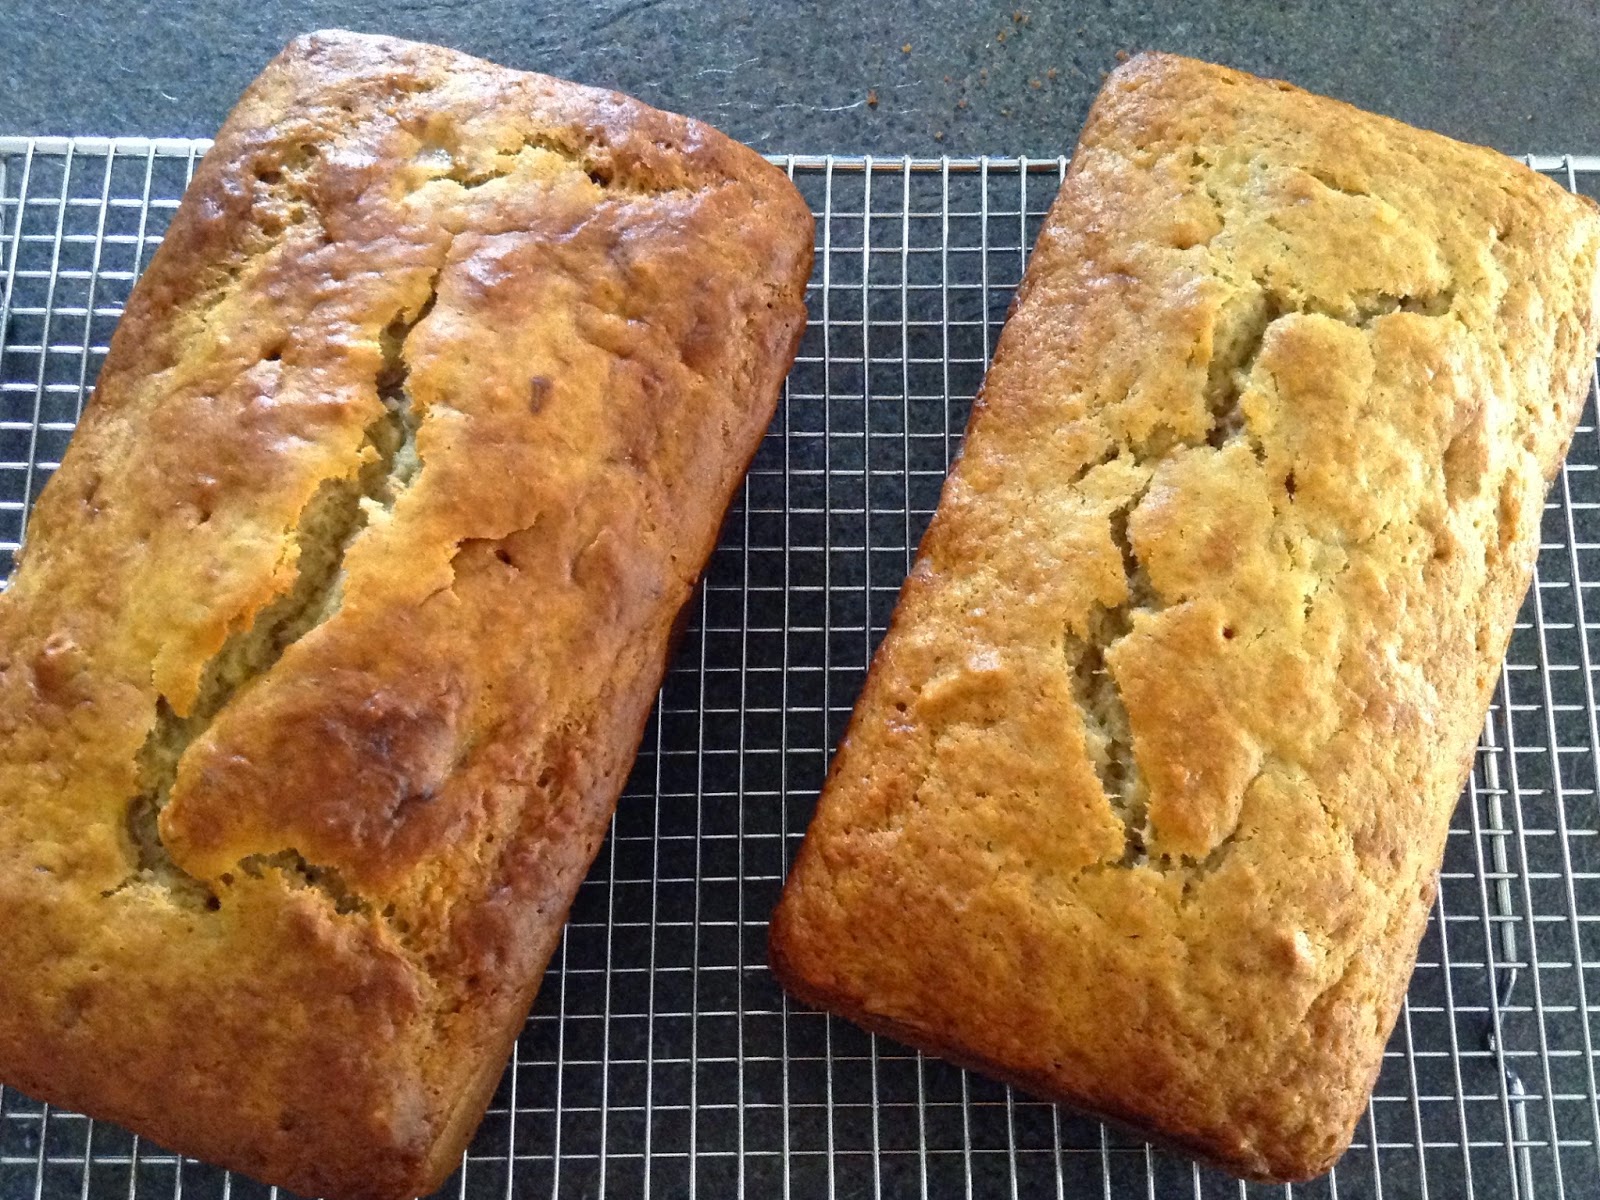
Purity on the left, Five Roses on the right

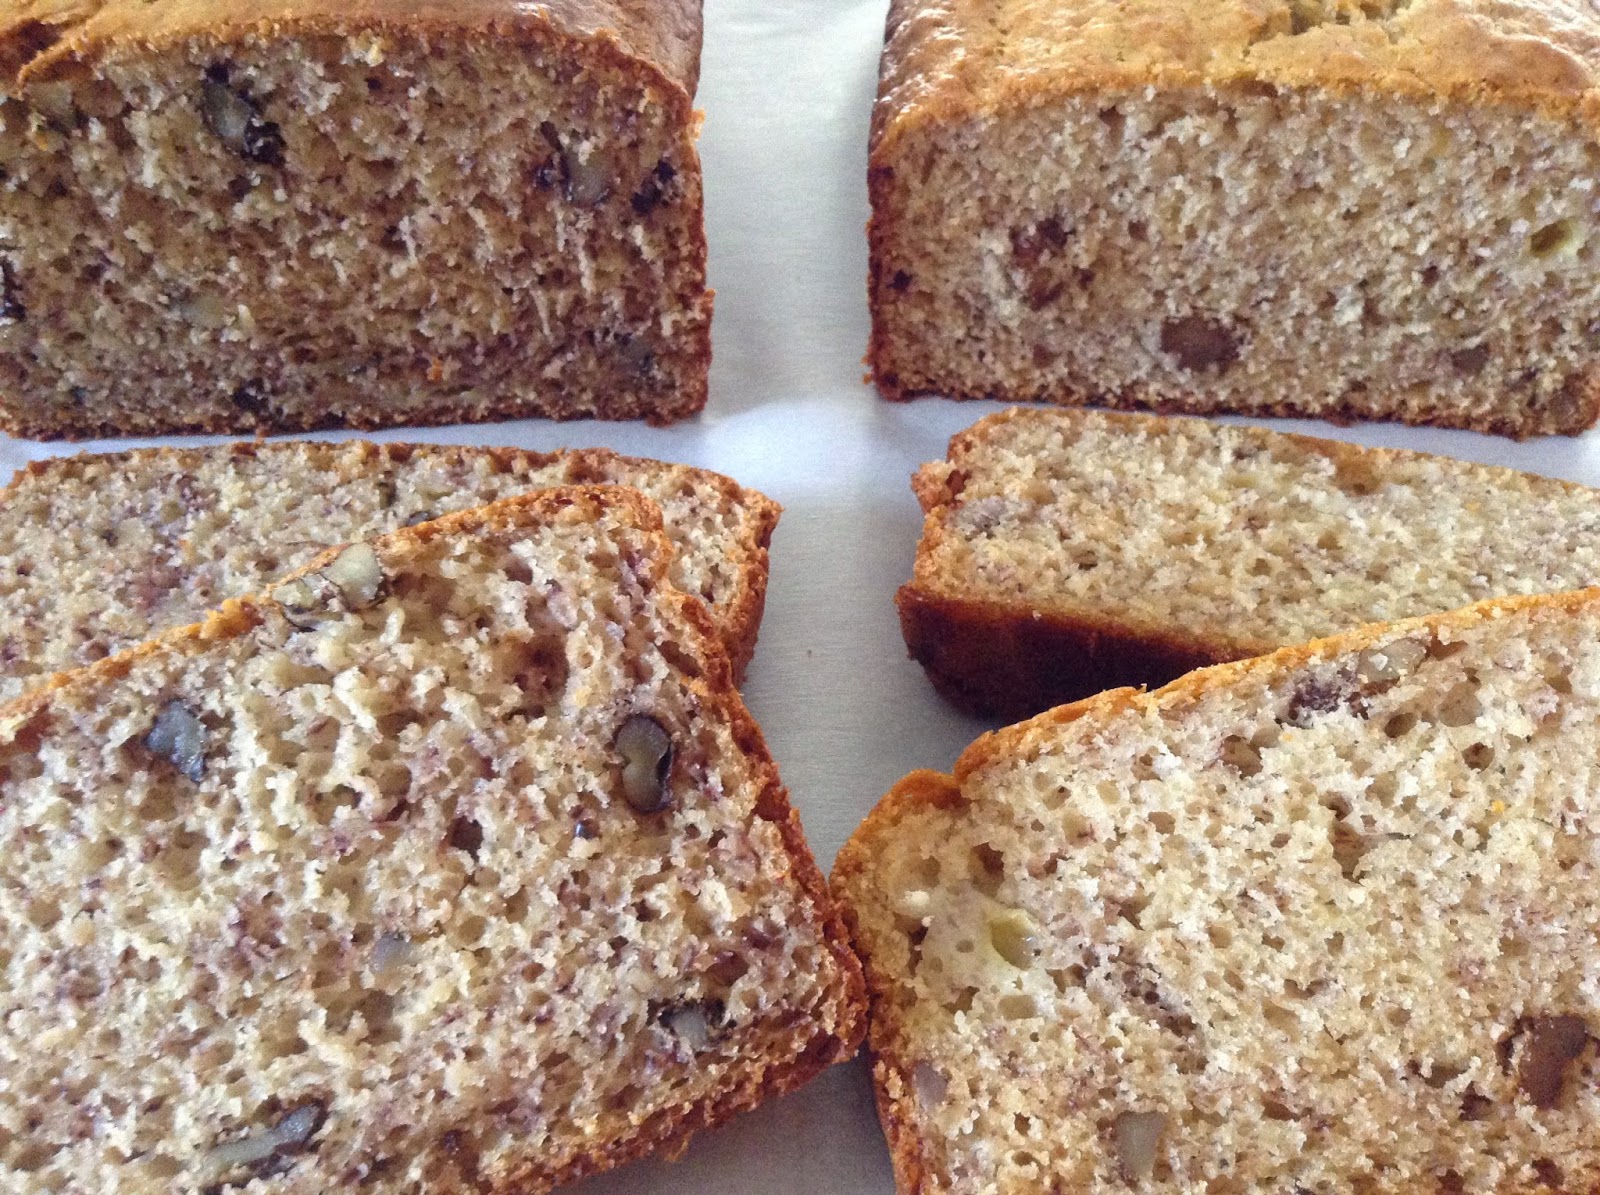
I figured the crust of the Five Roses would be darker, since it took a few more minutes baking before the toothpick inserted came out clean, but I really didn't think there would be such a difference on the inside.
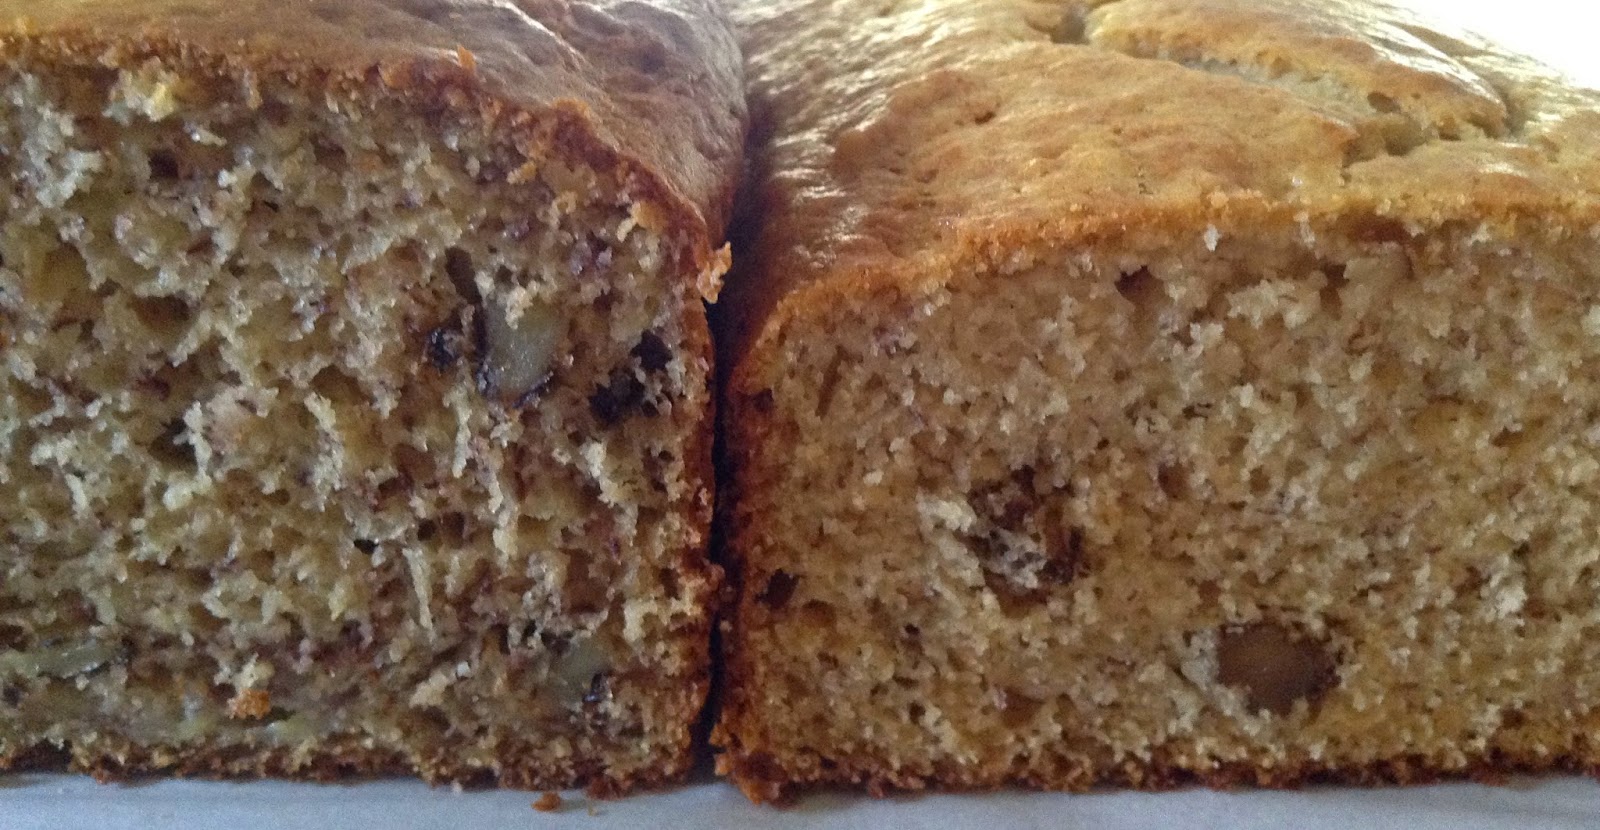
Purity on the left, Five Roses on the right

The Purity loaf is a lot darker than the Five Roses loaf.

The big question...taste. That's really all that matters in the end. Well, these are both good breads, not great, but good.  I think perhaps adding nutmeg or cinnamon would help too.  Don't get me wrong, they were good enough that I shared them, but I won't make them again.

For me, they just don't seem banana-eee enough. I think though, If I had to choose, I would go with the Five Roses loaf since I prefer the denser texture. The difference between the two breads for banana flavour really isn't a big enough difference for it to matter to me.

Five Roses Purity
TASTE 60% banana flavour 65% banana flavour
TEXTURE Denser, sturdier, my preference Moister - could become gummy if undercooked
CRUST Ok, as expected More flavourful, better crunch

I still have half a loaf in my freezer, which I think I'll take with me when I go visit family in April. Other wise it will just stare guiltily at me every single time I open the door of the fridge. Every single time...calling out to me...Eat Me....

FIVE ROSES BANANA BREAD

PURITY BANANA BREAD


Thursday, July 24, 2014

Birthday Dinner with the family: Pineapple Nut Stuffing

This whole dinner thing was not living up to my expectations. Hahah, I had hoped for better than 1 good recipe out of the 5 old recipes I tried.

This stuffing could of been the second...it was so close, but I'm here to follow recipes and learn a few new things that I wouldn't have doing my own thing, but I knew...I really really 100% knew in my love of stuffing heart that there was not enough liquid in this stuffing to make it moist. I knew...just knew...and proved it!

Well, this is a very pretty looking stuffing, but the recipe is a bit dry, as you can guess from my previous comments :)  I will try this again, but right now my rule of thumb is that anything I cook or bake has to come from one of the old cookbooks it has to be a new-to-me old recipe. So, I won't get around to trying this again for quite a while.  (Things my mom specifically requests are the exception)
Pineapple Nut Stuffing

No where in the cook book  (granted I only looked in the Stuffing section...haha which makes perfect sense to me) could I find information on cooking stuffing outside of the inside of a turkey or chicken. Guess back in the day, you ate what could fit in the bird and to heck with the extra bits.  Since I was following the recipe exactly, I ignored my desire to add a lot more fluid and just went with the butter and eggs that the recipe called for. 

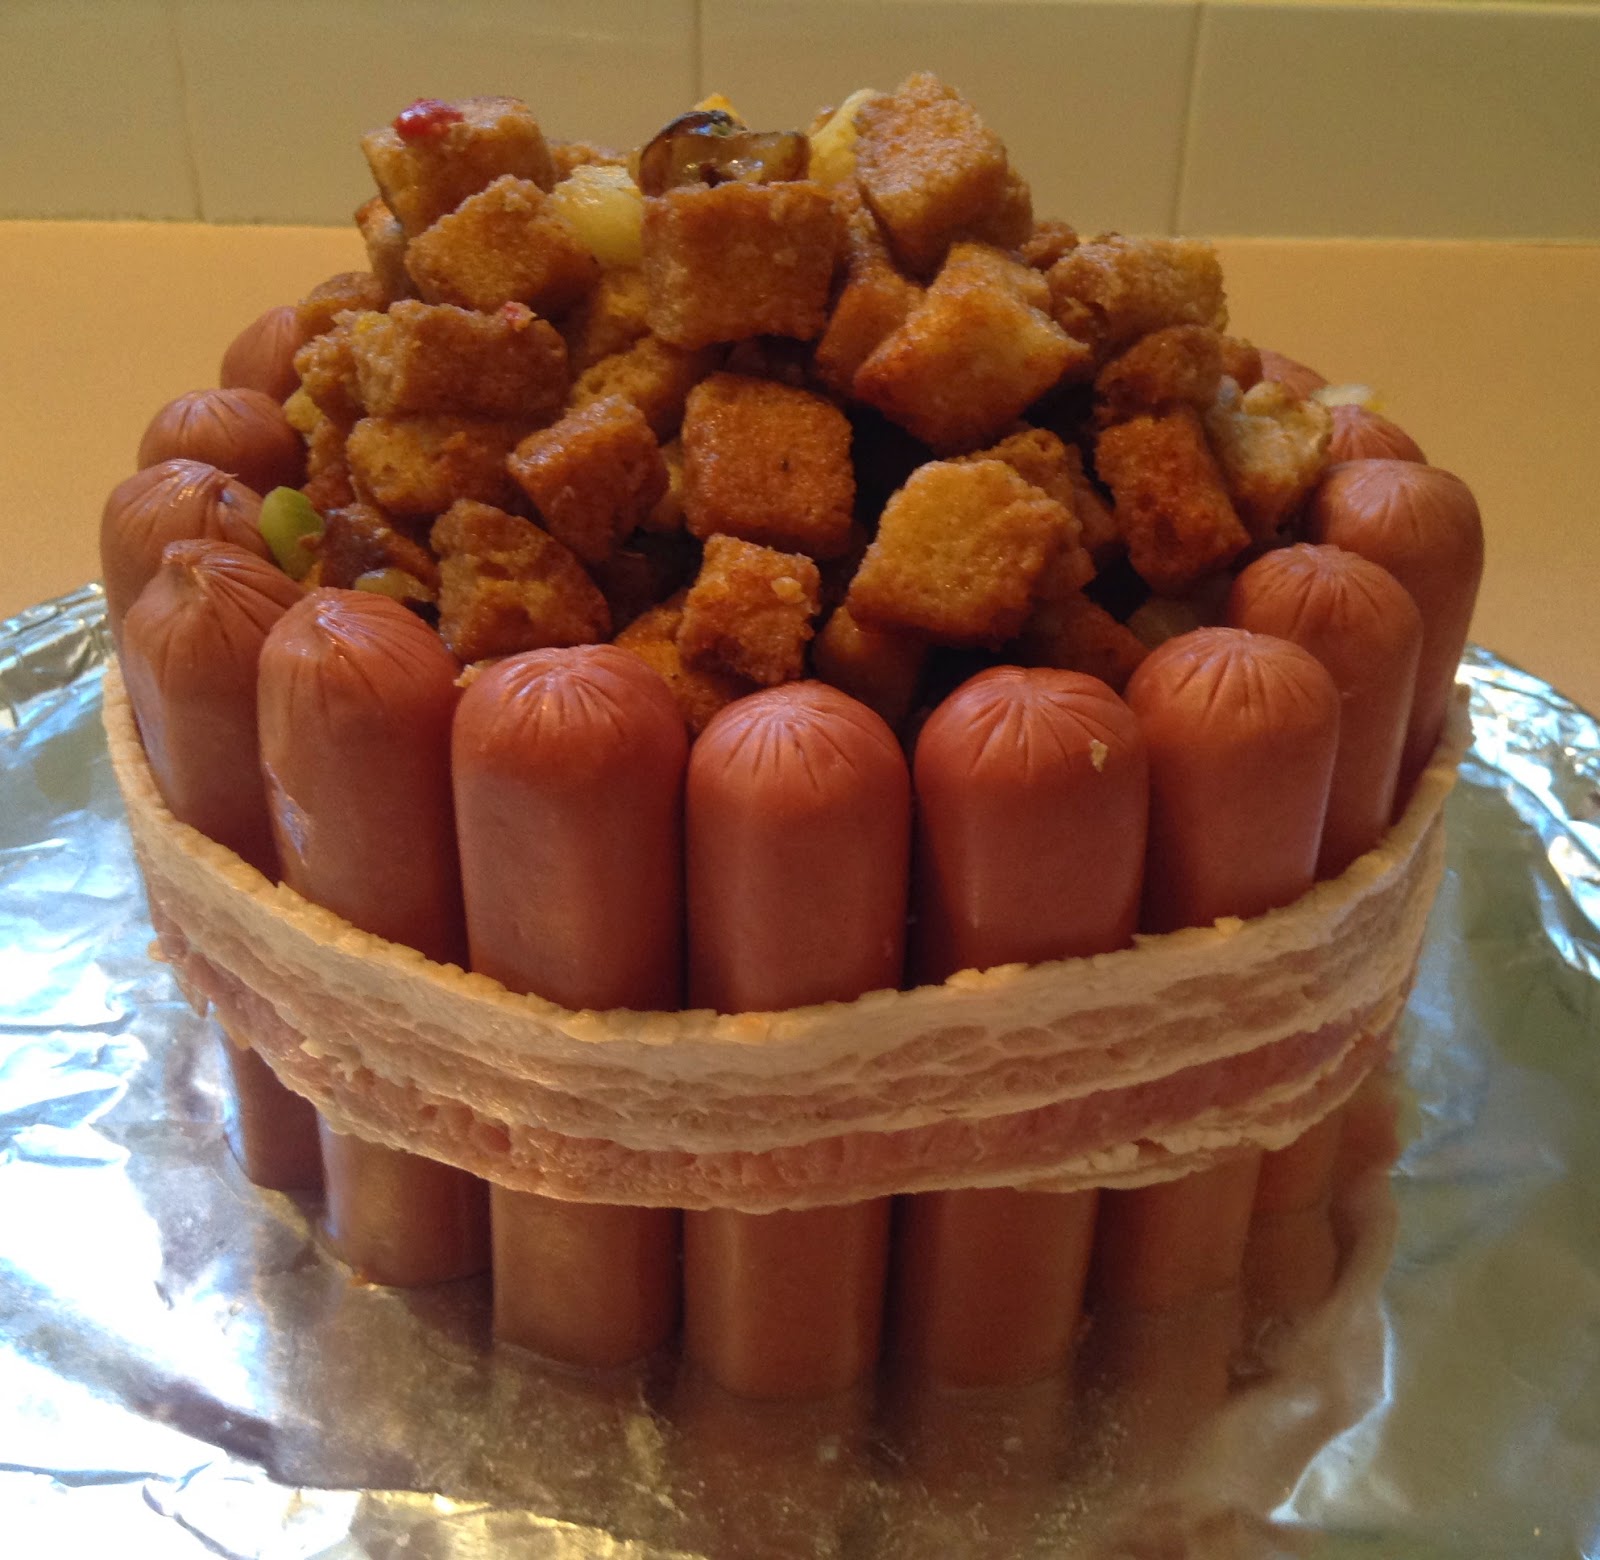
Normally, when I make extra stuffing, I put it in the pan, covered with tinfoil,  and cook it for about 30 - 40 mins. It always turns out great. For this, since I was using it in the Stuffed Crown Roast of Frankfurters, I cooked it covered about 15 minutes and then 'stuffed' it in the crown...which I then topped off with a TINY sprinkle of water...and tinfoil.  I really really hoped the bread cubes would soften, but there just wasn't enough liquid... I think I'm done talking about the liquid (or lack thereof) for now.

Even the ingredients look pretty!

I wasn't sure how much 1 canned pimiento was. I only had the option of a bottled diced pimiento, so I used a few tablespoons of it, drained.
Pineapple Nut Stuffing ingredients

Add the 1 1/2 tsp salt, 1 tsp paprika, and the dash of cayenne to the bread, pineapple, pimiento, celery, and walnut mixture.  I used yummy smoked paprika.
Pineapple Nut Stuffing - adding spices

Melt the butter and stir in the unbeaten eggs (to the butter) before adding it to the bread mix. Odd, not the way I would have done it, but that's what the cook book said to do.  It looks good though...but ...just butter and eggs!?

Maybe I should take a look at how they cook their birds, because maybe a lot of moisture comes from that....enough, enough, enough already...hahah, I know :)
Pineapple Nut Stuffing - adding eggs

I baked the stuffing for about 15 minutes at 350 F, covered in tinfoil.
pineapple nut stuffing - baked

Now you get to put the stuffing in something :)  I chose the Stuffed Crown Roast of Frankfurters. At this point I did SPRINKLE it with a TINY bit of water....less than a tablespoon. I couldn't help myself!
Pineapple Nut Stuffing in the Stuffed Crown Roast of Frankfurters

I then covered it with a hat of tinfoil and baked for another 15 - 20 (until the hotdogs were done).

Pineapple Nut Stuffing
Culinary Arts Institute Cook Book - 1950 (pg 448)

INGREDIENTS
  • 4 cups dry bread; 1/2" cubes
  • 3/4 cup finely chopped celery
  • 3/4 cup pineapple wedges
  • 1/2 cup walnut meats, finely chopped
  • 1 canned pimiento, chopped
  • Dash cayenne
  • 1 tsp paprika
  • 1 1/2 tsp salt
  • 1/4 cup butter
  • 2 eggs

DIRECTIONS
  1. Combine bread, celery, pineapple, walnut meats, pimiento, and seasonings
  2. Melt butter, remove from heat, stir in unbeaten eggs, and add to bread mixture.
  3. Toss lightly

Notes:

Use as stuffing for turkey, chicken, or duck.

Use chopped cooked bacon instead of nuts, reduce salt to 1/2 tsp and add grated onion or use red ir green pepper instead of pimiento.

Wednesday, June 11, 2014

Canadian Cheese Supper Ring

"Could be Canada's spotlight quick bread - combination of her native products"

Yummy in my tummy!

I'm more of a savory kind of girl, so for me, this works. At first I wasn't too sure about the addition of curry in the recipe, but it turned out well. I don't really know if you need to add it though, since I'm not 100% sure I can even taste it with the 'nippy cheese', but I like how it coloured the dough.

On that note,  I cheated a wee bit on the recipe.

My cheese wasn't super 'nippy'. All I had was a blend of pre-shredded cheese (Mozza and Cheddar) that I had in the freezer. So, I sprinkled a few chili flakes along with a tiny amount (1/4 tsp or less) of chili powder onto the cheese ... and I used butter instead of shortening. Hey now! I'm moving! My house is a mess and I don't want to buy more ingredients.

My verdict: It was yummy, easy, and attractive looking.

I'm going to add this recipe as a 'Keeper', I can imagine the possibilities with pizza fixings or cooked chicken and feta perhaps. Mmmmmm. I wouldn't be embarrassed to serve it to guests.

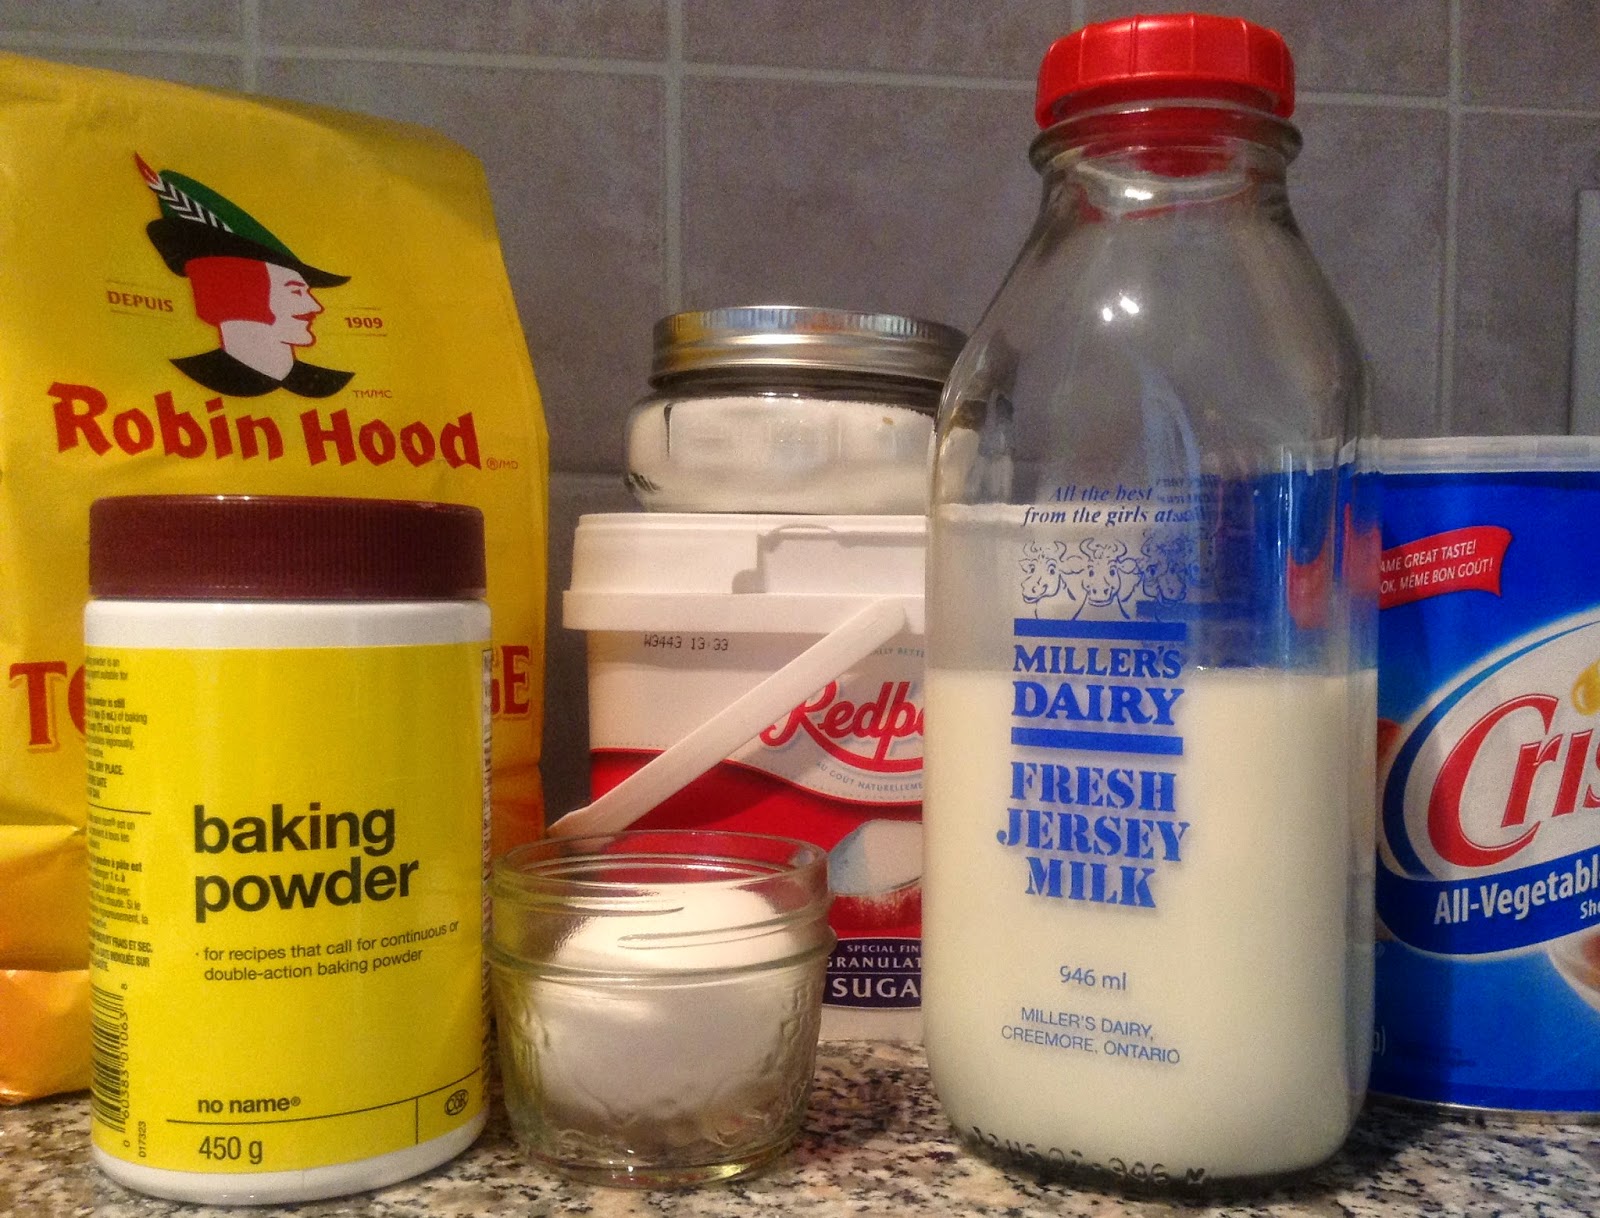
Lets get started and gather up the ingredients!

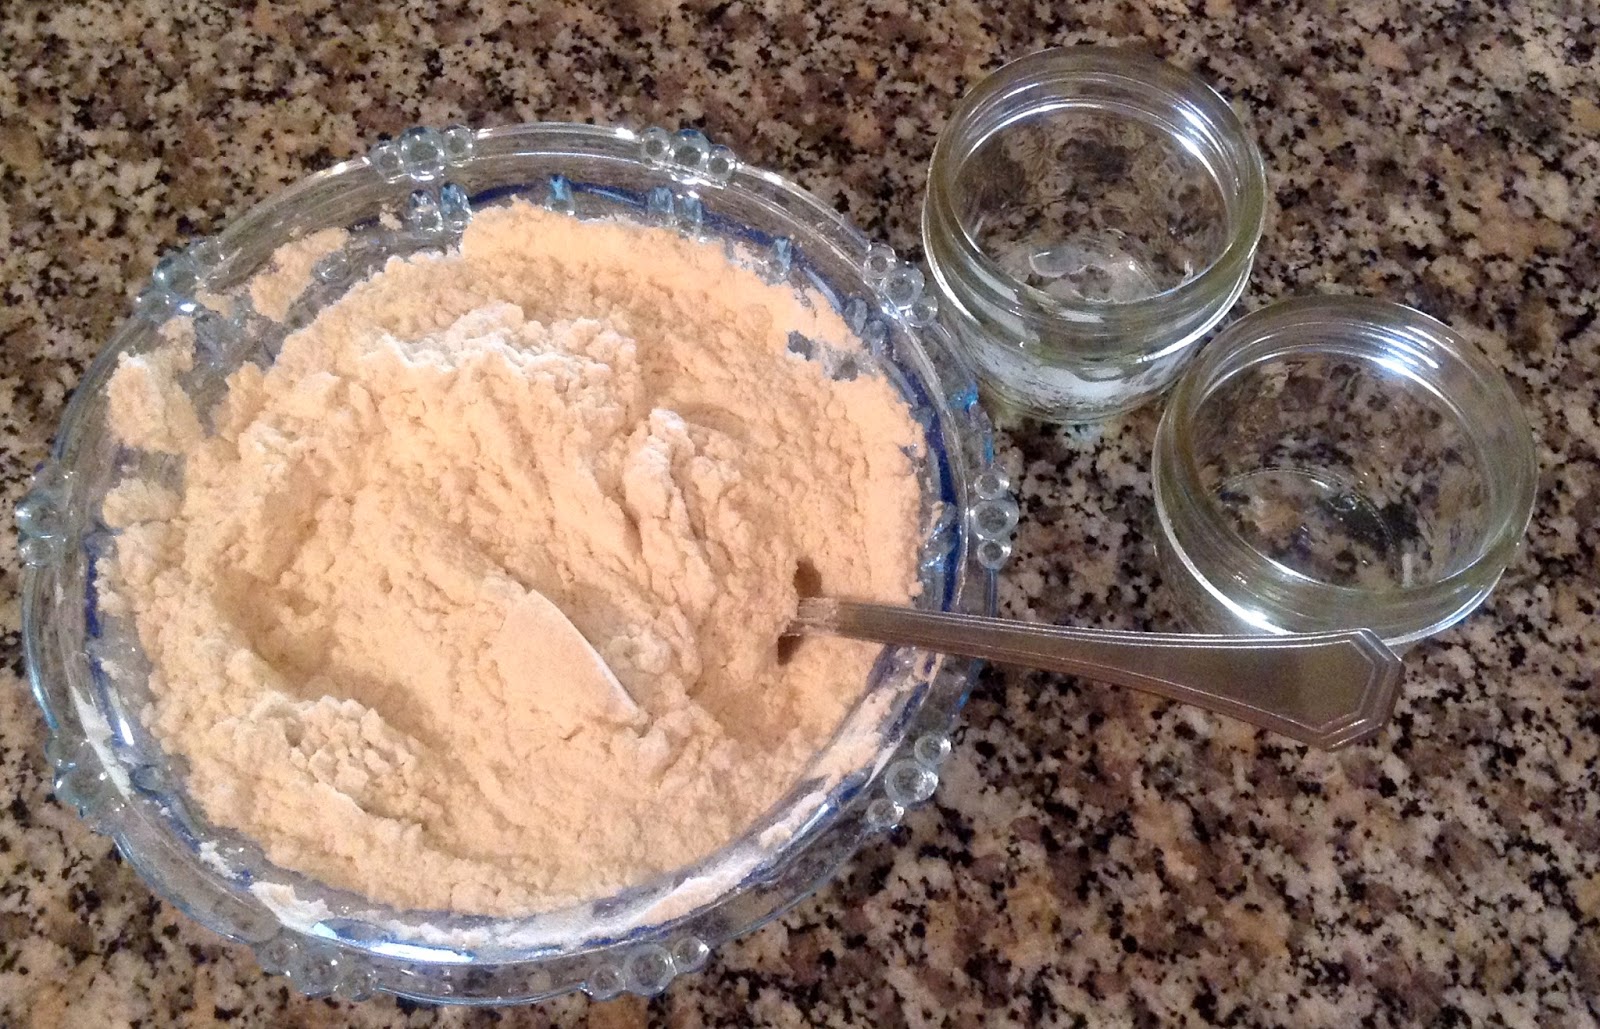
Add the 3 tsp baking powder, 1/2 tsp salt, and 1/2 tsp curry powder to 2 cups sifted Robin Hood flour (It is a Robin Hood flour recipe after all). The recipe says to sift it all together, but I just stirred it with a fork. Haha, I'm lazy that way when making simple biscuits and things.


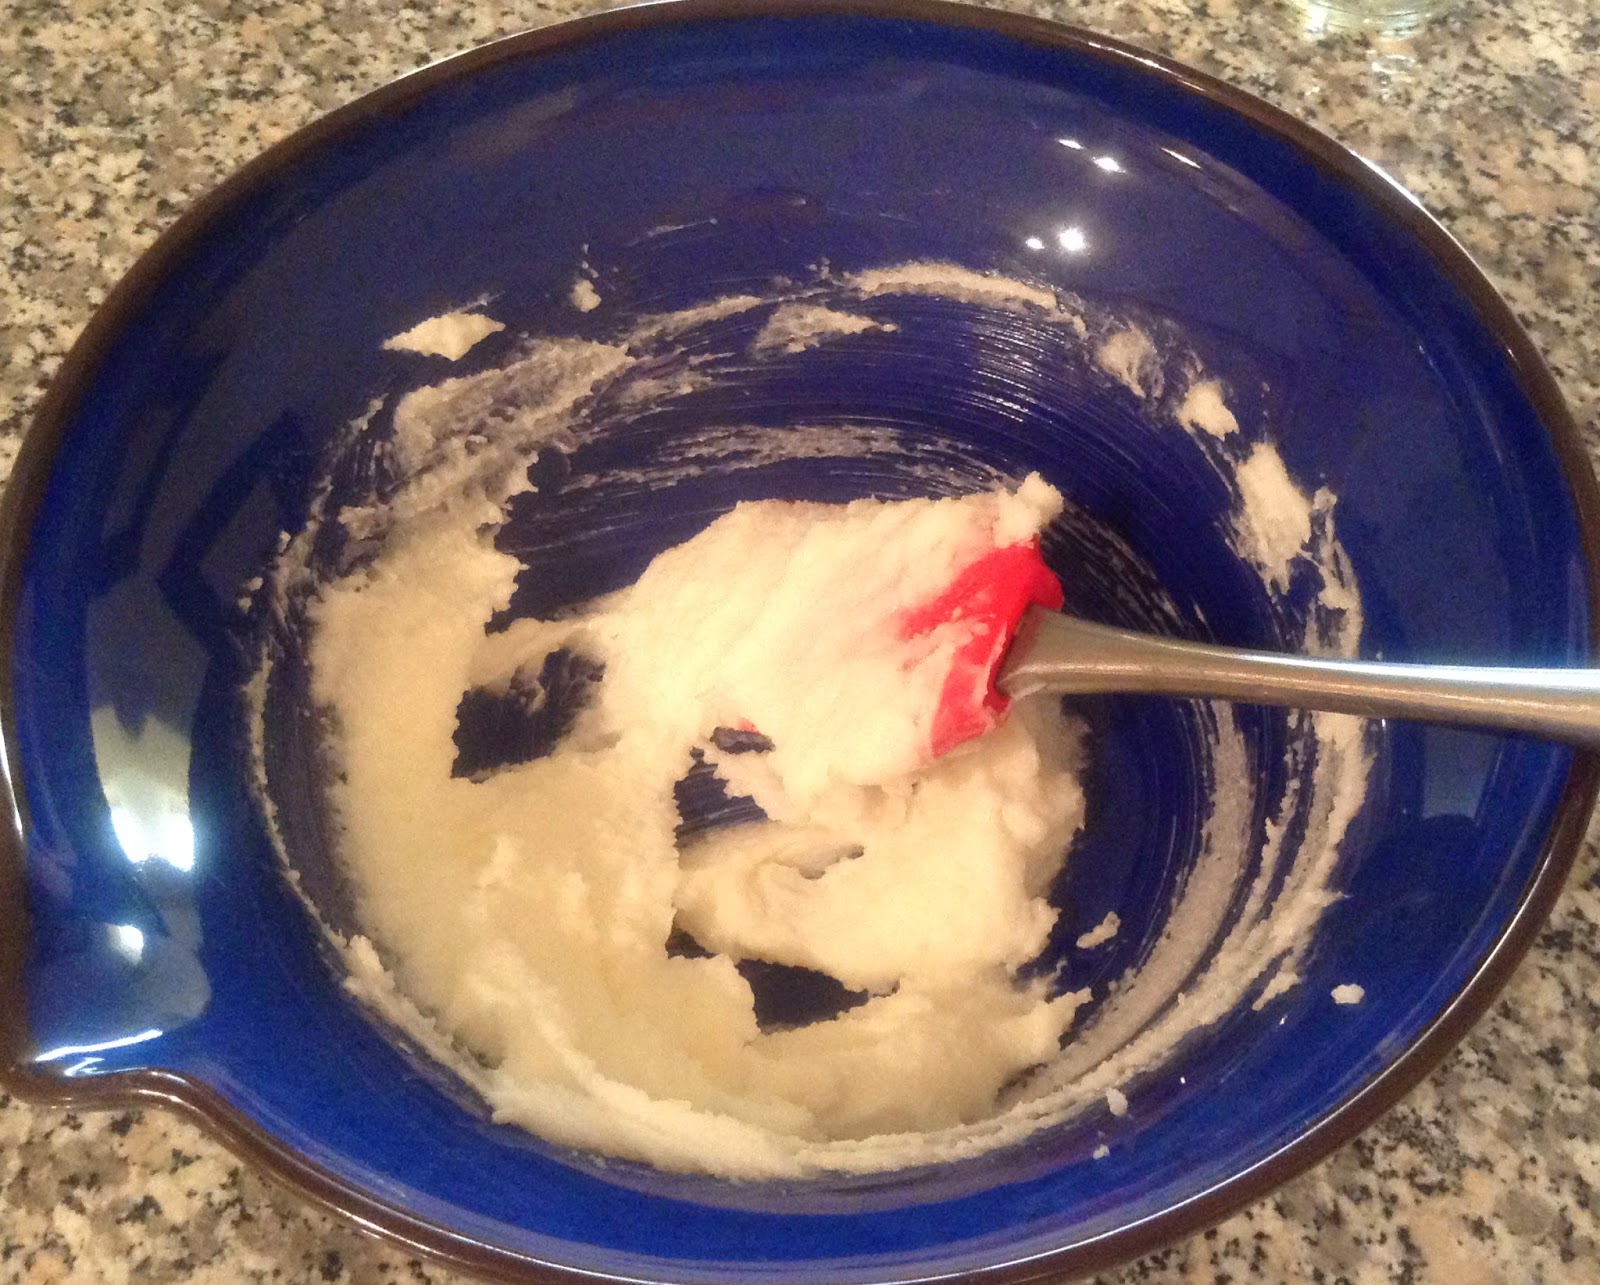
Add the butter (shortening) and blend in with a pastry blender or knives. I just used my fingertips. Blend in until mealy (grainy) feeling.

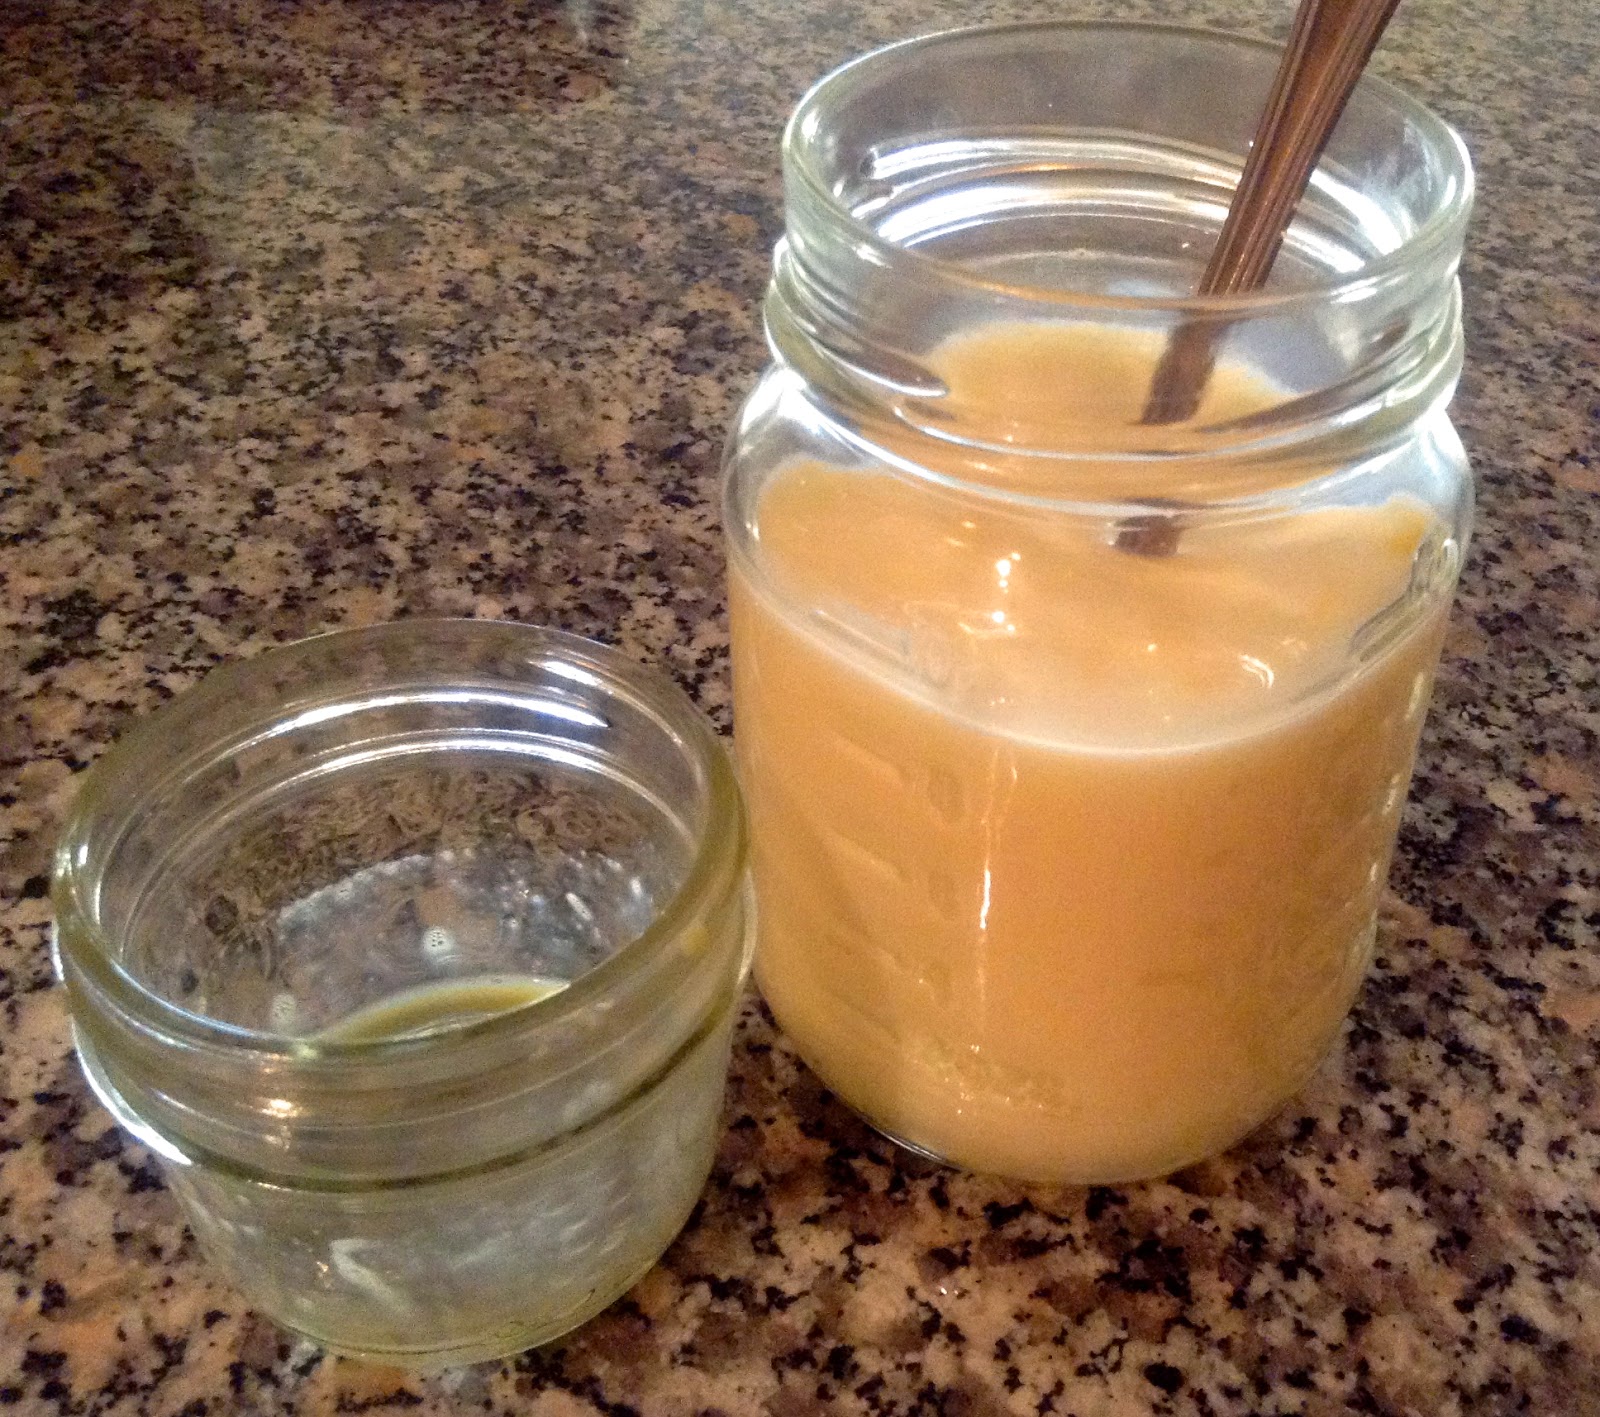
Add in the milk and stir gently with a fork until blended. It was a bit sticky at this point for me, so I dumped it out onto a floured surface.


After sprinkling the top with flour, pat down into a rectangle shape about 1/3 inch thick.  The directions mention adding the cheese, rolling and then moving to a baking sheet, but for me, it seemed more stable putting the dough on the greased cookie sheet first.


Sprinkle with cheese (optional chili flakes and a bit of chili powder).


Roll along the long end, like a jelly roll. Join the ends together in a circle. I stuck one side into the other so that the cheese mix was a bit more evenly distributed otherwise, the joining section would have more dough and less cheese. If that odd sentence makes any sense!


Cut the dough, every 2 inches around the outside, leaving the dough intact along the inner edge.


Once cut, gently twist each section on its side.


And bake, 450 F for 15 - 20 minutes....and...wait for it... Voila!

Canadian Cheese Supper Ring
Robin Hood Flour Cookbook 1947 - 1953  (pg 49)

INGREDIENTS
  • 2 cups sifted Robin Hood flour
  • 3 tsp baking powder
  • 1/2 tsp salt
  • 1/2 tsp curry powder
  • 3/4 cup + 2 Tbsp milk
  • 4 tbsp butter
  • 2/3 cup 'nippy' cheese


DIRECTIONS
  1. Grease large cookie sheet.
  2. Sift together flour, baking powder, salt, and curry.
  3. Cut shortening (butter) in to small pieces and add to dry ingredients.
  4. Blend together until mixture is mealy, using pastry blender (or two knives, cutting in a scissor-like motion).
  5. Gradually add the milk, stirring lightly with a fork.  Mix only until a soft dough is formed.
  6. Turn on to lightly floured bakeboard or pastry cloth and knead gently for 10 seconds.
  7. Gently roll out with floured rolling pin or pat out with hand to 1/3 inch thickness to form rectangle.
  8. Sprinkle grated cheese evenly over rectangle.
  9. Roll up like a jelly roll.
  10. Place on greased cookie sheet and join ends to form a circle.
  11. With floured scissors, cut roll in sections about 2 inches apart cutting from the outside of the ring two-thirds of the way towards the centre.
  12. Twist each slice slightly on its side so that one cut surface is toward the cookie sheet.
  13. Bake at 450 F  (very hot oven) for 15 - 20 minutes.
  14. Serve hot
Note: Makes a nice accompaniment for a supper salad. Good with butter and jam.


Sunday, June 1, 2014

The Sally Challenge

Appearances can be deceiving.

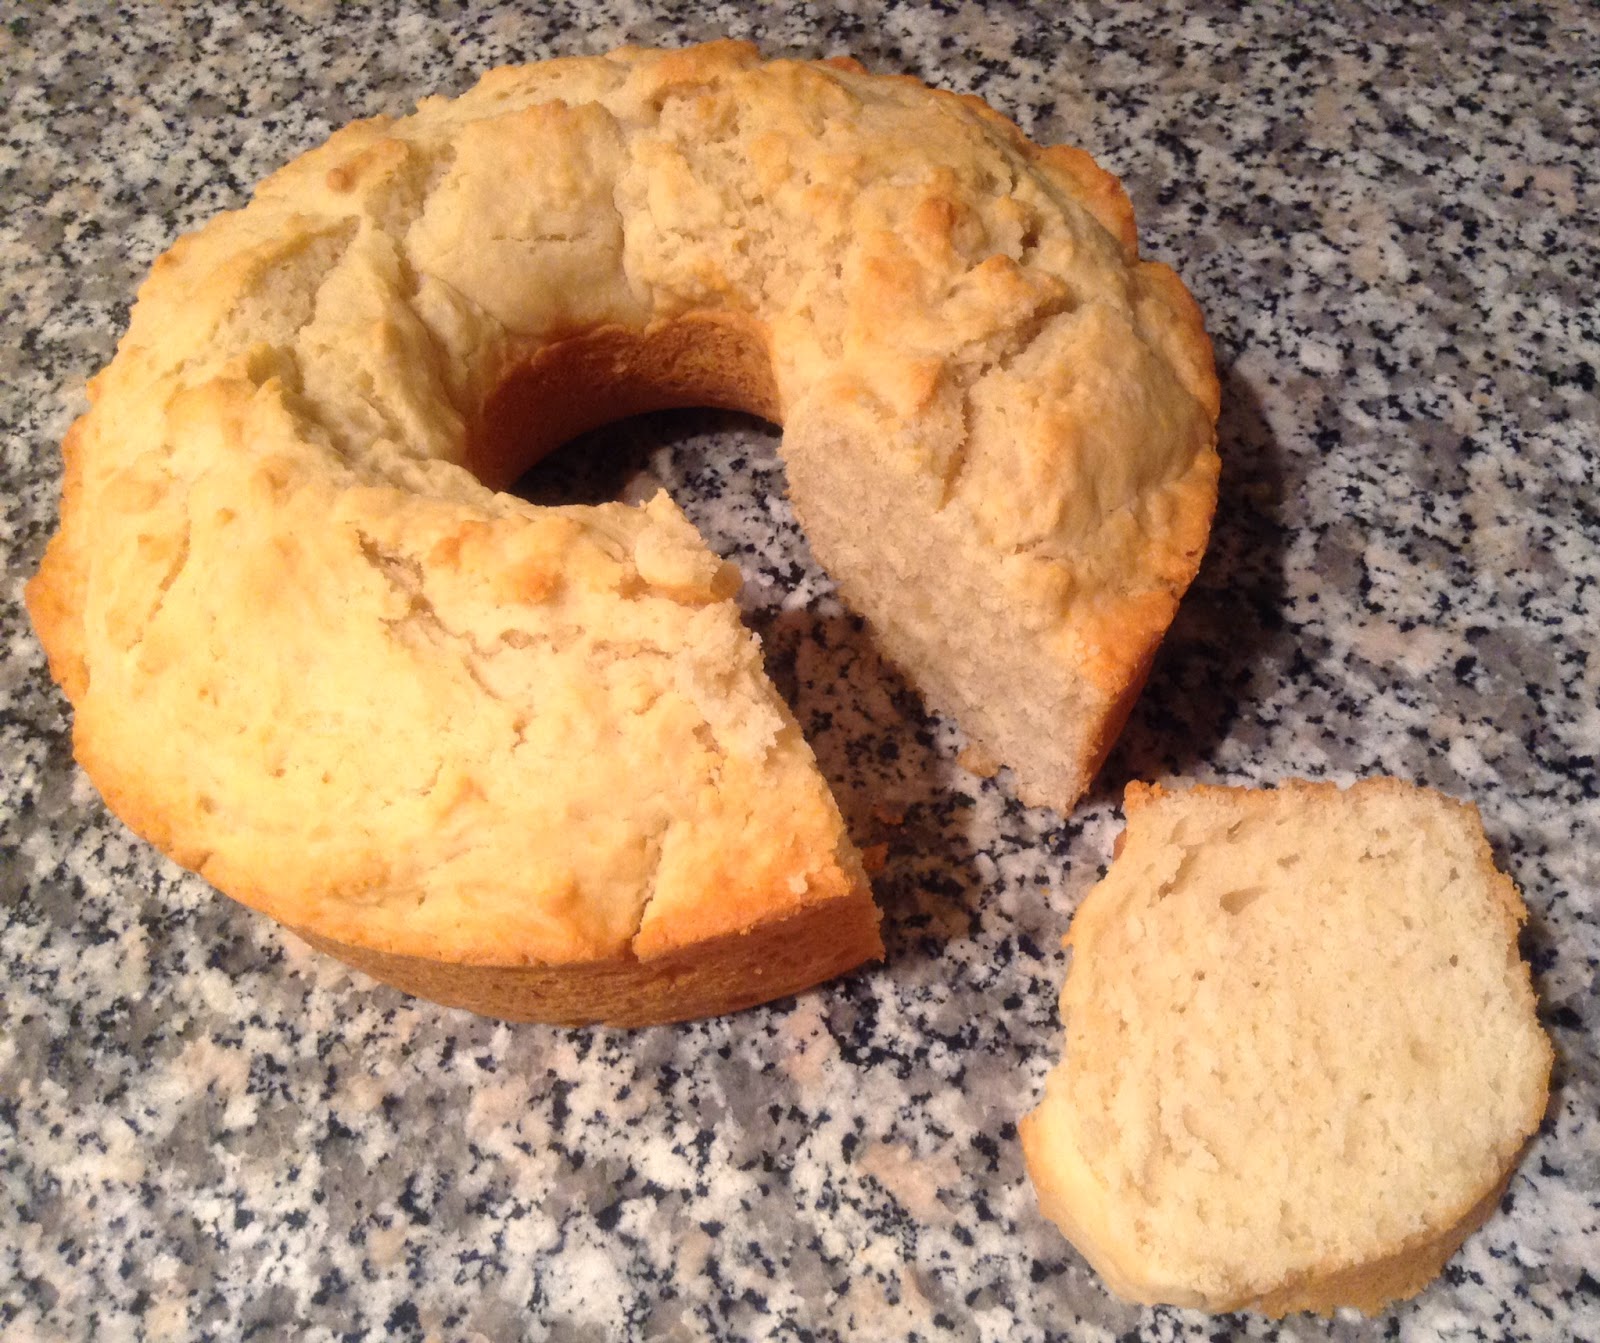
On the outside, they look the same. If I hadn't named the images I might not know which is which, but they are different. It's what's inside that counts.

The Sally Lunn from American Woman's Cook Book is much more of a dessert sweet cake - bread while the English Sally Lunn from the Five Roses Flour Cook Book is more of a bread type and a lot less sweet. Neither recipe has a lot of sugar, but the English Sally only has a tablsepoon compared to 4 tablespoons (1/4 cup) in the AWC Sally.

The dough for both of the recipes is a bit gloppy.

Texture, when baked, doesn't appear that much different, although the FRF English Sally seems to be a bit less crumbly - more sturdy right after baking.  (Is that even proper English...more sturdy?)  Once cooled, they seem about the same.

My verdict - would I make these again?

Sally Lunn - Yes

You could make drop biscuits with this recipe, but I think the English Sally Lunn would be way to runny for this.  Probably due to the extra eggs. Neither dough can be rolled out.
  • It's a simple sweet cake-bread
  • It can be served alone or with Jam or Honey.
  • It can be whipped up quickly with simple ingredients.
  • Perfect any time of day for a snack or for serving to a friend.

English Sally Lunn - Maybe
  •     I could make tea biscuits with less effort.
  •     I would eat it as a snack (with butter or jam), but I dont think I'd eat it dry with nothing on it.
  •     I wouldn't serve it by itself to a friend. It would be part of a meal.
  •     Yes, if I wanted a tea biscuit styled bun (that would rise in a muffin tin)
  •     Yes, if I wanted a quick no yeast type 'bread'.

That's English Sally to you


It wasn't hard to figure out who Sally is, it appears she's a bit famous - for her buns. Hahah, I guess that's why they are named after her.  Info from the Sally Lunn website says she was a Huguenot refugee who went to Bath in 1680 after fleeing persecution in France. She worked in a bakery and sold the wares in a basket in the streets.

She sounds like quite a woman, I can't imagine what life was like for her in 1680's, but she made it. You go girl!

The site describes Sally Lunn buns as 
part bun, part bread, part cake… A large and generous but very very light bun; a little like brioche/French festival bread
I don't think I've had brioche before so I can't speak to that,  but the two Sally Lunn recipes I've tried do match the rest of description - part bread, part cake, and very light.

I guess I'll have to plan a trip to Bath to really know how similar or different they are, but while I'm waiting on a winning lottery ticket to make that happen, I'll share the second recipe:  English Sally Lunn from A Guide To Good Cooking - Five Roses Flour Cookbook 1938

This recipe differs from the regular Sally Lunn in that it uses butter instead of shortening, which is blended in to the flour like you would when making tea biscuits. It also calls for more eggs, less sugar, and more WORK.

First off you'll need to separate 3 eggs. Beat the egg yolks and add them to 1 cup of milk.

Add 1 teaspoon of salt , 4 teaspoons of baking powder, and 1 tablespoon of sugar to 2 cups of flour. Sift together 3 times (ha! you can, but not my style - I stirred it with a fork)

Add 4 tablespoons of cold butter to the flour mixture.

Blend well with tips of your fingers or with a pastry blender. Once done, put in the fridge to cool while doing the egg whites.

Blend the egg whites until stiff peaks. Should be easy...unless you've packed up your KitchenAid mixer, handheld mixer, and yes...even the whisk.

So...after quite a while using a fork, I switched to the spatula. The noise of the fork against the bowl was quite annoying.  And if I have to do this again, I'd use the spatula, it worked a lot better. Cooling the bowl helped also. The peaks aren't as stiff as they could be, but I'm happy with how well I did by hand.

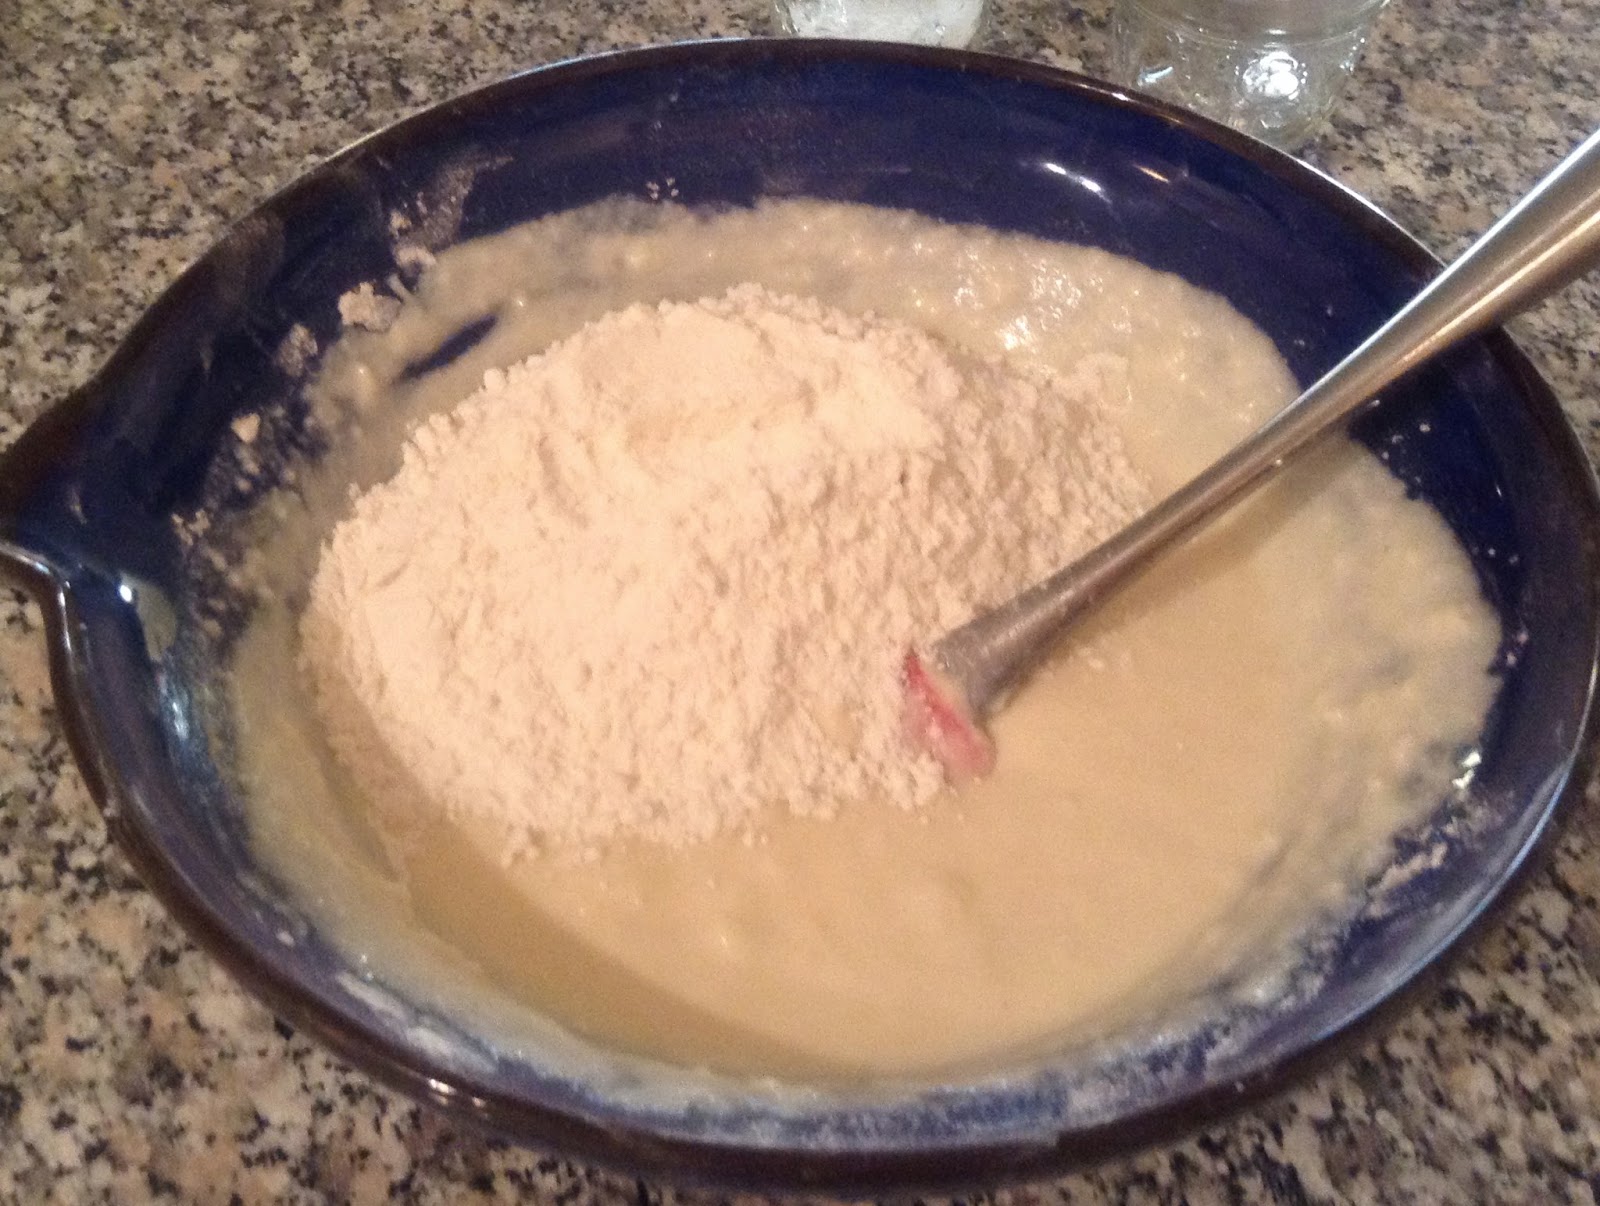
Add the combined milk and beaten egg yolk to the flour mixture.

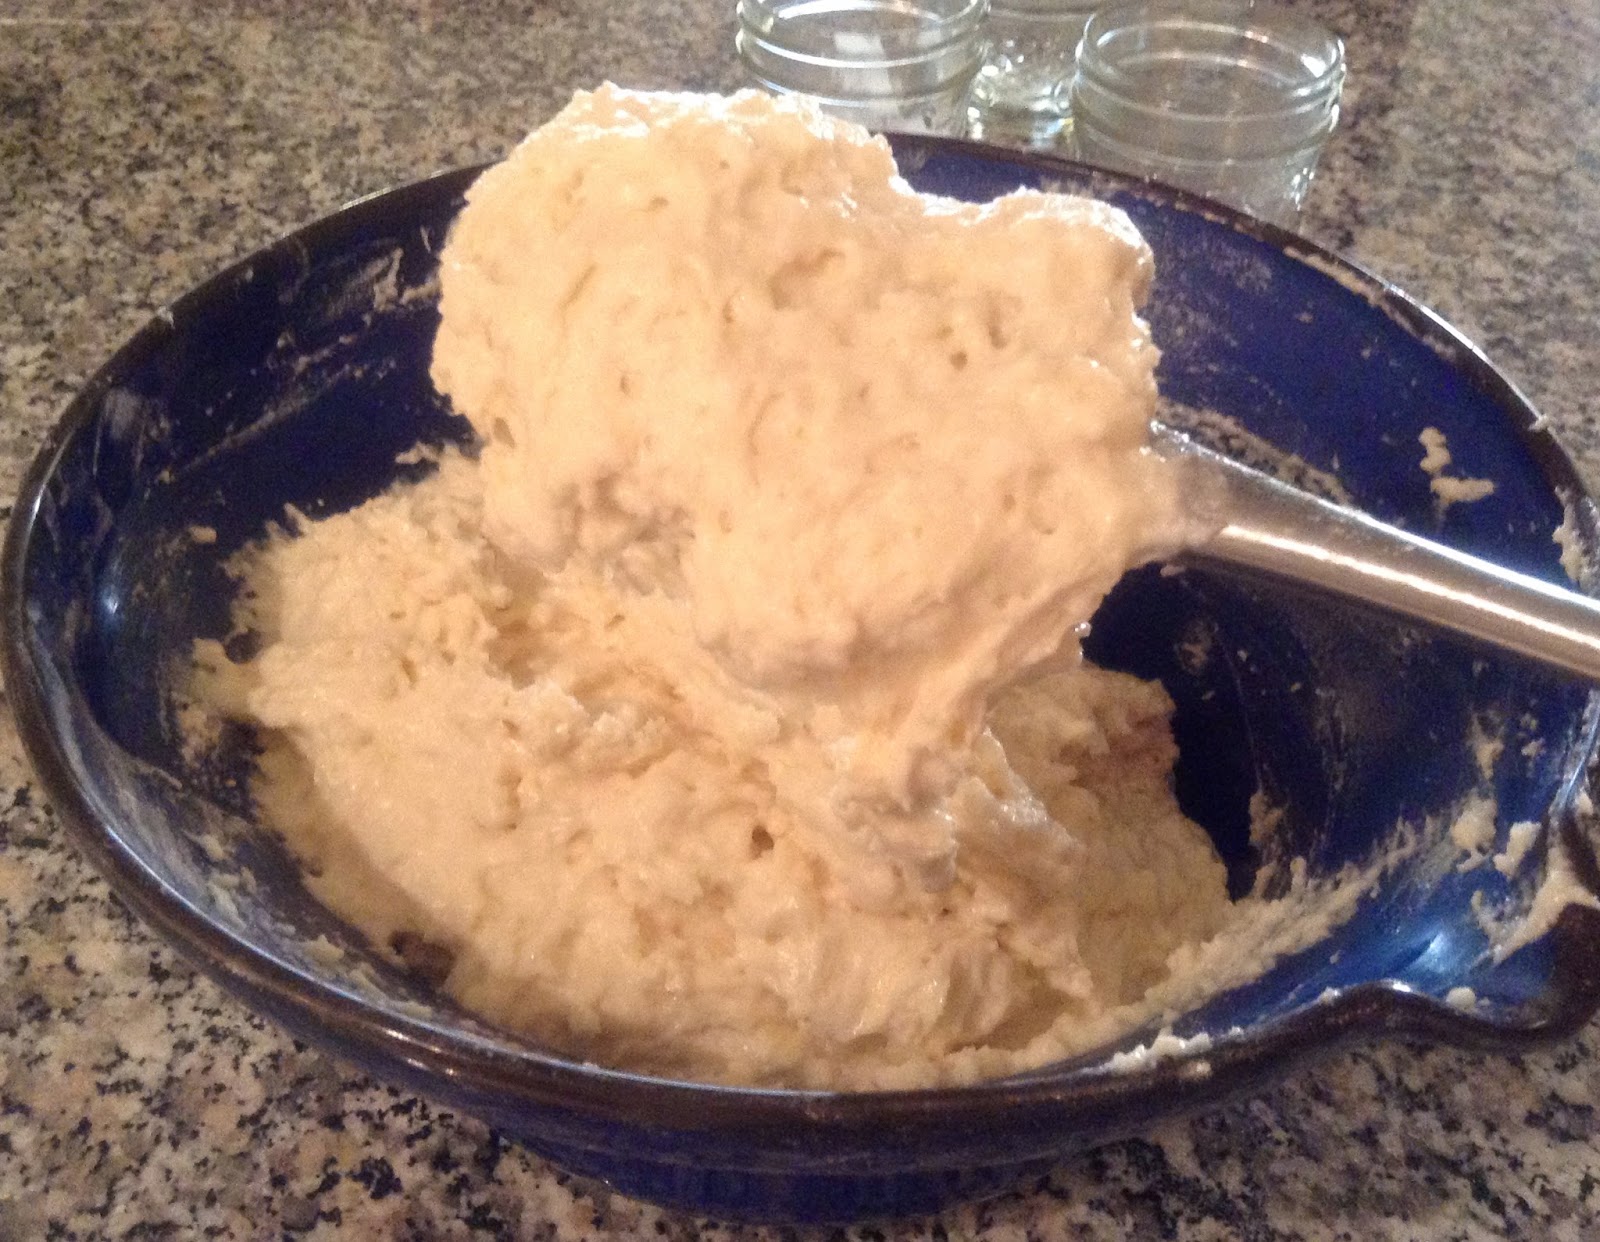
Fold the egg whites in to the dough mixture.

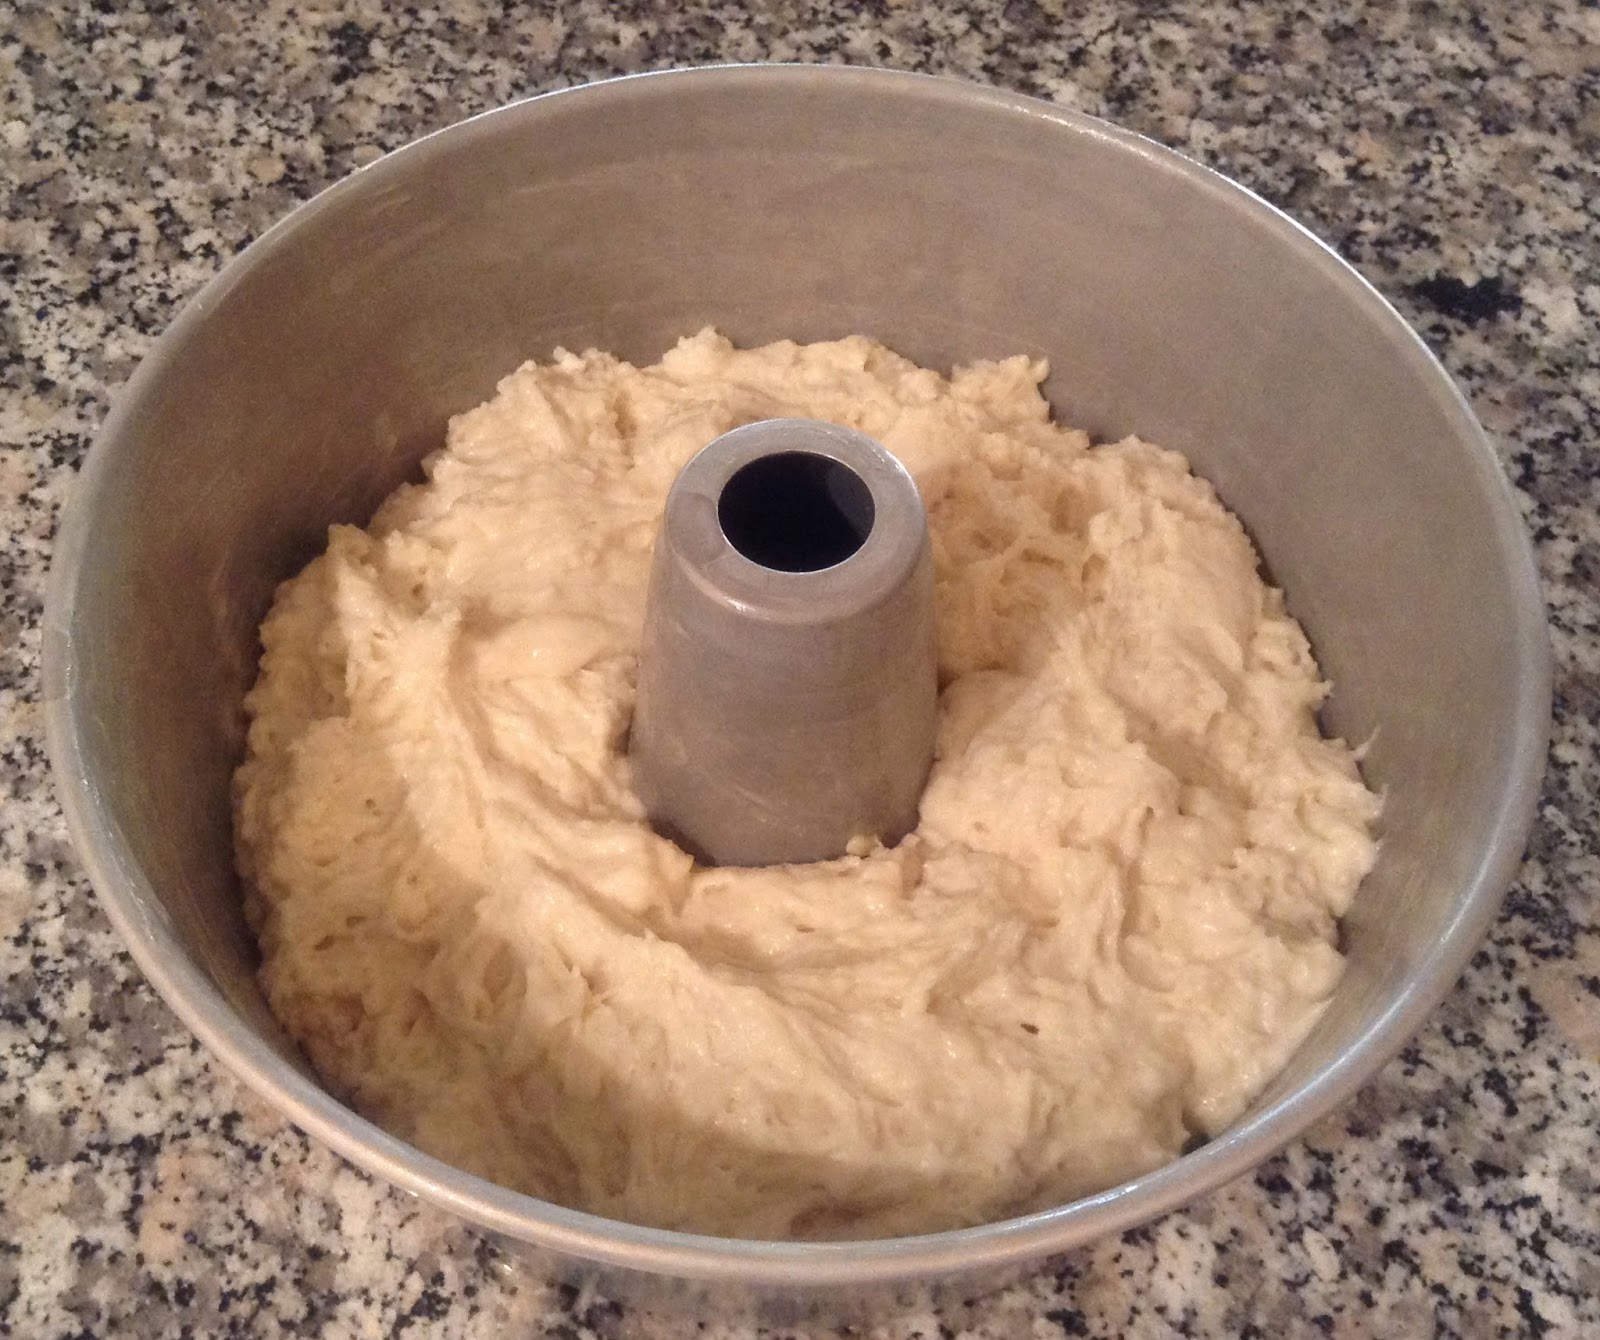
The recipe calls for muffin tins, but alas, that is packed also. I used the only tin I haven't packed - the angel food cake pan

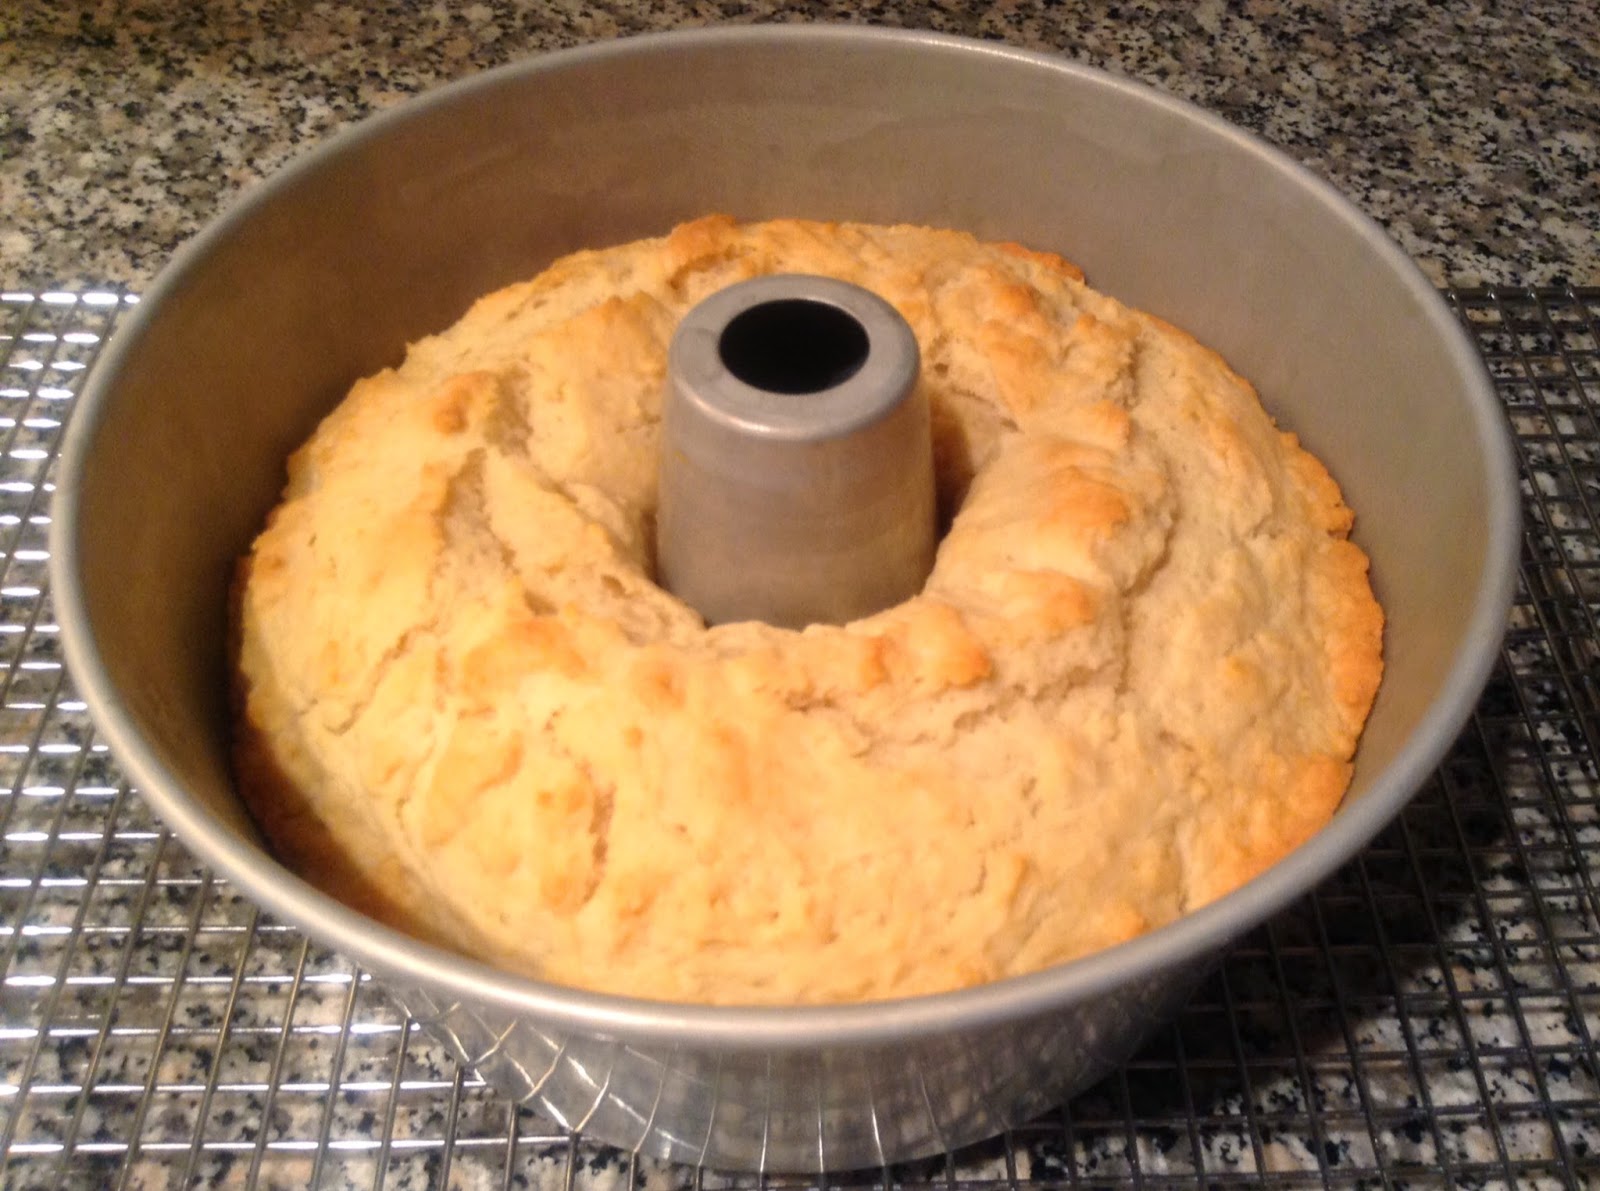
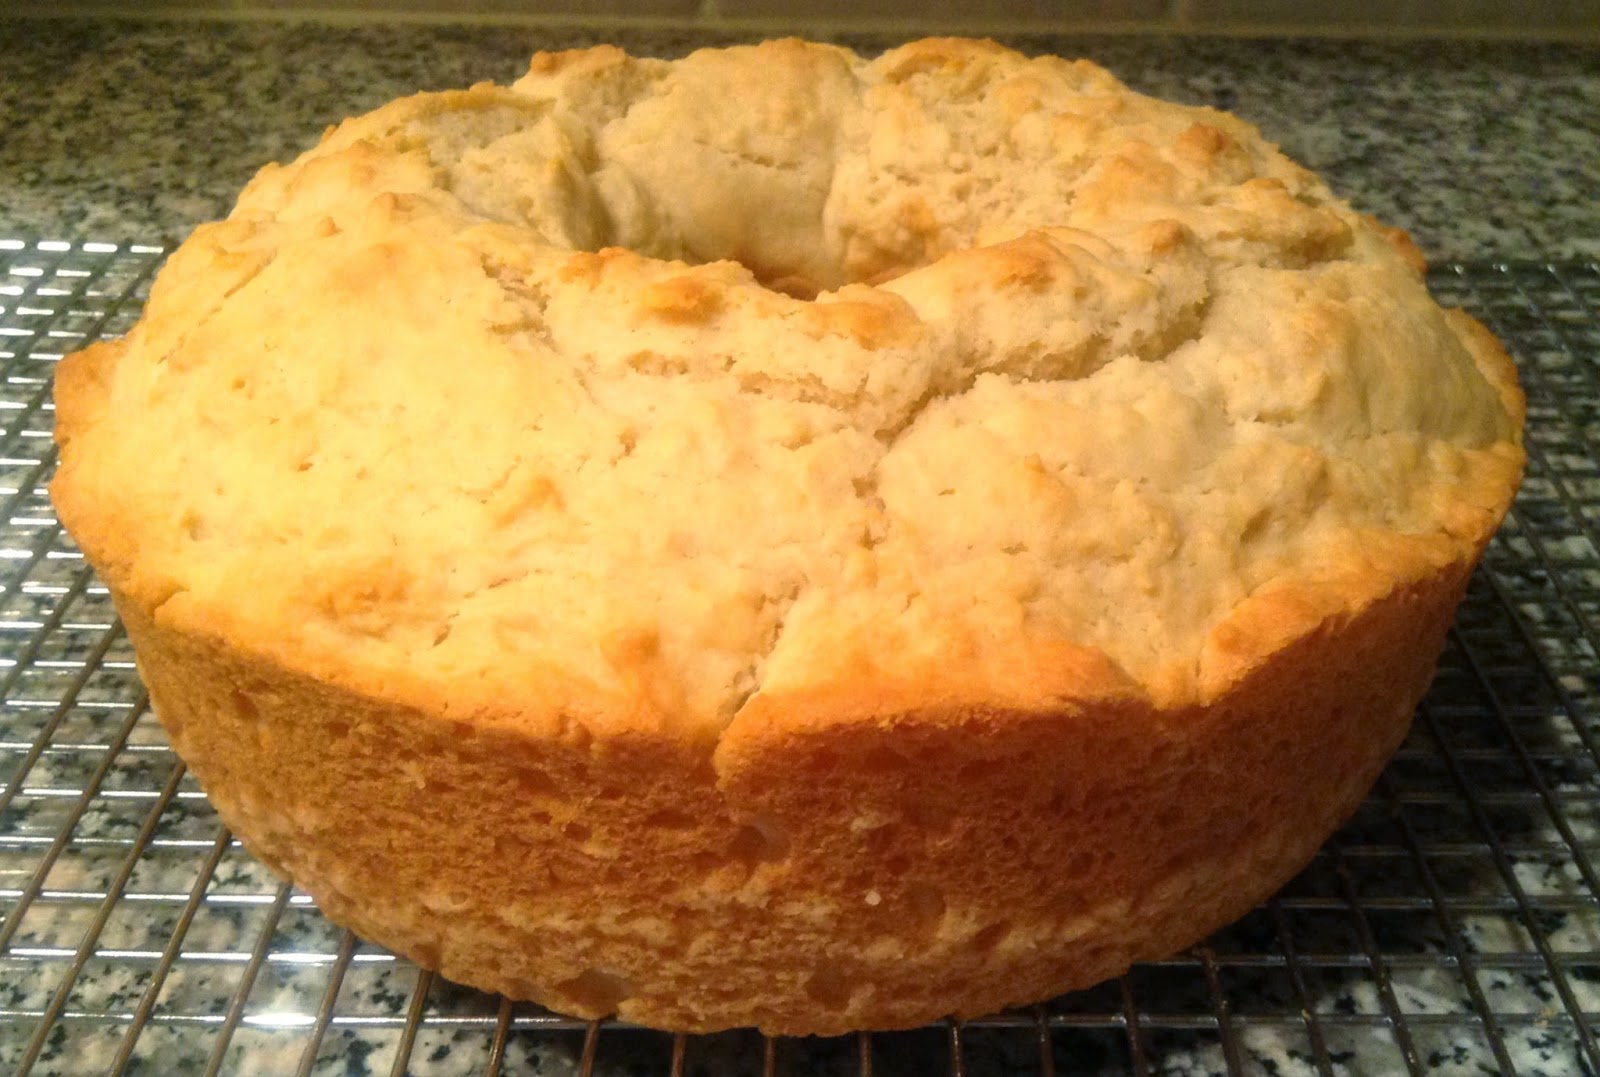
 Voila!  Cooling in the pan. Looks wise, it looks exactly the same as the other Sally Lunn.

Cooling on the rack. It is pretty.

English Sally Lunn Recipe
A Guide to Good Cooking - Five Roses Flour Cookbook 1938 (pg 29)

INGREDIENTS
  • 2 cups sifted flour
  • 4 tsp baking powder
  • 1 tbsp sugar
  • 1 tsp salt
  • 3 eggs, separated
  • 1 cup milk
  • 4 tbsp butter
DIRECTIONS
  1. Sift flour with baking powder, salt, and sugar. 
  2. Blend flour and butter together with finger tips or pastry blender.
  3. Beat egg yolks and add to milk.
  4. Beat egg whites to a stiff peak.
  5. Add egg yolk and milk mixture to flour mixture.
  6. Fold in stiffly whipped egg whites
  7. Bake in muffin tin in a moderate oven (400 F) - 30 minutes
Makes 12 muffins.


Friday, May 30, 2014

Who are you Sally Lunn?


My Goal:

Make the Sally Lunn (again) and take pictures before eating it!

Umm...I ate some too and it was just as I remembered - simple and comforting. I feel a mix of pleasure and incredulity that something can have such simple ingredients (with only a 1/4 cup of sugar for any real flavour) and make something I want to make again and again.

Perhaps it's too plain for our modern times, but I can imagine a housewife in the 1940's being quite pleased with the outcome, and proud to place it on her table. I know I would be tickled to be invited over for tea and have this little cake-bread offered up to me.  And if she chose to accompany the cake-bread with a bit of honey or jam, I would be her new best friend.

I'm not sure, but I think this would be the type of recipe that would appeal to frugal food rationed housewives.

The ingredients are simple:  Flour, baking powder, salt, sugar, milk, shortening, and an egg.

I measured everything out and realized I was a tiny bit shy on shortening, but I didn't think it would matter that much. On cooking shows, they never scrape everything clean, and they always say it tastes amazing! A missing teaspoon or so of shortening to make a 1/2 cup shouldn't matter - and my taste buds agreed once the finish product hit my hips ;)
 

Add the beaten egg to the milk and give it another stir for good measure.
 

The recipe calls for sifting the flour with the baking powder and salt, but I'm kind of lazy that way. I measured by spooning the flour into the cup and then leveling it off with the back of a knife. Then just added the baking powder and salt and stirred it in fairly well.


Blend the shortening and the sugar together. I could of used my KitchenAid, but that just seemed like overkill, it only took a minute to blend everything together using a spatula.

Alternate adding the flour mixture to the shortening with the milk/egg mixture.

At first it seemed like there was too much milk, but as I mooshed it...that's my technical cooking talk for pushing down on the flour with the back of the spatula... it came together. 

The end result was a thick pancake like batter.  Like gummy mashed potatoes.


Since most of my kitchen is packed up - my choices for baking dishes are severely limited. My ONLY choice was the angel food cake tin. The recipe says a loaf pan or a muffin tin.

I greased up the lucky winner with a bit of butter and dropped the batter in by the heaping spoonful.

I didn't bother with smoothing it down. Just make sure it's the same thickness around so it will bake evenly.
375 F and 30 minutes later. Yay!

At this point it's really important to let it cool before removing from the pan or trying to eat it.

On the first cake, I tried to cut in to it when it first came out of the oven and it was a fully-baked crumbly mess that I had to use a spoon to eat. *blush* I was a bit worried about the texture, but the more it cooled, the more it stuck together.  So, I left this baby alone to cool in the pan.

When it was finally cool enough that I could handle the cake without burning my hands, I tipped it out onto the rack.

I really like the rustic simple look.

Goal: Accomplished!

Sally Lunn Recipe
American Woman's Cook Book 1948 (pg 120)

INGREDIENTS
  • 2 cups sifted flour
  • 3 tsps baking powder
  • 1/2 tsp salt
  • 1 egg, beaten
  • 1 cup milk
  • 1/2 cup shortening
  • 1/4 cup sugar
DIRECTIONS
  1. Sift flour with baking powder and salt. 
  2. Combine egg and milk.
  3. Cream shortening and sugar.
  4. Add flour alternatively with egg/milk mixture
  5. Place in greased loaf pan or muffin pans and bake in a moderate oven (375 F) - 30 minutes

Makes 1 loaf or 12 muffins.