Showing posts with label Entertaining. Show all posts

Tuesday, December 16, 2014

Blueberry Tea

The first time I had Blueberry Tea was pretty much exactly a year ago... give or take two weeks. Haha, really, seriously now - give them back, I could use an extra few weeks. Time goes by too fast as it is :)

Blueberry Tea

So, it was cold (really cold), there was snow everywhere, and we were in a pub in the mountains that didn't feel the need to turn up the heat. All the people in the pub were packed around the tables in front of the fireplace, but any outlying tables were downright breezy, which is where we had to sit. Needless to say a cold and frosty beer just wasn't going to cut it so a friend of mine ordered Blueberry tea.  I held off until the drink came because I don't drink hard alcohol and I don't like tea, but after tasting it, it wasn't all that bad.

It's called Blueberry Tea because the blend of tea and alcohol is supposed to have a subtle blueberry taste to it. That might be true - maybe if I close my eyes and didn't know what I was drinking, but regardless it's a nice 'warm you up' kind of drink.

In perusing my mom's scribblers I came across a recipe for it. Perfect! I had purchased Amaretto for some biscotti I was making and just needed tea and Grand Marnier to make the drink.  I probably wouldn't have purchased the alcohol just for one drink, but it's the Christmas season and it would be nice to have something warm for people to drink.


The recipe is really basic.  I'd have to try the drink with Earl Grey as I've heard it is made with that also. But, I went with Orange Pekoe.

Blueberry Tea
Mom's Scribbler
  • Orange Pekoe Tea, brewed to however strong you like.
  • 1 ounce Amaretto
  • 1 ounce Grand Marnier

Enjoy! And Merry Upcoming Christmas....only 9 more sleeps and 8 more shopping days!

Blueberry Tea

Monday, October 20, 2014

Date Squares revisited

Thanksgiving came and went - thankfully with no real impact to my waistline! It was a good day and evening.  We made the Turkey, vegetables, stuffing etc at my sisters house and then took it over to my moms to enjoy. It might seem like extra work, but it really did minimize any cleanup that had to be done at my mom's house and we spent our time visiting instead of slaving over dirty dishes.

A while ago I made Date Squares from the 1938 Five Roses Flour Cookbook and having no real creative motivation last week...I think I was still in a Turkey coma :)  I decided to remake the date squares using the updated Five Roses Flour recipe, plus I still had leftover dates and no real ideas on what to do with them...and I got a wee bit obsessed on crocheting headbands!

The recipes are pretty much the same with a few modifications that seem to make sense, like the removal of the baking powder and baking soda. I didn't really notice a difference in how they cooked up.

What I did notice was that the date mixture seemed drier and I had to add more water to get it to cook enough to be mushy, and...the newer recipe mentions

"Cook over medium heat until dates are soft and water is absorbed. Add vanilla and let cool."

But no where in the recipe does it mention vanilla as an ingredient, so I didn't add it in.

In the newer cookbook they have the Orange Date filling as a variation of the basic one, so I included both below. I chose the Orange Date filling to make since it more closely resembled the 1938 recipe.

Out of both recipes, I think I prefer the newer variation better. It just seemed more substantial and the bars were less thin. I guess it depends on if you like a thicker date middle, but flavourwise, I don't think there was much difference at all. 


Date Shortbread (Matrimony Cake)
Five Roses Flour Cook Book - 1970? (page 122)


INGREDIENTS
  • 1 1/2 cups flour
  • 1/2 tsp baking soda
  • 1 tsp baking powder
  • 1/4  1/8 tsp salt
  • 1 cup butter
  • 1 cup brown sugar
  • 1 1/2  cups old fashioned oatmeal


  • 500 g pitted dates
  • 3/4 cup hotwater
  • 1/4 cup brown sugar
  • 1 tsp lemon juice

DIRECTIONS
  1. Combine dry ingredients together
  2. Rub in butter with the tips of your fingers
  3. Spread half the mixture in a greased shallow pan (about 8 X 14 inches) and pat to make smooth.
  4. Cover with cooled Date Filling, spreading it evenly, then cover with remaining crumbs, pat to make smooth.
  5. Bake at 375F for 30 - 35 minutes.
  6. Increase heat slightly and bake for a few minutes longer to lightly brown the mixture.
  7. Cut in squares while warm and allow the shortbread to cool in the pan.

VARIATION
Orange Date Filling
Five Roses Flour Cook Book - 1970? (page 122)

INGREDIENTS
  • 1/2 lb  1 lb chopped dates (500 g)
  • 1/2 cup cold water
  • 2 tbsp 1/4 cup brown sugar
  • Grated rind of 1/2 orange
  • 2 tbsp 1/4 cup orange juice
  • 1 tsp lemon juice


DIRECTIONS
  1. Cook dates, water, orange rind, and sugar in a small saucepan, over a moderate heat until thick and smooth
  2. Remove from heat and let cool


Wednesday, October 1, 2014

Banbury Cakes are my one weakness!

I've just finished watching the BBC TV series Lark Rise To Candleford a second time. This time with my sister and we just finished the last episode on Sunday night. It's a nice British period piece, if you are into those. Some laughs, some tears, and some characters who get annoying to listen to after a time :)
 
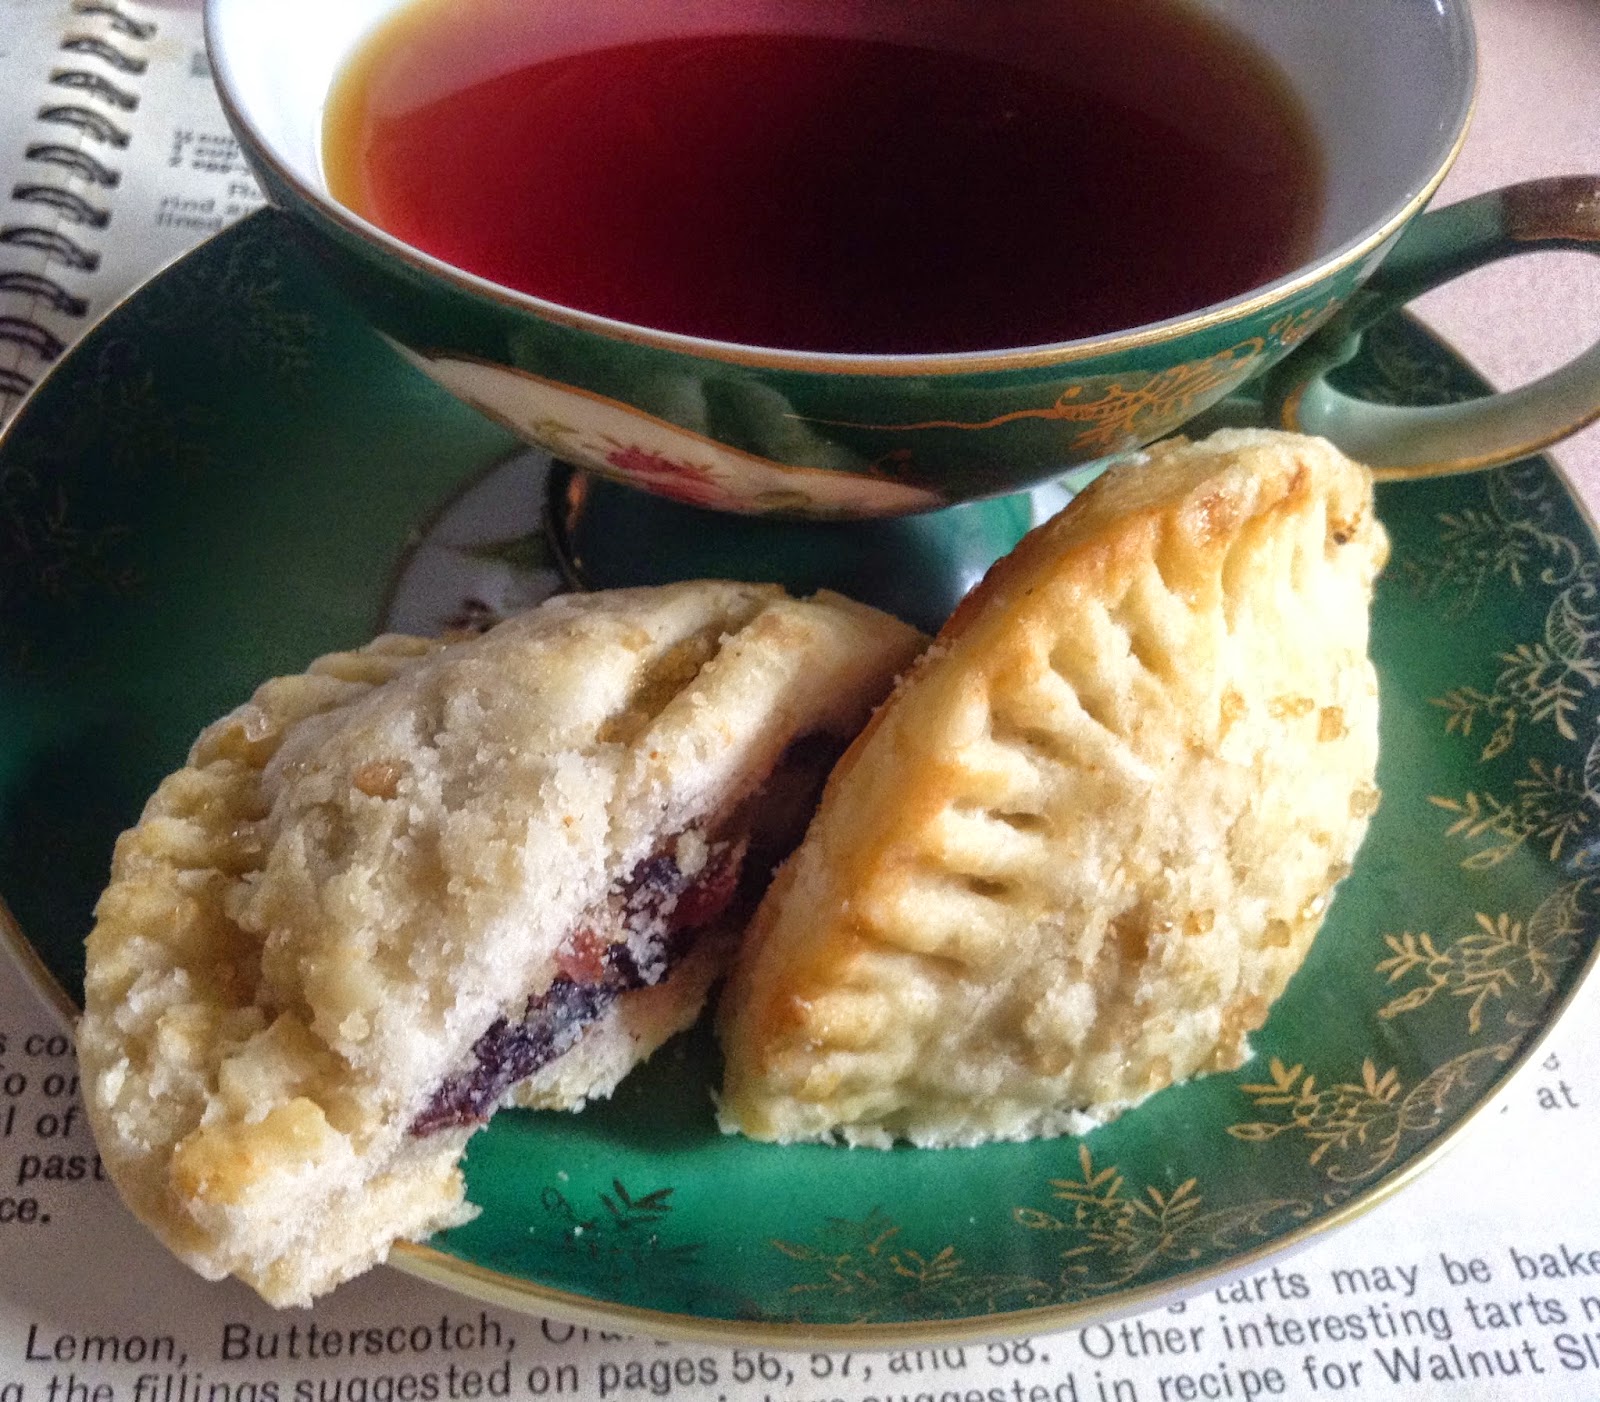
Banbury Cakes and Tea

"It's my one weakness", is a favorite saying of Dorcas Lane of the Candleford Post Office and Banbury Cakes just happens to be one of her weaknesses. Technically she has a lot of weaknesses, like milk baths and cashmere, but they don't happen to be something I can bake.

I was going to make Butter or Pecan Tarts this week, so imagine my excitement to come across a recipe for Banbury Cakes in my moms cookbook...and...to see that it's not a cake either, it's more of a fruit pastry made with currants (hahah, I thought it was a strange English countryside berry..banberry, not an English countryside place!).  I've never heard of this pastry before the TV series so I did a quick check online to see if the recipe in the 1938 Five Roses cookbook was somewhat similar to what Dorcas Lane might be been talking about in 19th century England, and it seemed to be so, so off to store to get the ingredients.

The lady at the checkout asked me if I was making a Christmas cake because I had all the fruity makings for one. I explained I was making Banbury cakes to which she just looked at me funny but the guy behind me in line asked me if I had ever been to Banbury or Oxfordshire because he grew up on Banbury cakes! I am more amazed every day how small the world is!

Anyone know the odds of a guy from England standing behind me in a grocery store in a town of 4000 people, who grew up on the not-a-berry-not-a-real-cake Banbury Cakes I was going to make after I stumbled across the recipe which I only knew about because I just watched a tv show that mentioned it???

Anyone??? I think very high odds..like winning the lottery odds :)

The filling for the Banbury Cakes is simple enough. I actually doubled the recipe - I wish I hadn't, because it doesn't sound like a lot, but it is! I tripled the pastry recipe and I still have a cup of the Banbury mixture left over!  Banbury Cakes are made with mixed peel and Currants. And, I just learned (by reading the package of currants) that they need to be put in the fridge after opening, odd - they look like tiny raisins.

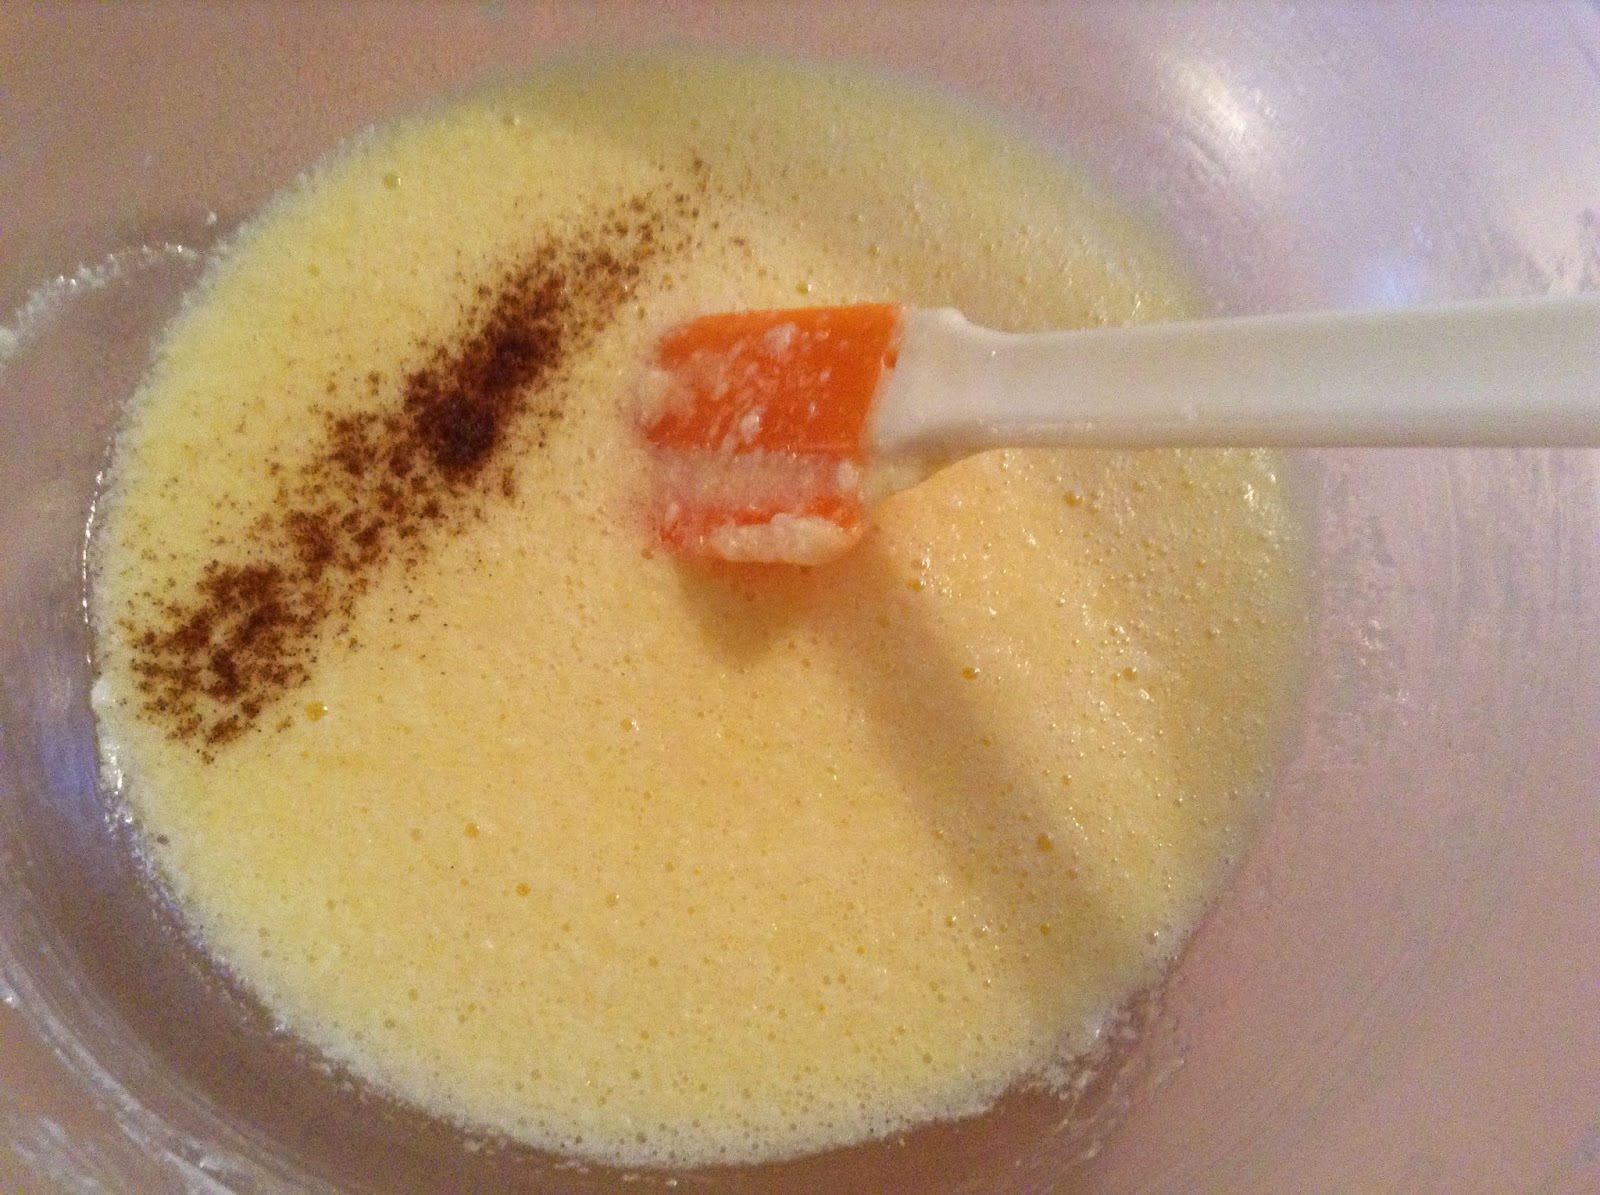
I beat the butter... hahaha, mashed it about with a spatula is what I should of said...since it seemed a huge waste to try to use a mixer/blender for 4 tablespoons of butter. Then added the sugar and eggs.


The recipe calls for a few grains of allspice. Umm...no, I gave it a pinch since I had doubled the recipe after all and seriously...a few grains, the stuff looks like powder!


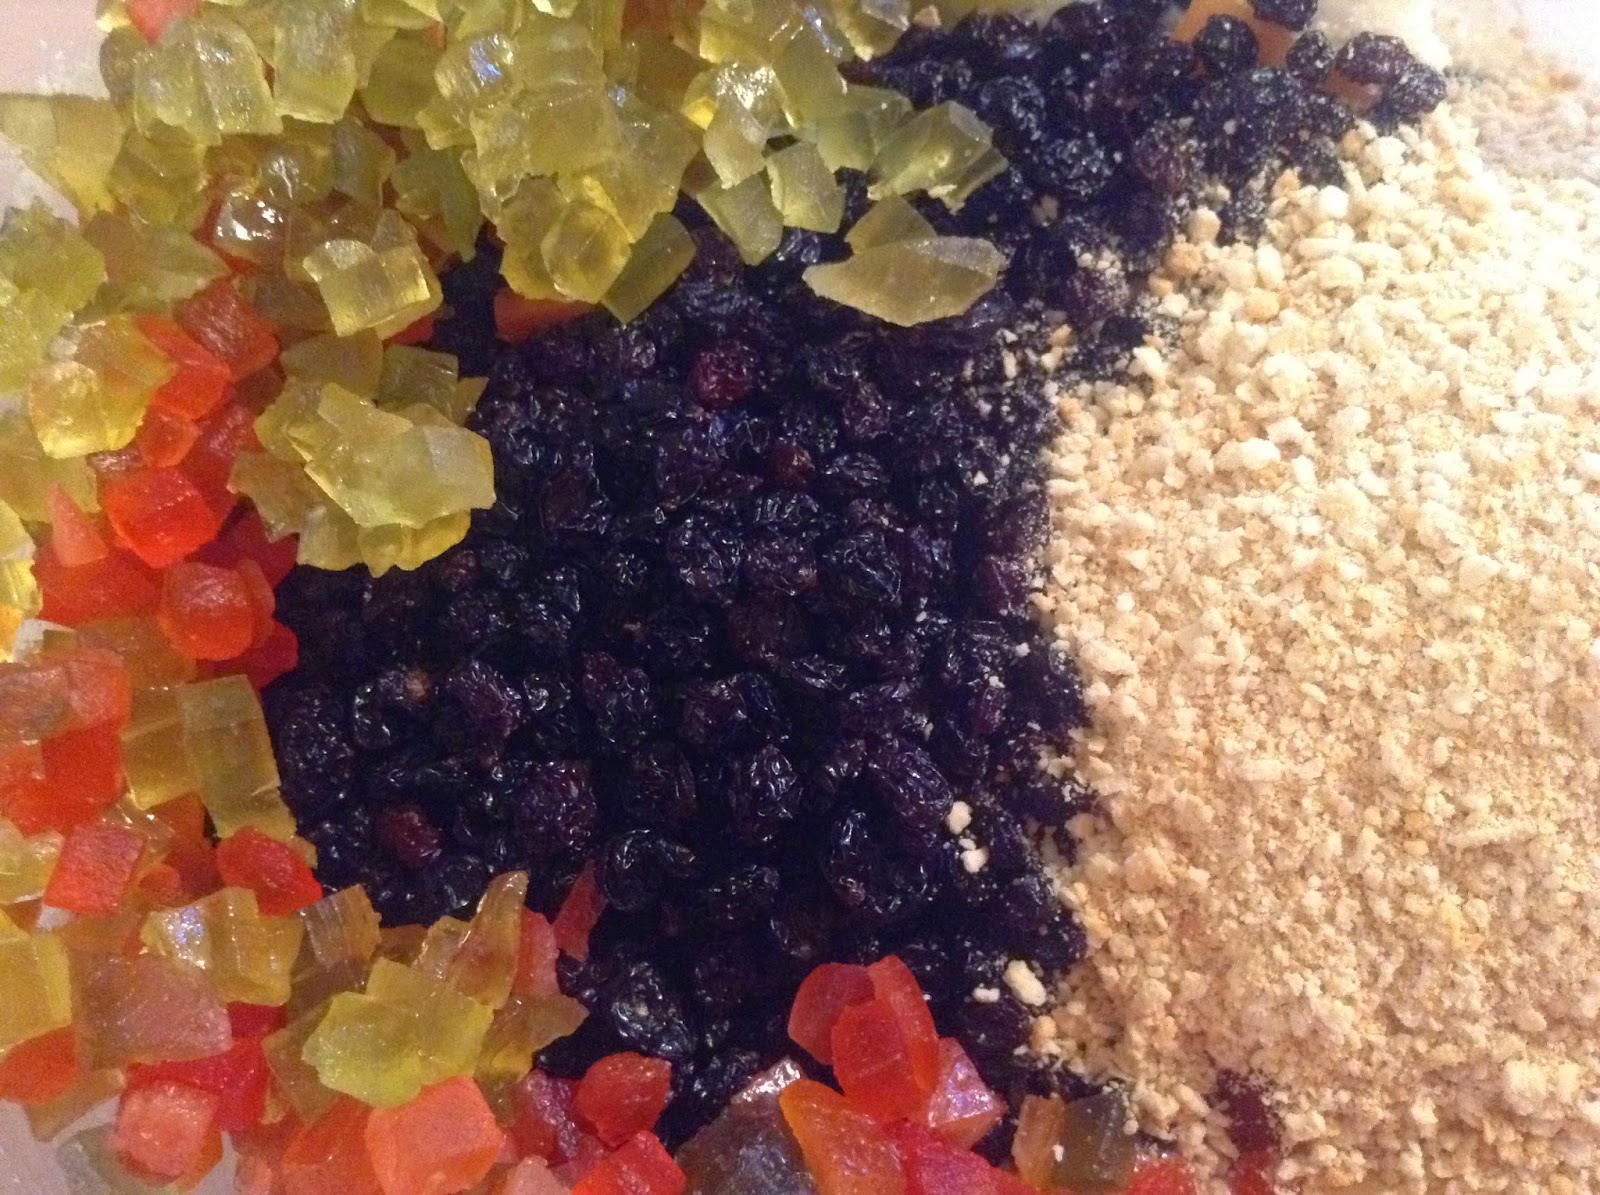
I then tossed in all the rest of the ingredients. It looks so pretty and festive! I had no clue what kind of crumbs to use, so I decided on a mixture of graham cracker crumbs and regular Premium Plus soda crackers. Also, my local store doesn't carry 'mixed peel' so I used citron peel and a bit of mixed fruit glace.

Banbury Cakes filling

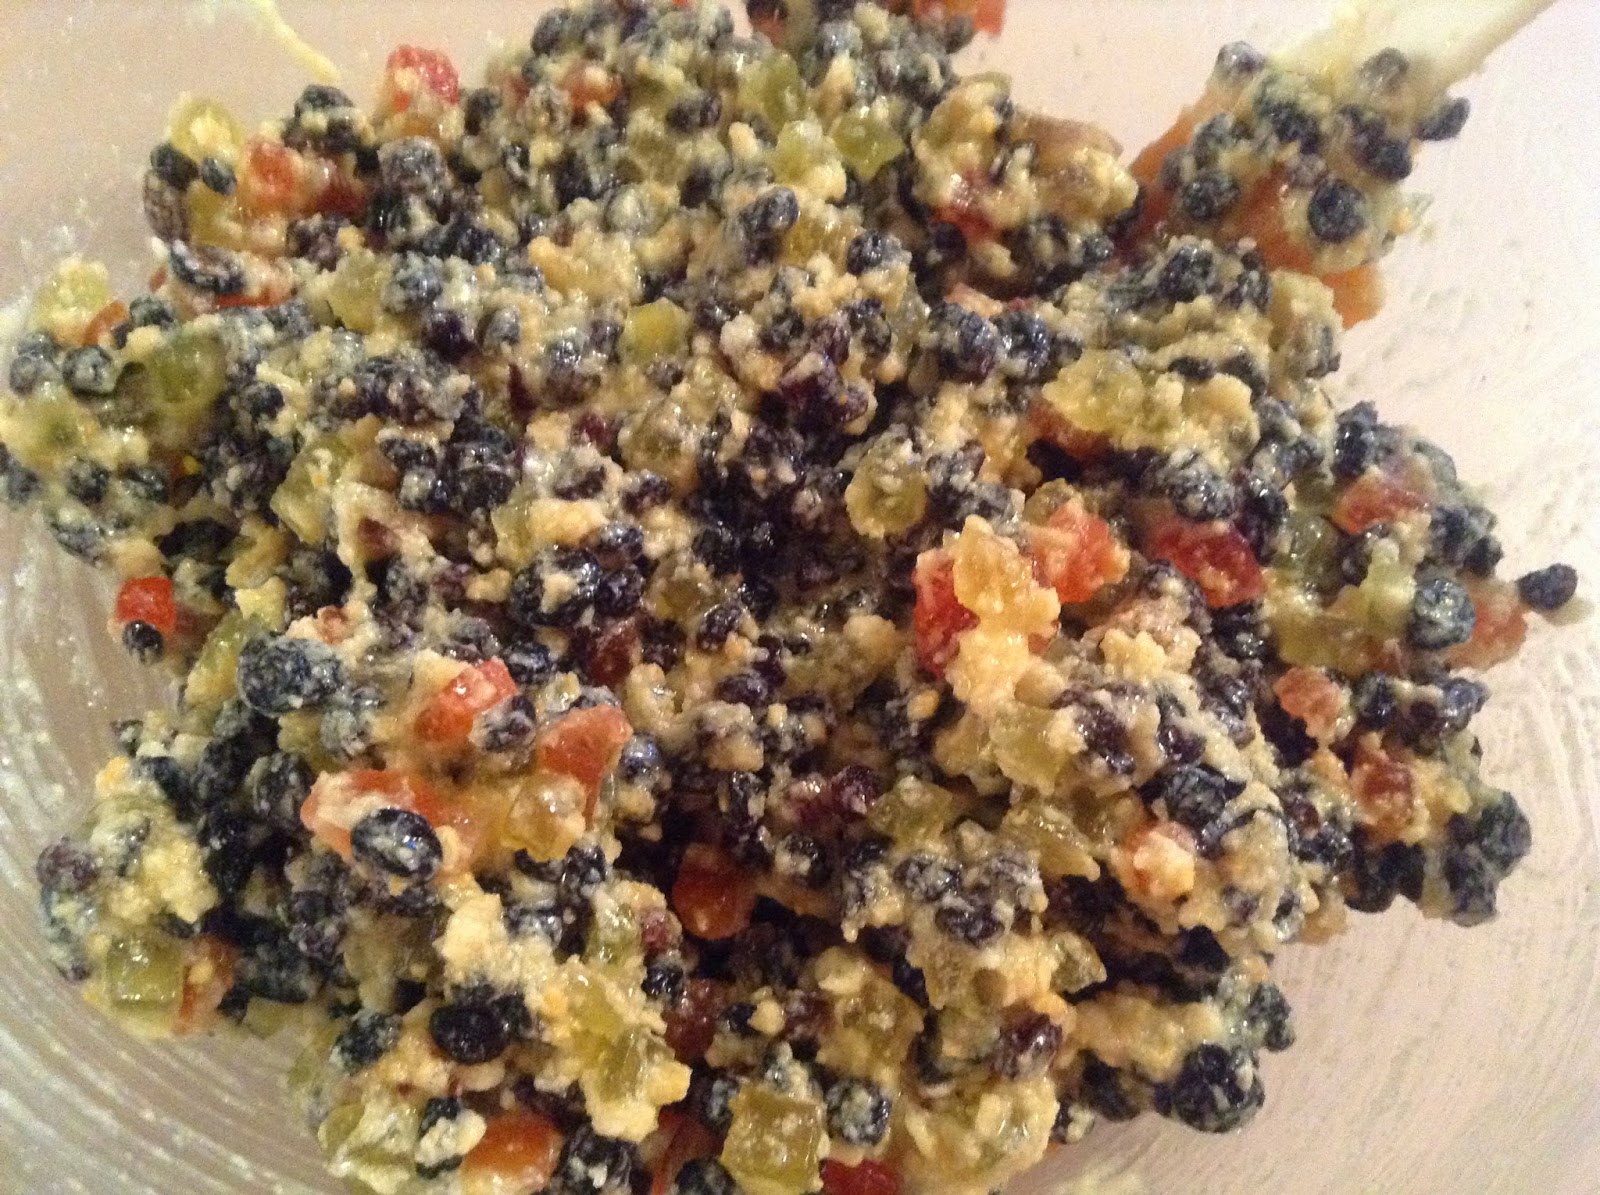
Stir it all together. From pretty to pretty ugly in 2.5 seconds!

Banbury Cakes filling

I let that sit while I made up the pastry dough (there will be plenty of time for writing about that - just not today).

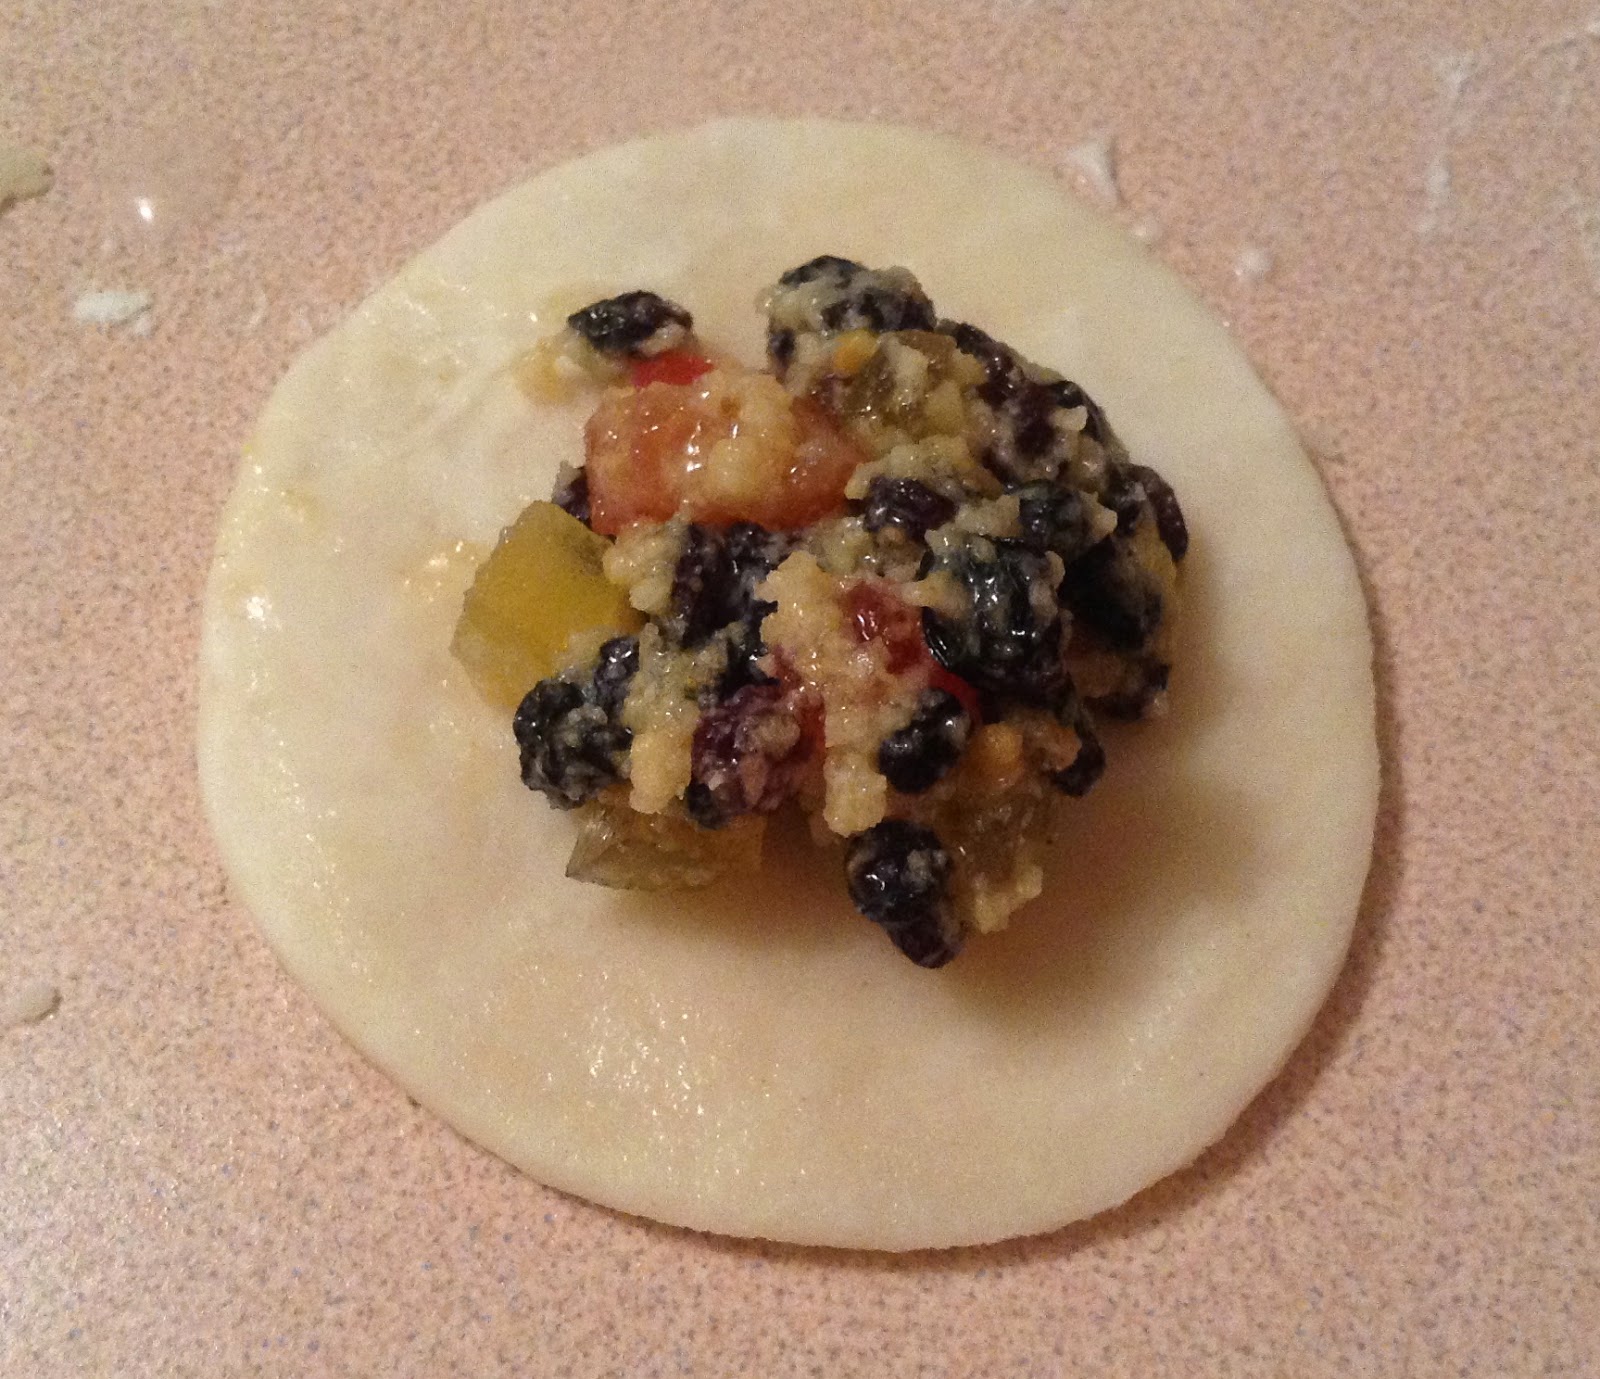
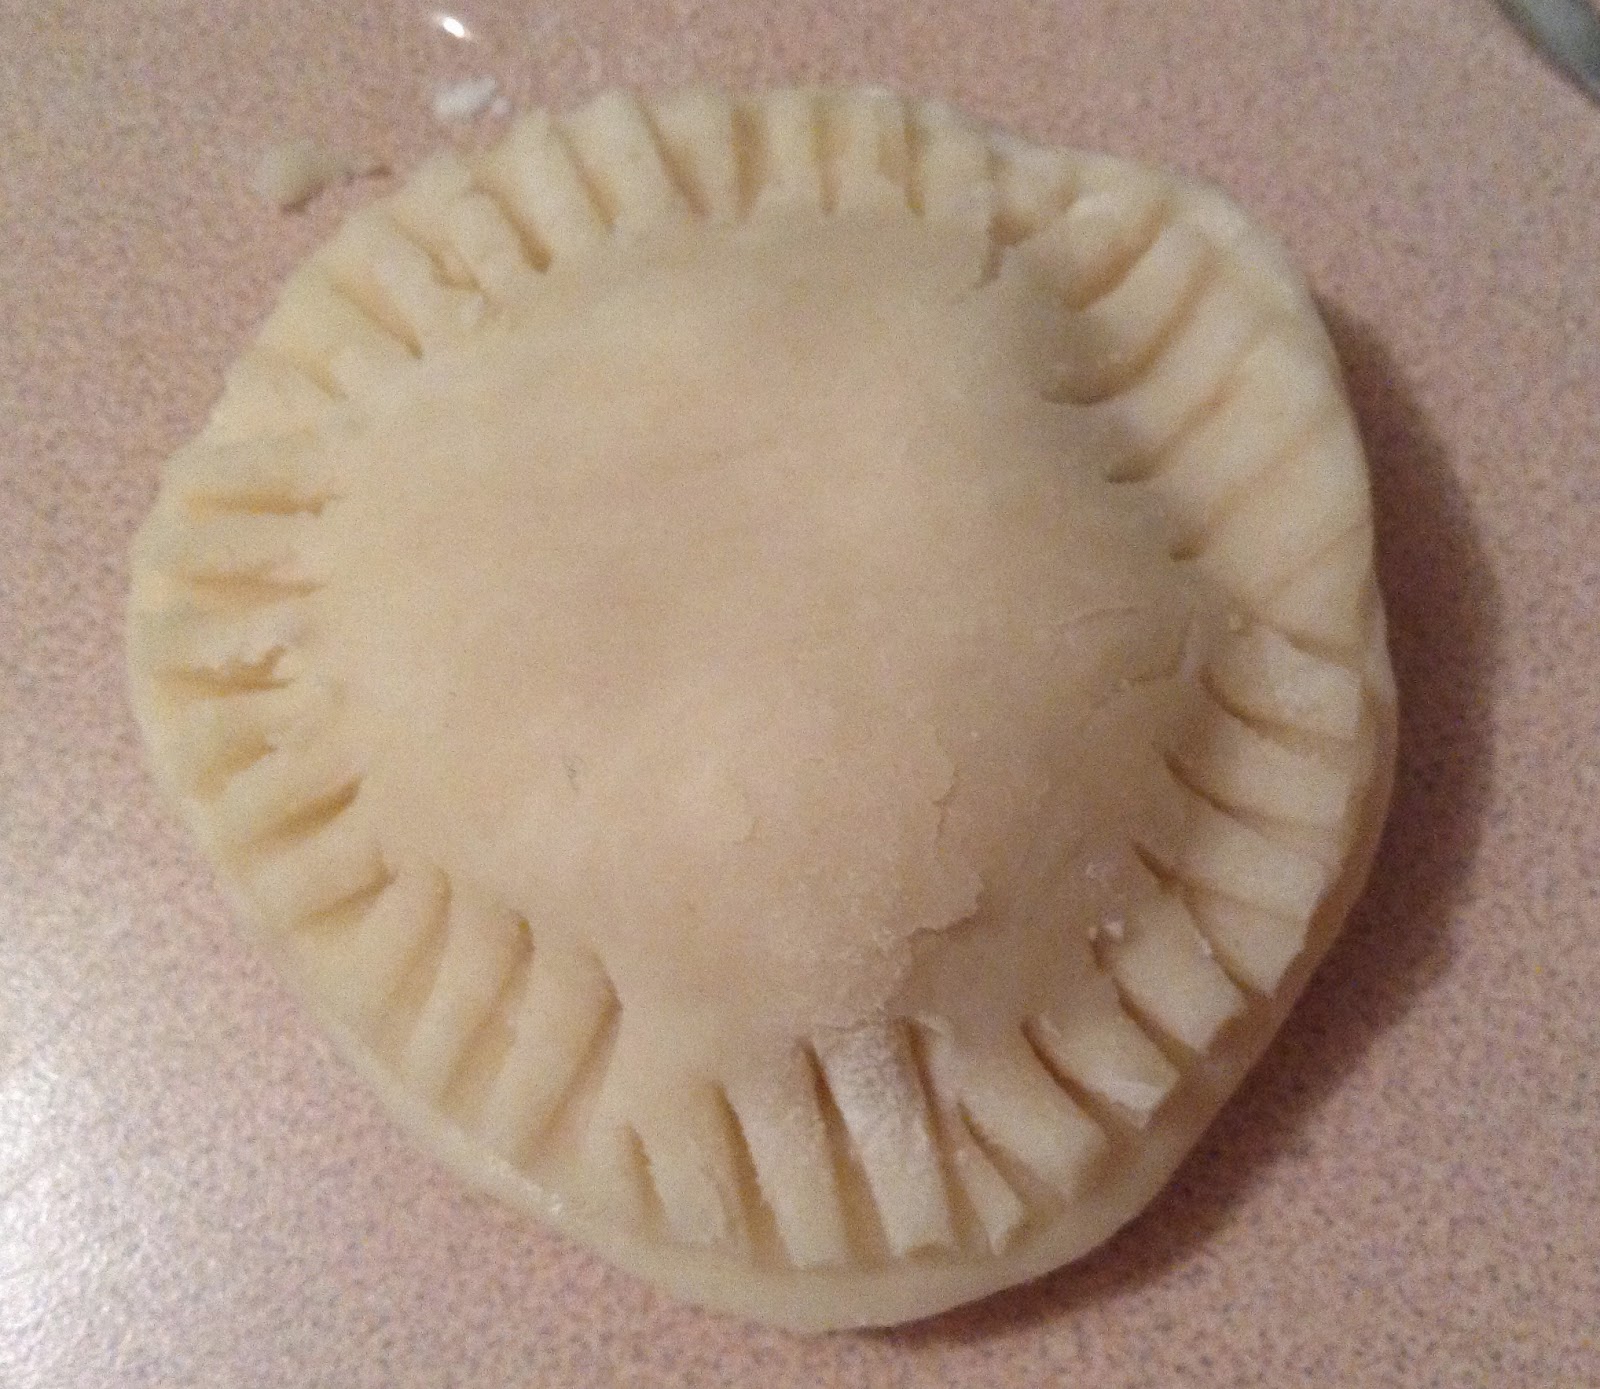
From what I saw online, Banbury cakes look more free form or at least like a big perogy where the dough is cut in a circle and folded over, but the recipe I have called for a round to be placed on a round and then sealed, so that's what I did :)  Follower of directions, that's me...somewhat, ha!

Putting the filling in the Banbury Cakes

I tried a few methods, first with the two rounds being the same size and then with the top round being a bit larger. I prefer the rounds being different sizes. With the top one being a bit larger, it folds around the filling better.  I have a dollar store set of stacking round cookie cutters, so it was easy since they all go up in size.

Banbury Cakes perogies!

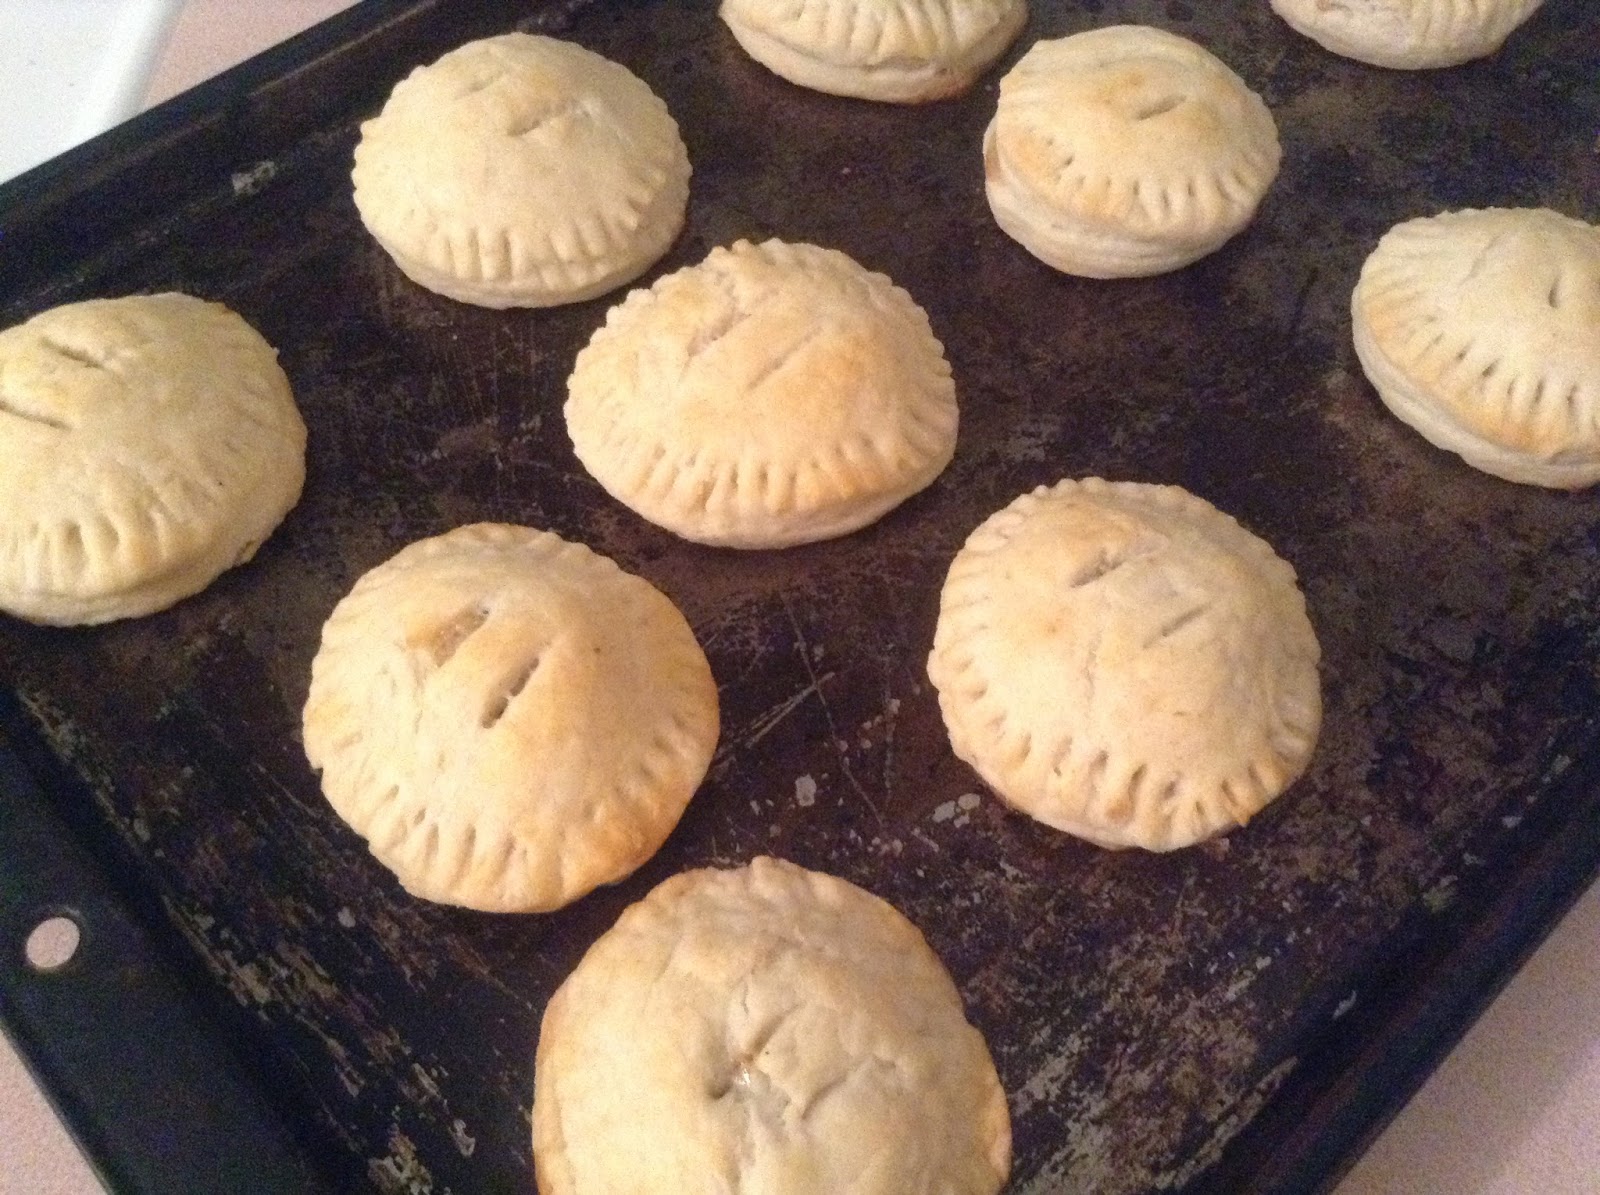
I cut little slits in the top before baking and brushed with milk. Half of them I forgot to sprinkle sugar on, but I think they still turned out pretty.

Banbury Cakes out of the oven


Banbury Cake
Five Roses Cook Book - 1938 (pg 144)
Banbury Cakes and Tea


INGREDIENTS
  • 2 Tbsp butter
  • 1/4 cup sugar
  • 1/2 cup chopped mixed peel
  • 1 egg
  • 1 oz cracker crumbs
  • 3/4 cup currants
  • few grains of allspice
  • Pastry


DIRECTIONS
  1. Beat butter to a cream, add sugar, then add well-beaten egg.  
  2. Add remaining ingredients and mix well. 
  3. Cut rounds of rich pastry and place spoonfuls of this mixture in the centre of half of them; moisten edges, cover with a second round of pastry. Seal edges carefully.
  4. Brush over with milk, prick tops, sprinkle with fine sugar, and bake in a hot oven (425 F) for 15 minutes.

Standard Plain Pastry
Five Roses Cook Book - 1938 (pg 135)

INGREDIENTS
  • 1 1/2 cups FIVE ROSES flour
  • 1/2 tsp salt
  • 1/2 tsp baking powder
  • 1/2 cup shortening
  • 1/3 cup ice cold water
DIRECTIONS
  1. Sift flour, salt, and baking powder.
  2. Mix in shortening with tips of fingers or two knives.
  3. Add the water, a little at a time, using just enough to bind the mixture.
  4. Collect all the moistened particles into a ball of dough.
  5. With as little handling as possible, form dough into a round disk.
  6. Place disk on slightly floured board. 
  7. The dough should be soft enough not to break when it is rolled; it should be stiff enough not to stick to a lightly floured board.
  8. Handle the pastry as lightly as possible. Kneading will toughen it.
  9. Roll the dough from the center outward - always rolling wiht a light even pressure, to a thickness of 1/8 to 1/4 inch.
  10. Line pie plates, tart shells, etc., and bake as directed.

Note: Enough pastry for 1 two-crust pie of average size, or 1 pie-shell and 6 tarts.
For a richer pastry, increase the amount of shortening to 2/3 cup. The amount of water required will depend on the type of shortening used.


Thursday, September 18, 2014

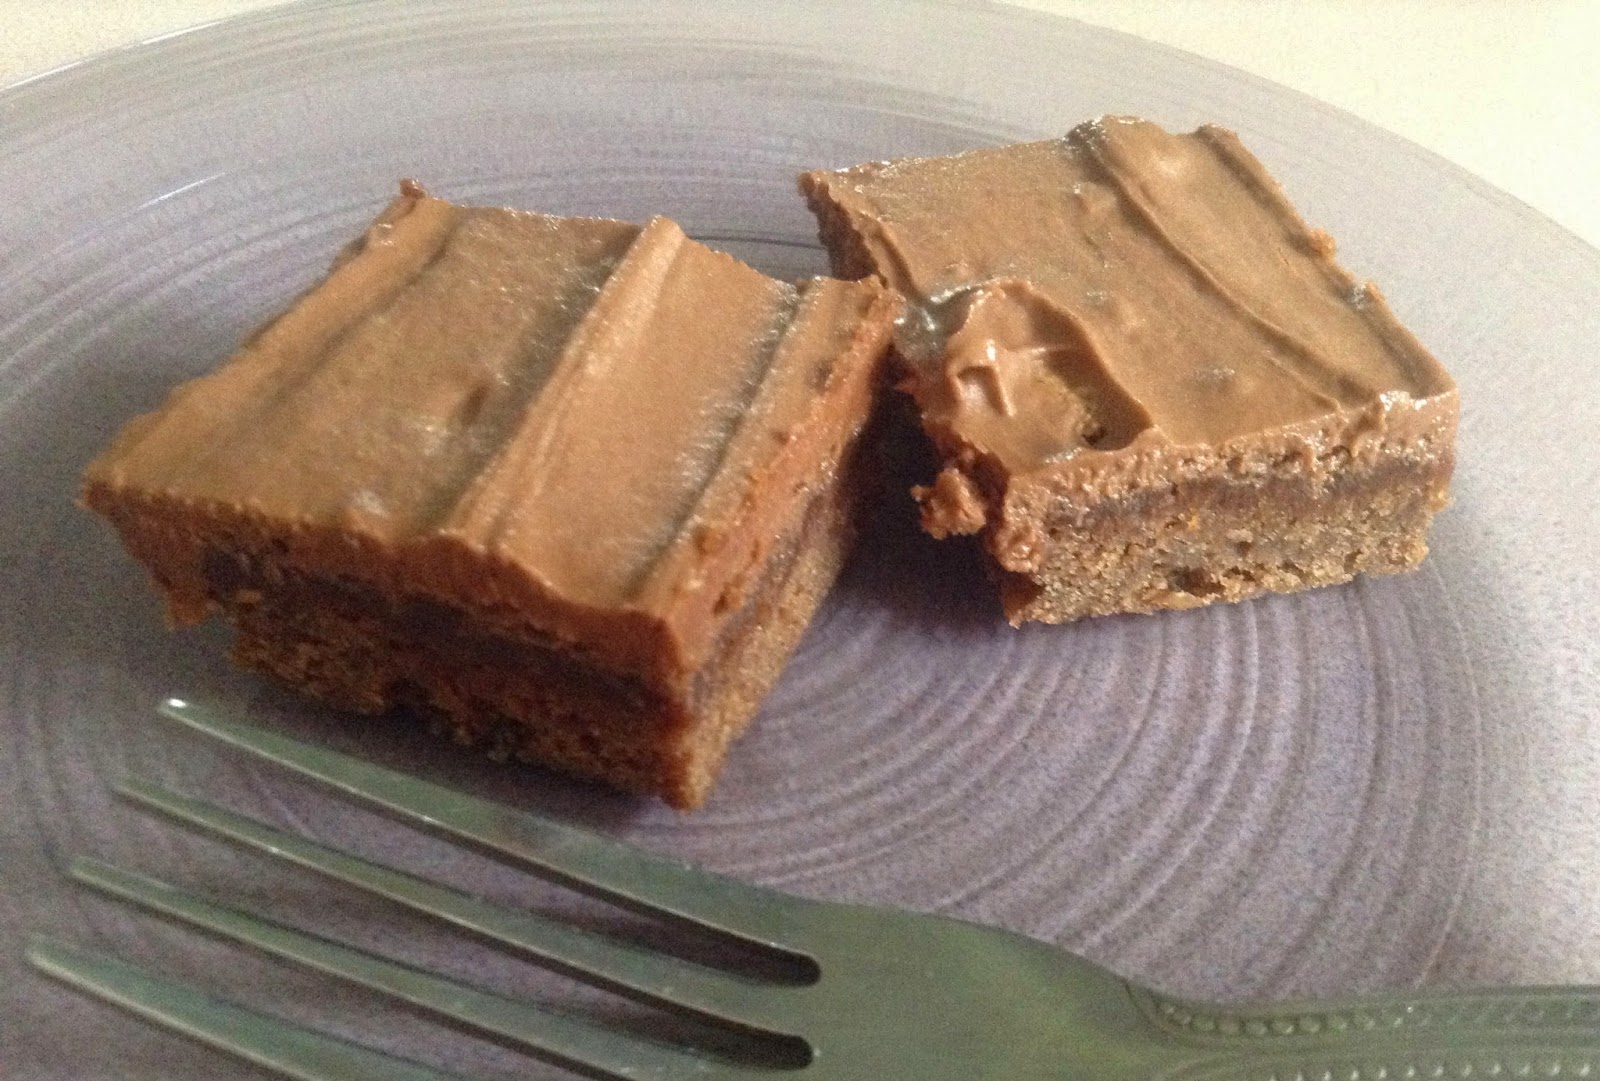
Fudge Four O'Clocks with Nutella Frosting

Sorry!

I've been slacking a bit. Back from visiting family and then back to work.  I pulled out the blanket I'm crocheting and tried to learn a few new stitches. I admit, I've been obsessed with crafting lately, it's creative like cooking and baking, but without the calories! Lets not talk about the 5 new quilts I've planned on making...and I've never quilted before!  Should be fun...but on to the baking...Fudge Four O'Clocks, it sounds like something Audrey Hepburn would have in Breakfast at Tiffany's.

Fudge Four O'Clock with Nutella Frosting

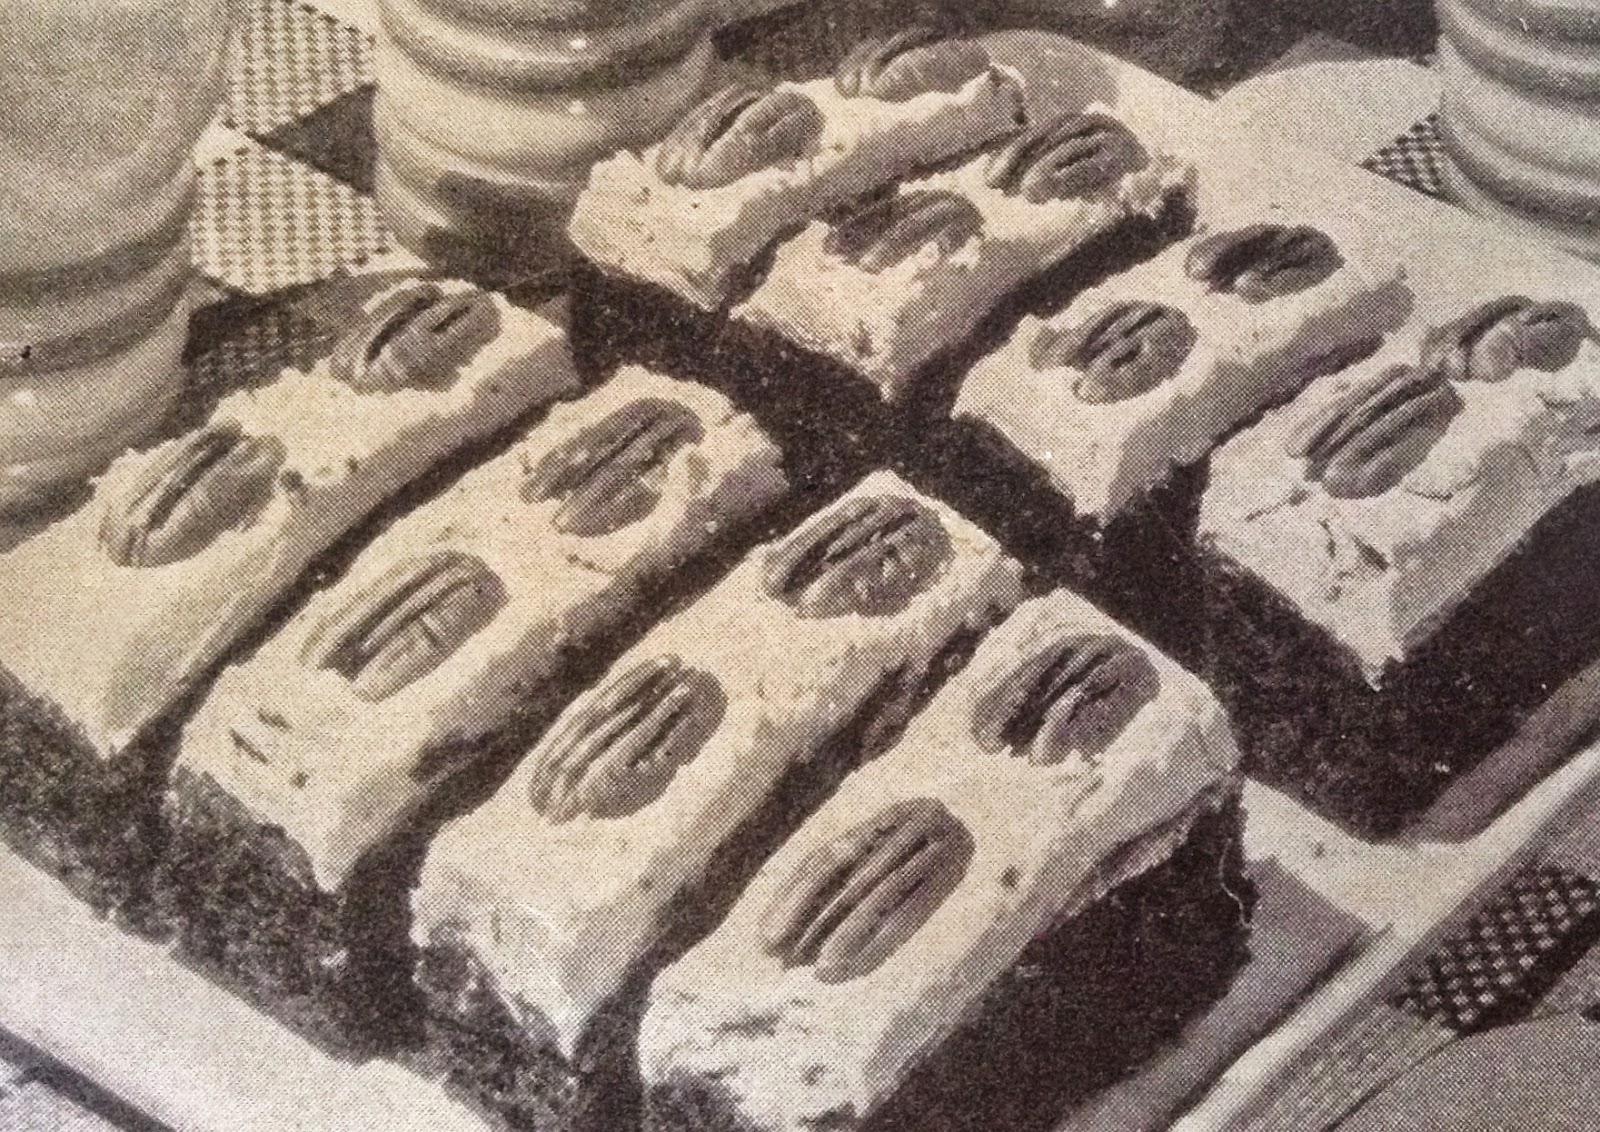
I was going to make Brownies from the Culinary Arts Institute Encyclopedic Cook Book, but the recipe for the Brownies is almost the same as the one for Fudge Four O'Clocks, and well, the Four O'Clocks have frosting!. I could also argue that the deciding factor was the 1950's picture...and the fact that I had a jar of Nutella in my cupboard just waiting for something chocolatey to be put upon :)

Fudge Four O'Clocks spread with fluffy frosting and crowned with nuts.

The recipe is quite simple with not a lot of ingredients, which I love. I think improvements on this recipe would be with the type of chocolate one uses. I just used some no name semi-sweet chocolate chunks that I had, nothing special, but it was still yummy. So better chocolate would make this even more wonderful!

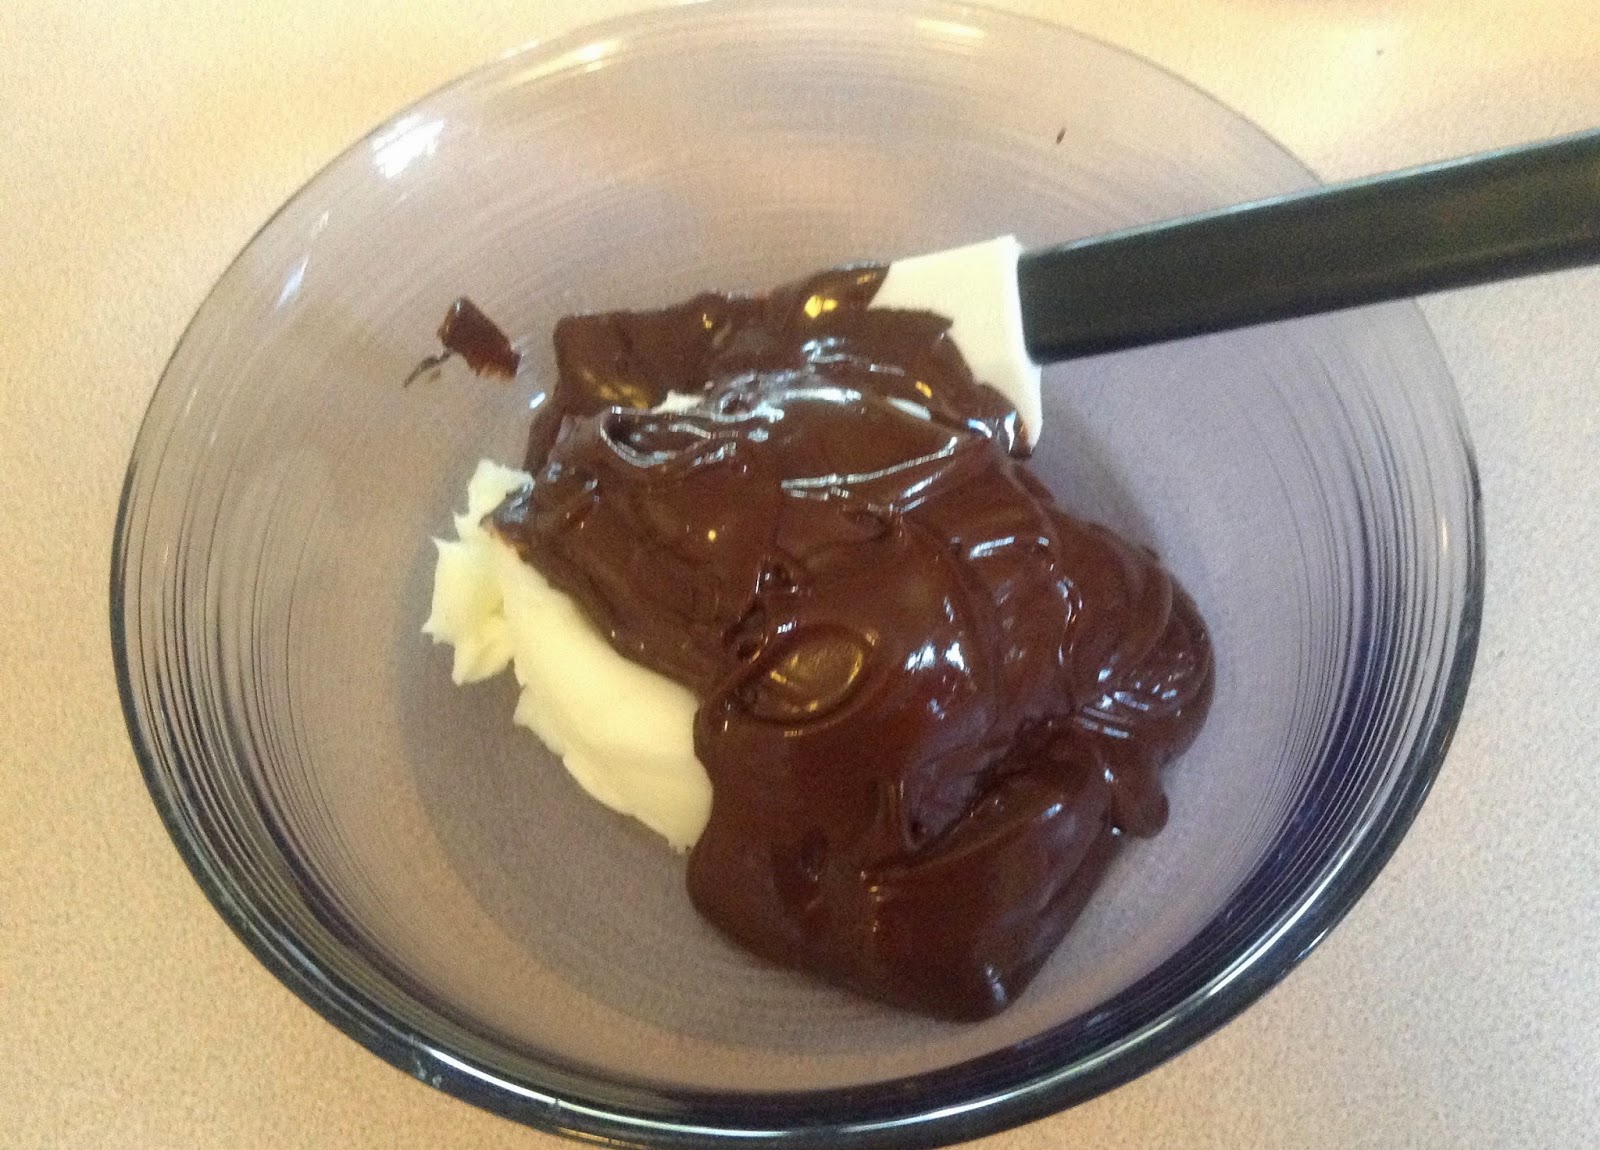
Once you've gathered together your ingredients and have melted the chocolate, pour it over the shortening.

Chocolate and shortenings

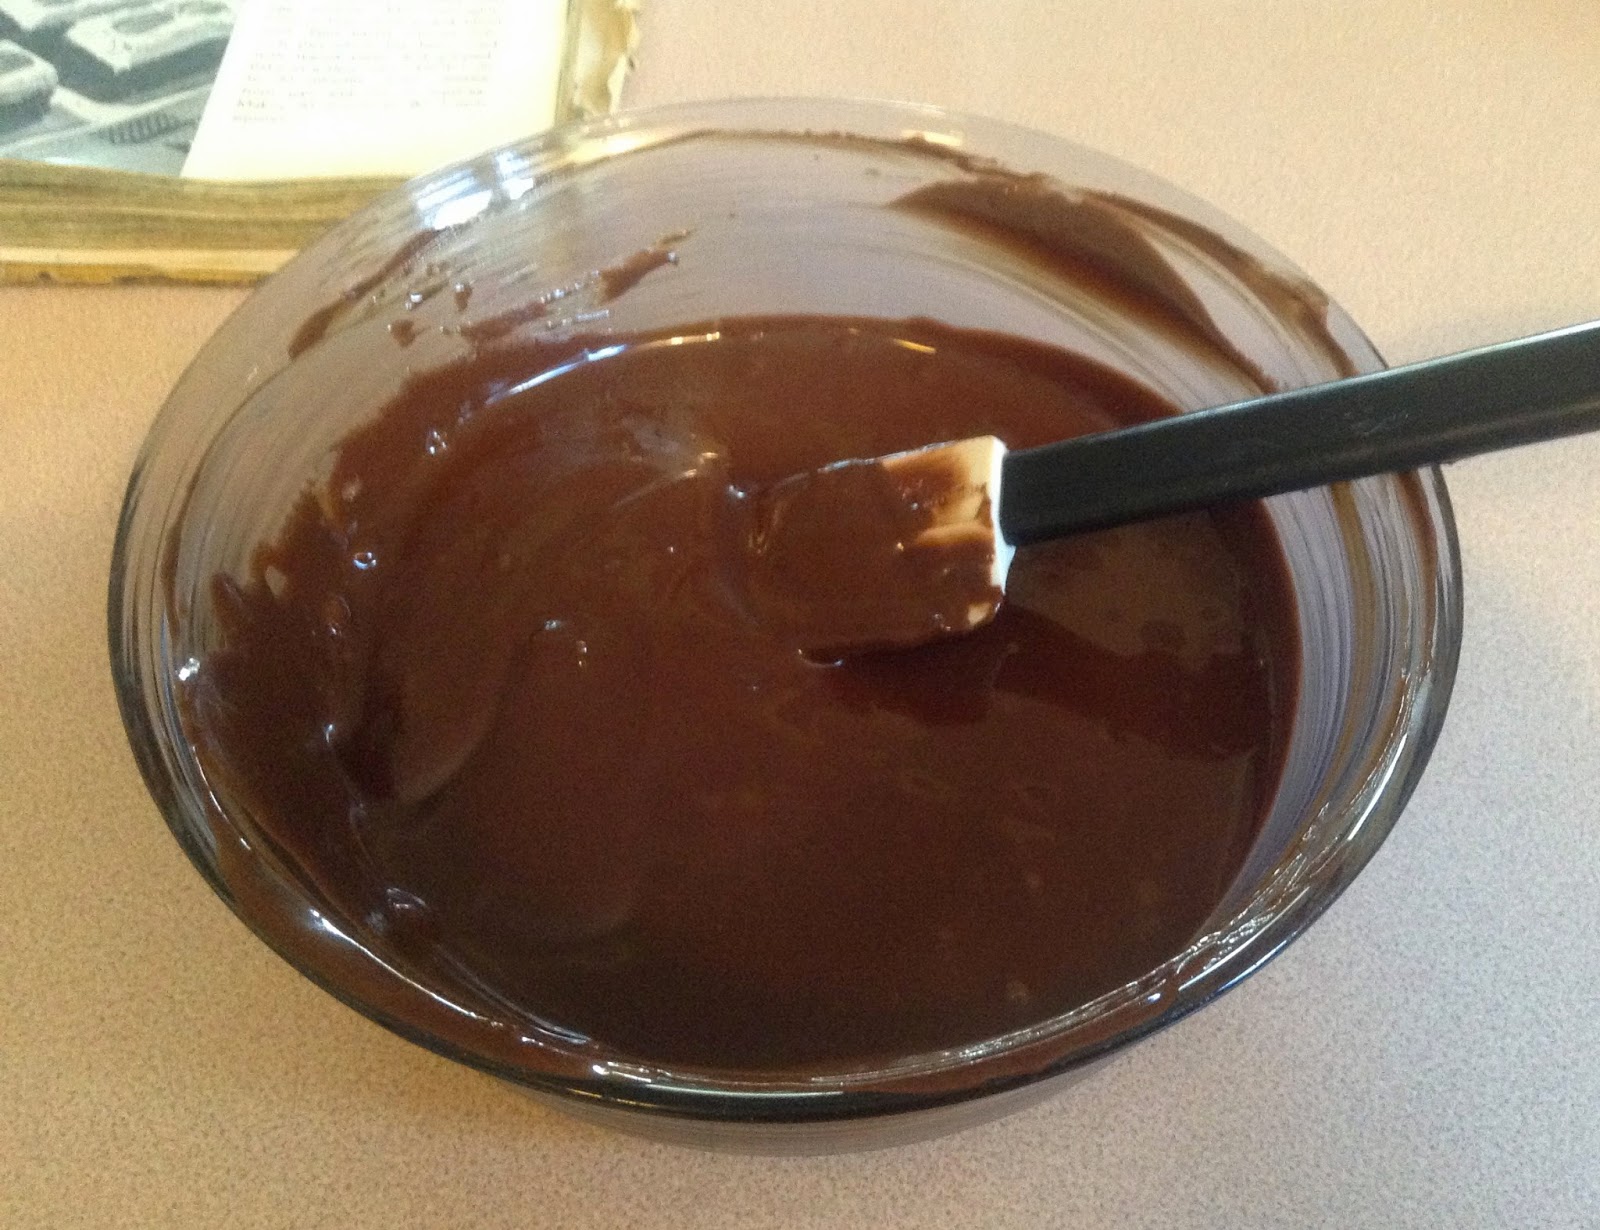
And stir until blended well. It wasn't blended smoothly, most likely because the chocolate was only moderately warm, so I heated it for a few seconds in the microwave. Viola!

chocolate and shortening melted

Beat the eggs until yellow and thick and then gradually add in the sugar.  Pour the chocolate mixture in with the eggs and sugar along with a bit of the flour.

chocolate, shortening, sugar, and eggs

Add the flour and milk to the batter, and once mixed well, stir in the nuts.

Pour the batter into two 8X8 inch pans that are greased and lined with waxed paper.   Oh...the batter seems very runny. I'm not sure if all brownie recipes are like that since I don't make a lot of them.

Well...I remember my mom using waxed paper all the time for things like this. Birthday cakes were amazing things way back then. Sure they were lined with waxed paper to bake, but...BUT!!...they also had pennies, nickels, dimes, and the luckiest of quarters inside and all of them were wrapped in waxed paper and baked inside the cake. Each slice was a surprise to see what money you might find! I love those days, no one was worried you might accidentally choke on a dime...as kids, we knew what was in there. Ahh, the good old days of being able to eat dirt!  Haha, I digress... I didn't have waxed paper so I used parchment paper instead.

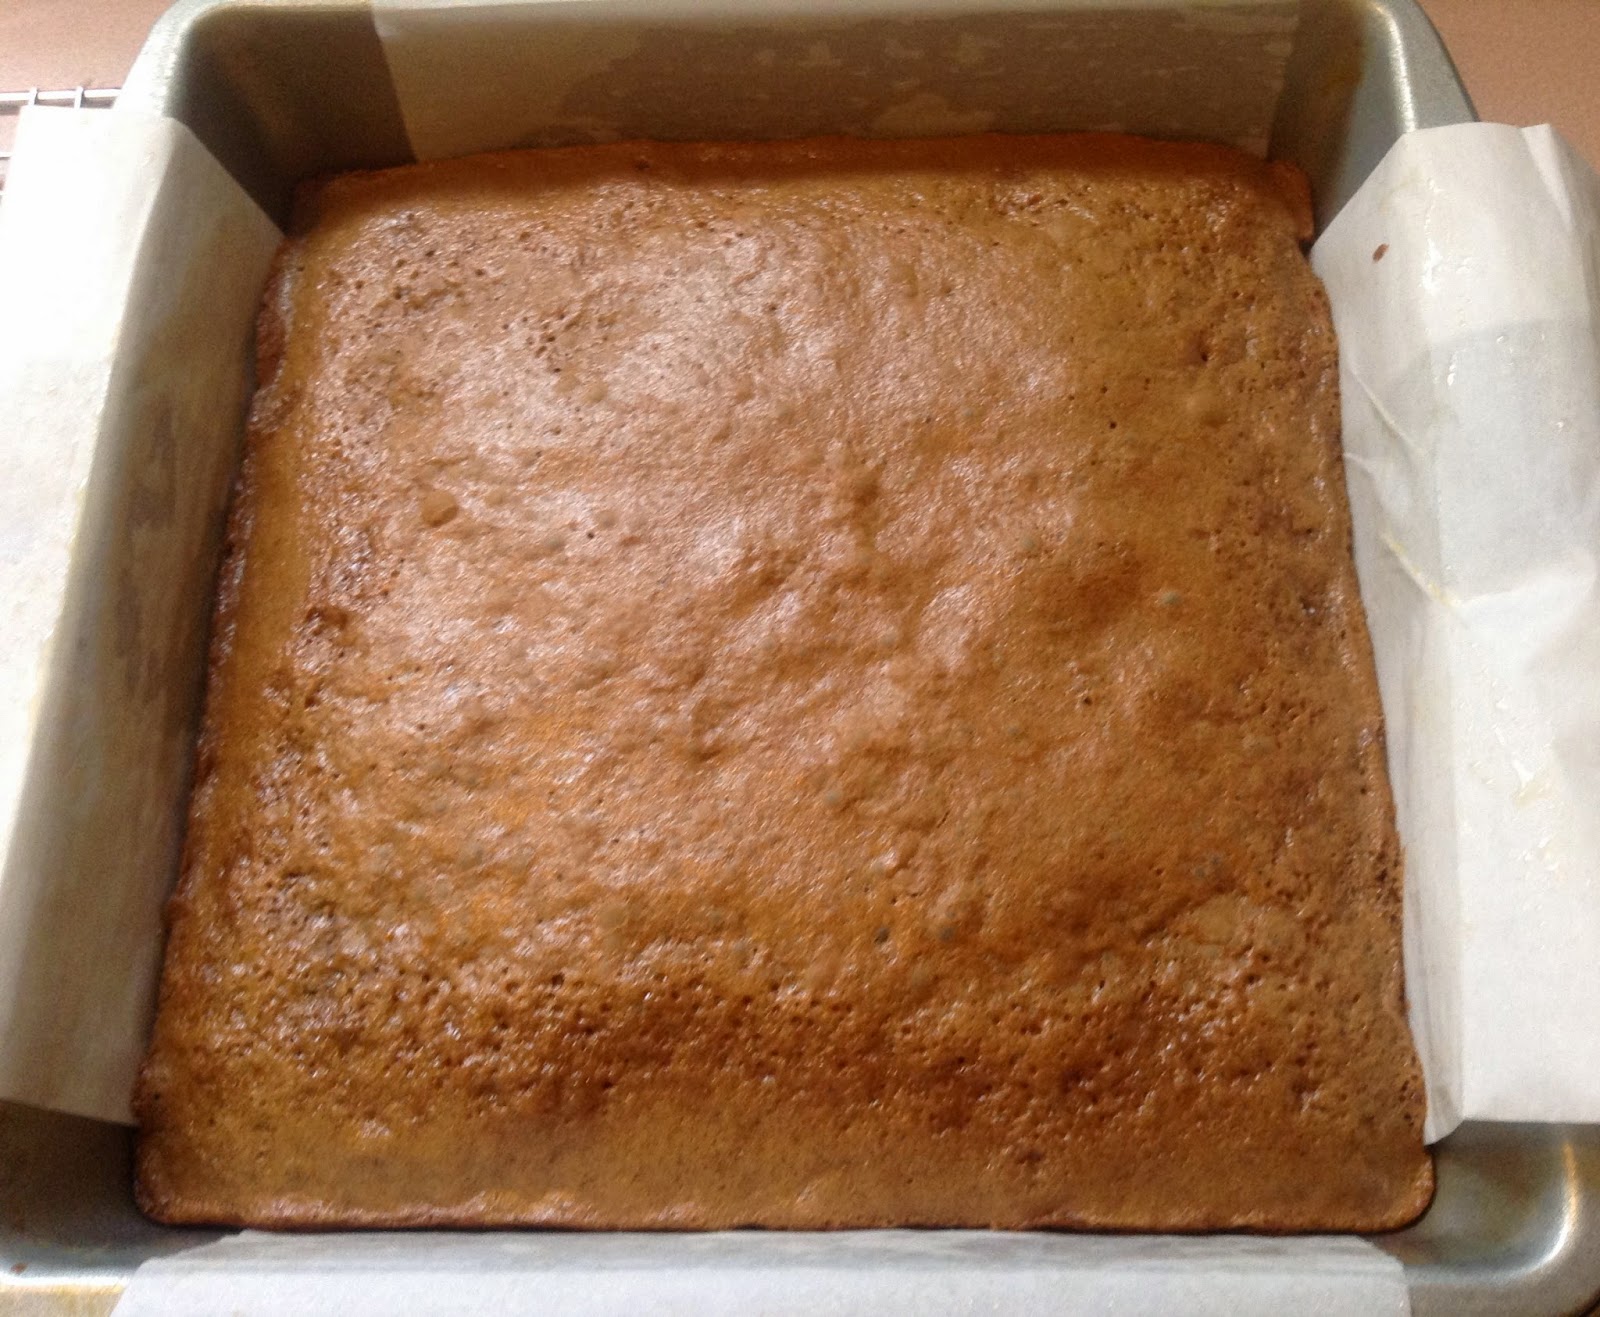
Fudge Four O'Clocks fresh from the oven

When I first took them from the oven they seemed a bit gooey...more gooey than a brownie hot from the oven should be, so I baked it another 10 minutes.

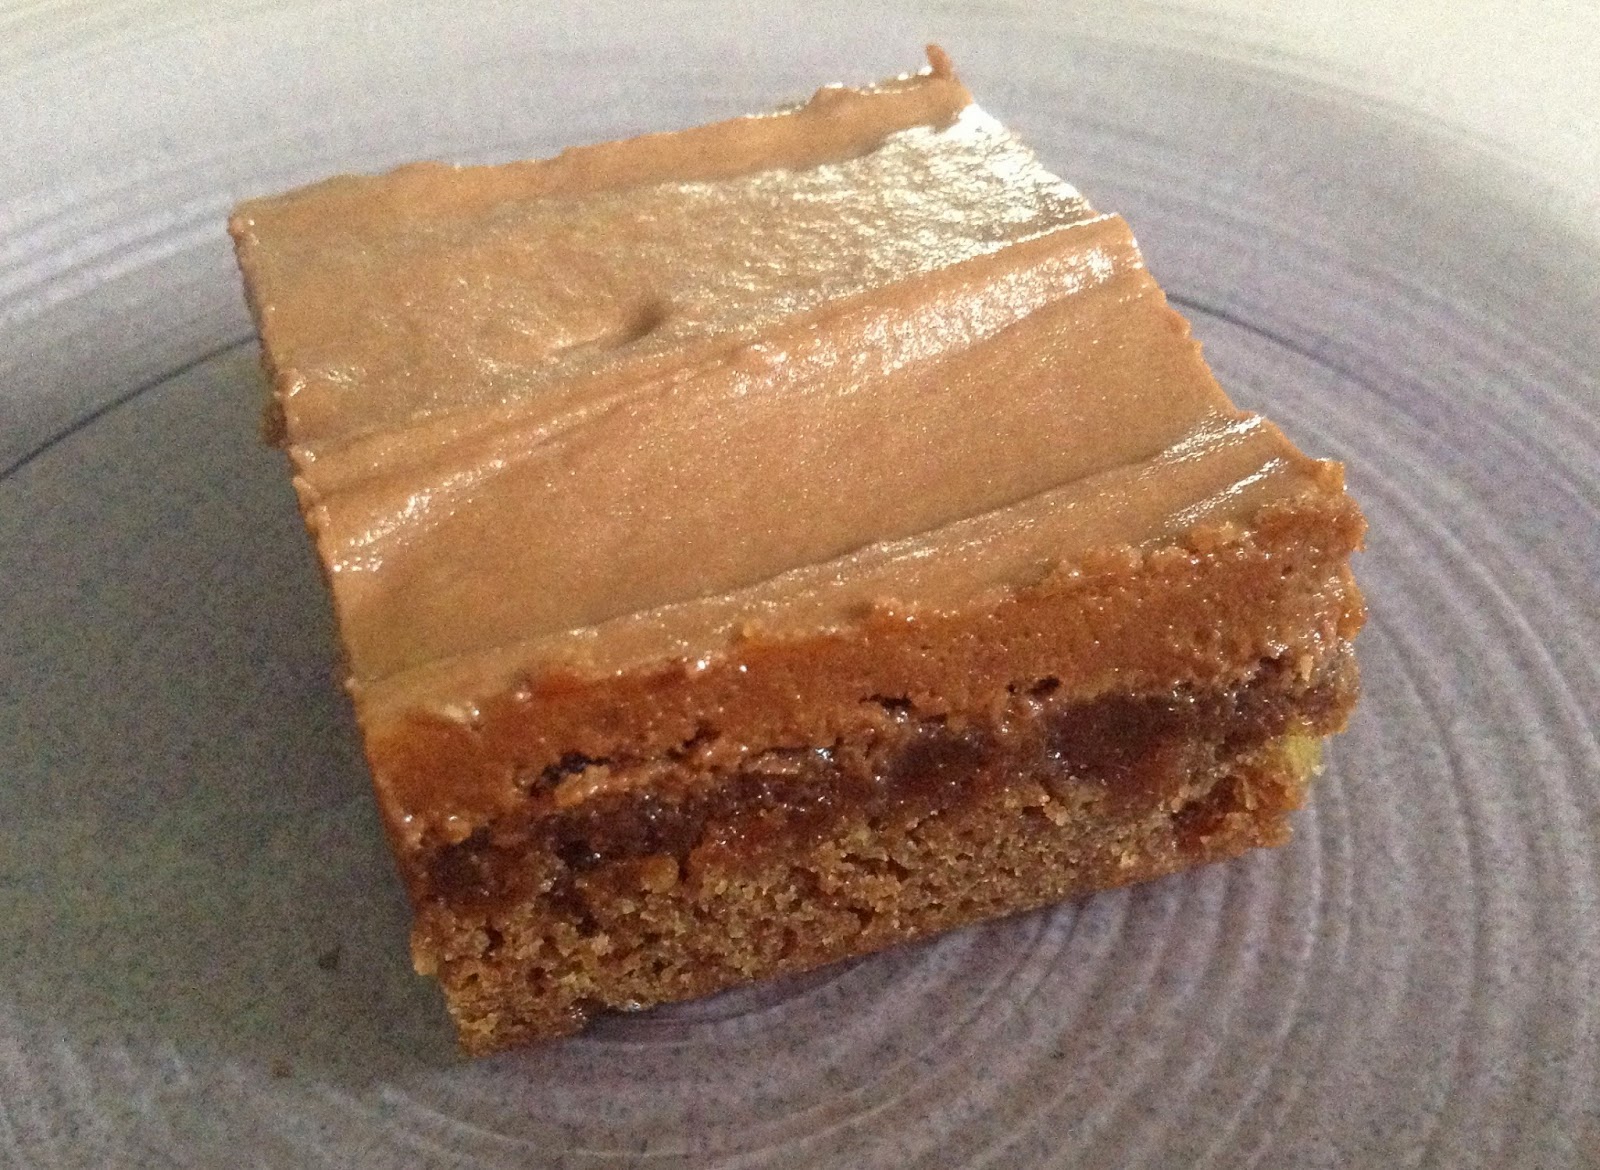
The frosting I used is from Remodelaholic's website and it's so yummy. It came out a bit thick, so I added a tiny bit of milk and then tried to spread it...oiy! It was like trying to spread fridge cold peanut butter and it was pulling up the fragile top of the brownies!  I added a bit more milk and thinned it up quite a bit more and spread it over the top of the thicker frosting to give it a cleaner look.  You can see it in the picture, it looks like there are 3 layers. But honestly, this is one accident I would do again! It was creamy and decadent!

I definitely recommend these!

Fudge Four O'Clocks with Nutella Frosting


Fudge Four O'Clocks
Culinary Arts Institute Encyclopedic Cookbook - 1950 (pg 743)

INGREDIENTS
  • 2 ounces chocolate, melted
  • 1/4 cup shortening
  • 3 eggs, beaten
  • 1 cup sugar
  • 1 cup cake flour
  • 1/2 tsp salt
  • 1 tsp baking powder
  • 1/2 cup milk
  • 1 cup nuts, chopped
DIRECTIONS
  1. Melt chocolate and pour over shortening. Mix well
  2. Beat eggs until thick and lemon colored.
  3. Add sugar gradually, beating well with each addition.
  4. Combine mixtures (chocolate/shortening and egg/sugar) and add a little of the flour.
  5. Sift rest of flour, salt, and baking powder together and add, alternatively with the milk.
  6. Add chopped nuts.
  7. Spread in 2 8X8 inch pans which have been greased and lined with waxed paper
  8. Bake in a slow oven (325 F)  20 minutes
  9. Cut into 32 bars 1X4 inches.

Nutella Frosting
(from Remodelaholic - click link above to visit!)

INGREDIENTS
  • 1 cup Nutella
  • 1 1/2 cup powdered sugar
  • one shake salt
  • splash of milk (if needed)
 
DIRECTIONS
  1. Beat the Nutella and butter together until smooth.  
  2. Add the sprinkle of salt and the first 1/2 cup of powdered sugar, beat until combined.  
  3. Continue to add the powdered sugar a 1/2 cup at a time, beating between additions, until creamy and smooth.  
  4. Add a small splash of milk if necessary.

Saturday, August 30, 2014

Rustic Apple Pie

It's been a busy few days. I decided to hop in my truck and drive 8 hours to visit family and friends. The drive through the mountains would of been beautiful, but it was a rainy day and the clouds/fog pretty much covered all the views.  Wasn't worth stopping to take pictures, blek! :(. Hopefully the drive back will be spectacular! I'll let you know next week. :)

So, realizing that I haven't made anything for over a week, I let my granddaughter decide what to make. Haha, yes, I had the foresight to pack a few of the cookbooks with me :) She chose apple pie since they had a whole bunch of crab apples, but they didn't have shortening. So...off to the store ...

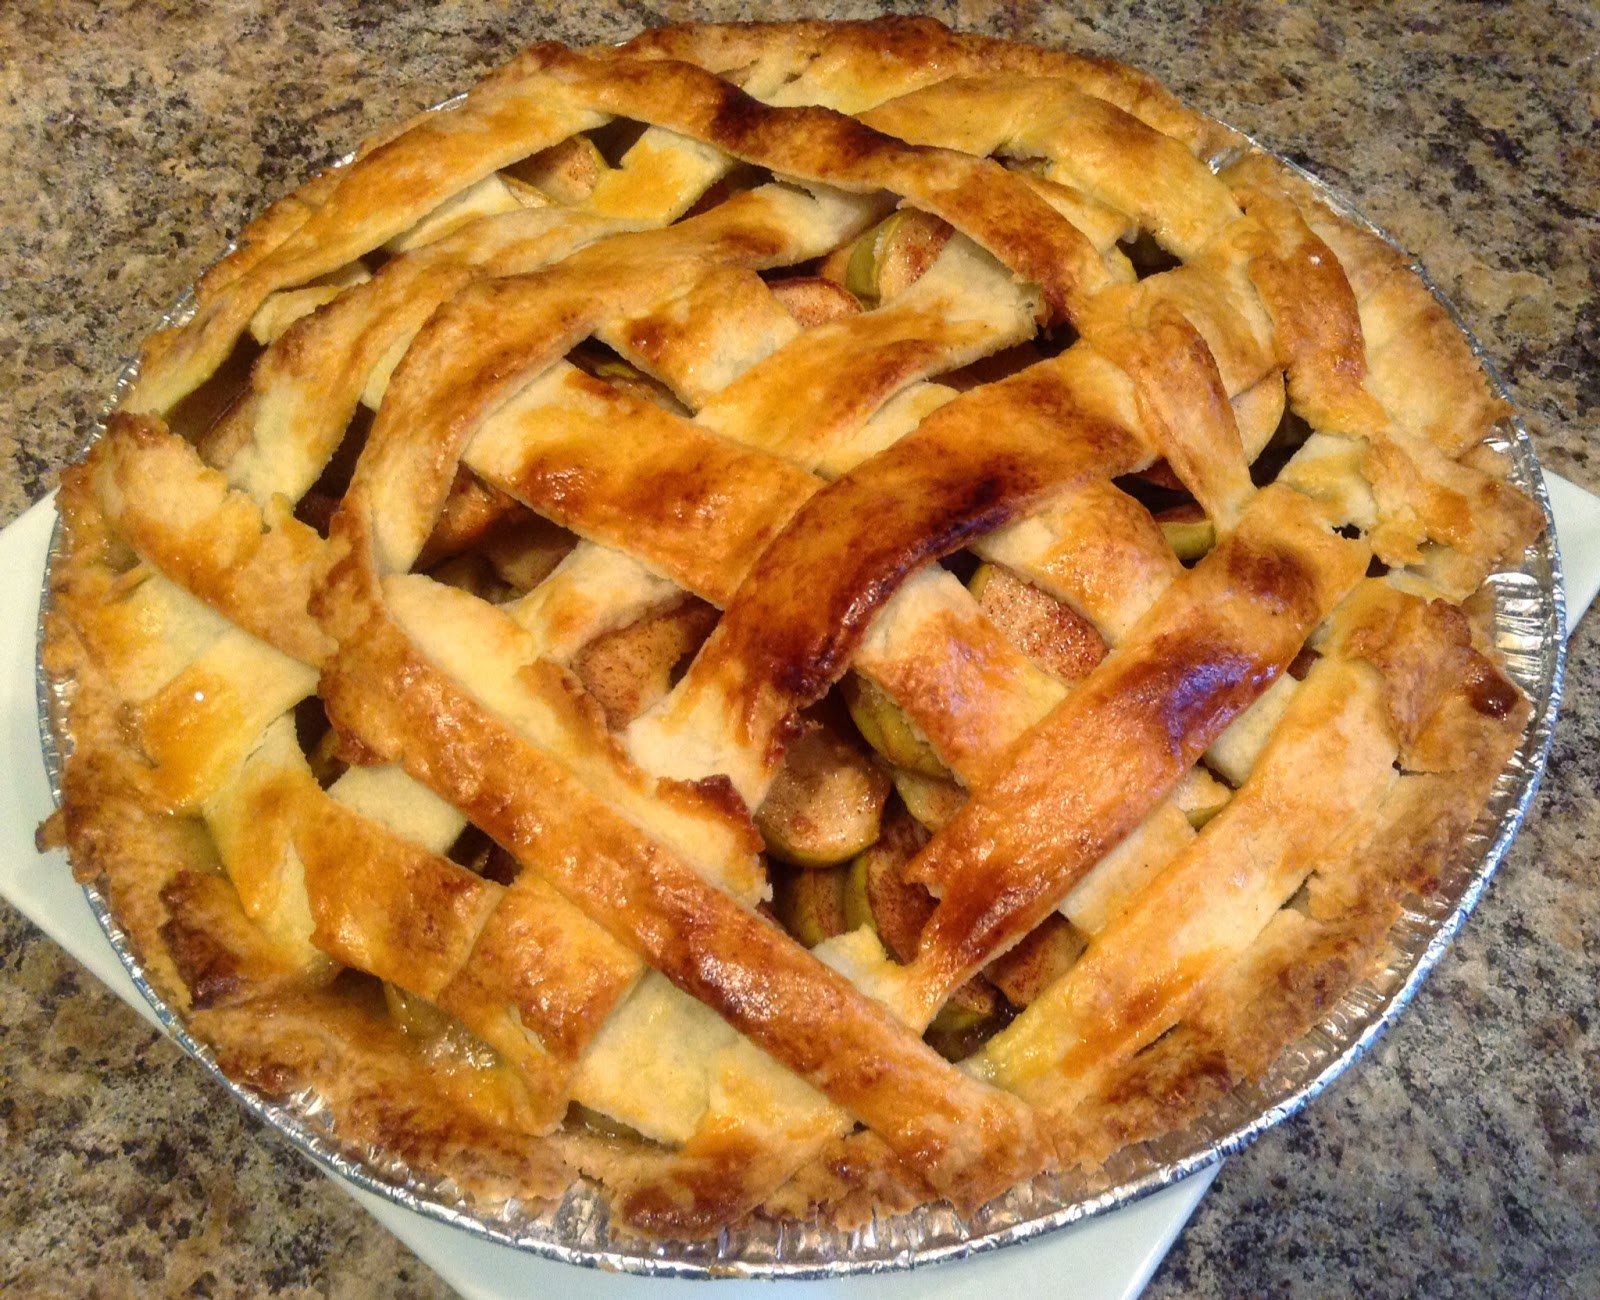
The kids helped me make the pie and it wasn't until it was finished that I remembered I should be taking pictures...ahh, well...I did get a picture of the finished pie...so that is something!  I call it 'Rustic Apple Pie' - even with the mixed up weave of the pastry strips, it still turned out pretty enough to make the kids proud :)  And it tasted great too - thankfully, since I got a bit worried that the crab apples might be a bit too tart!

Apple Pie

I followed the instructions as posted, except I found there really wasn't enough liquid in the pastry to have it hold together so I added probably about 2 more teaspoons of water, and it was VERY thin when rolling out, but that was me....I should of paid more attention, I don't think the recipe for SWEET PASTRY was meant to be for a double crust, so after separating the dough into two balls,  I cut the second ball in to strips to cover the top.  

Everyone liked the pie and it was simple enough to make, and I think fairly foolproof.  So for that reason I would probably make it again (but double the sweet pastry recipe for a bottom and top crust).

Sweet Pastry 
Rich and sweet for fancy tarts
Robin Hood Flour Cook Book - 1947  (pg 90)

INGREDIENTS
  • 1 cup sifted Robin Hood Flour
  • 1/8 tsp salt
  • 1 tbsp granulated sugar
  • 3 tbsp butter
  • 3 tbsp shortening
  • 1 egg yolk
  • 2 tsp lemon juice
  • 1 tsp cold water

DIRECTIONS
  1. Sift together flour and salt into mixing bowl.
  2. Add sugar and mix well.
  3. Cut butter and shortening into small pieces and add to flour mixture.
  4. Blend together thoroughly, using pastry blender (or two knives, cutting in with scissor-like motion). Butter and shortening should be well blended into mixture.
  5. Beat egg yolk slightly.
  6. Add lemon juice and water.
  7. Add a little at a time to the flour mixture, blending in lightly with a fork.
  8. When adding liquid, drop it here and there over the mixture so it will be better distributed. Mixture will be crumbly.
  9. Turn out on to lightly floured bakeboard or pastry cloth and press together into ball.
  10. Knead for 15 seconds (turn dough over 4 or 5 times)

Apple Pie 
First choice - with all the family 
Robin Hood Flour Cook Book -  1947 (pg 95)

INGREDIENTS

(For Eight-inch Pie)
  • 4 1/2 cups thinly sliced apples
  • 1/2 to 3/4  cup sugar
  • 3/4 tsp cinnamon
  • 2 tsp butter

For Nine-inch Pie
  • 6 cups thinly sliced apples
  • 3/4 to 1 cup sugar
  • 1 tbsp butter
  • 1 tsp cinnamon

DIRECTIONS
  1. Prepare pasty as in General Directions for Two-Crust Pies (page 94)
  2. Wipe, quarter, core, peel, and slice apples, then measure
  3. Combine sugar and cinnamon (amount of sugar depends on tartness of apples)
  4. Arrange apple in layers in pastry-lined pie plate.
  5. Sprinkle each layer with sugar and cinnamon.
  6. Dot top layer with small pieces of butter.
  7. Cover with top crust
  8. Place pie on lowest rack in oven preheated to 450 F (very hot oven)
  9. Bake 10 minutes and then reduce oven temperature to 350 F (moderate oven) and bake for 30 - 35 minutes longer.
  10. Serve warm or cold.
Note: I didn't make the Two-Crust Pie Pastry, so I ignored Step 1 - General Directions for Two-Crust Pies (page 94) But I will post them at some point :)

Thursday, August 21, 2014

The best and yummiest Carrot Cake with Cream Cheese Frosting

I can't say I love Carrot Cake. In most cases I avoid it and choose something else. It's always hit and miss and I don't want to take the chance of biting in to gummy undercooked cake, slimy carrots, or shredded carrot bits that are just too long and stringy - the kind that you pull from the cake like hair stuck in a shower drain. Blek! I would rather gnaw my arm off, seriously! I have issues with finding any hair in my food! I became a vegetarian for a couple years because of hair and a Wendy's hamburger!...But that's a different story and not about this carrot cake.

Carrot Cake with Cream Cheese Icing

The carrot cake my sister (sis #2) makes is amazing. I'm not sure why, but it's very vanilla-ie, hahaha...it has a great vanilla flavour is what I'm trying to say :) or maybe it's just that the smell makes it seem like it has been infused with vanilla.  The cake has an amazing 'rightness' to it. The right taste, the right texture, the right smell, the right sweetness, and the right size of shredded carrots.  And whomever decided that cream cheese icing goes with Carrot Cake was a darn genius!

This time around, I figured I would make it myself, using the recipe my sister uses from the Five Roses Flour Cook Book and I wasn't disappointed, nope, not at all. The only thing better than this cake - is if she had made it for me :)

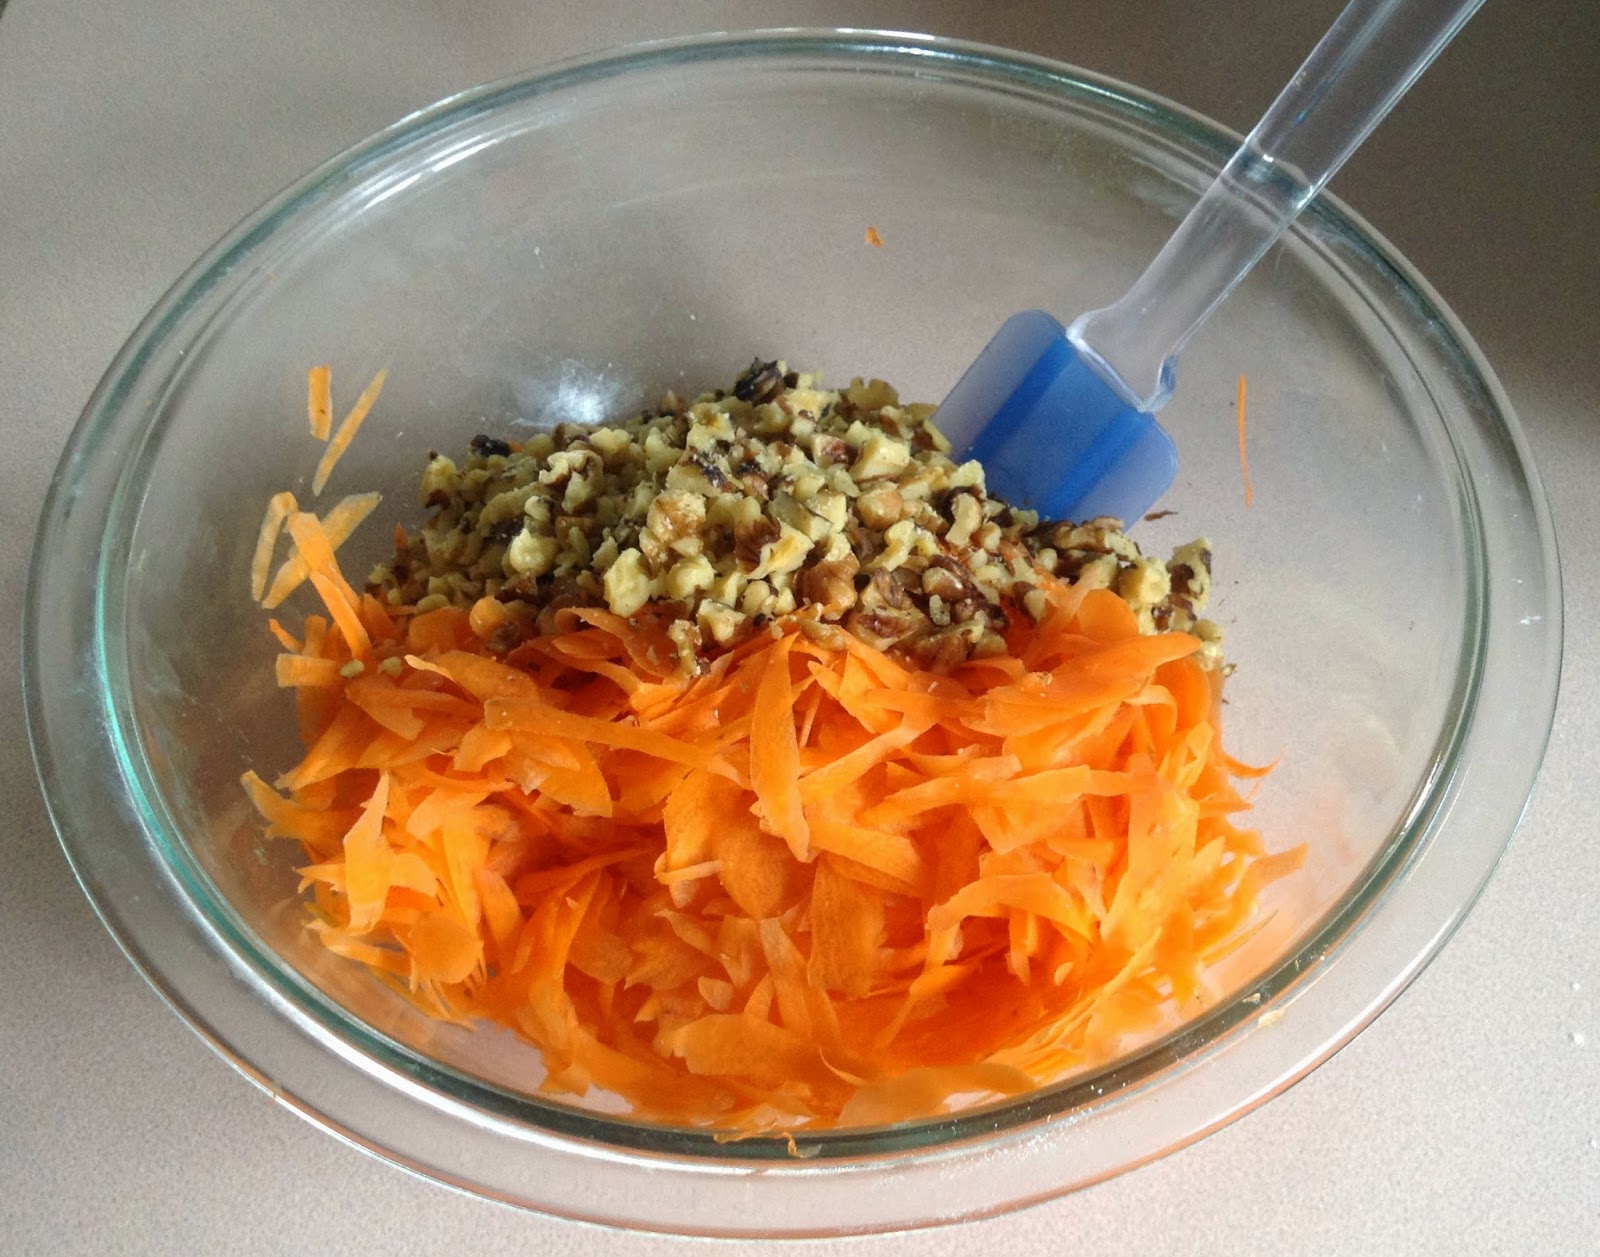
I started off by chopping the nuts (I used walnuts) and shredding the carrots. I just used a carrot peeler and did small strokes at the end of the carrot until the carrot was completely shredded and in the bowl. It took about 4 - 5 medium sized carrots to make 3 cups.

Shredded Carrots and Nuts

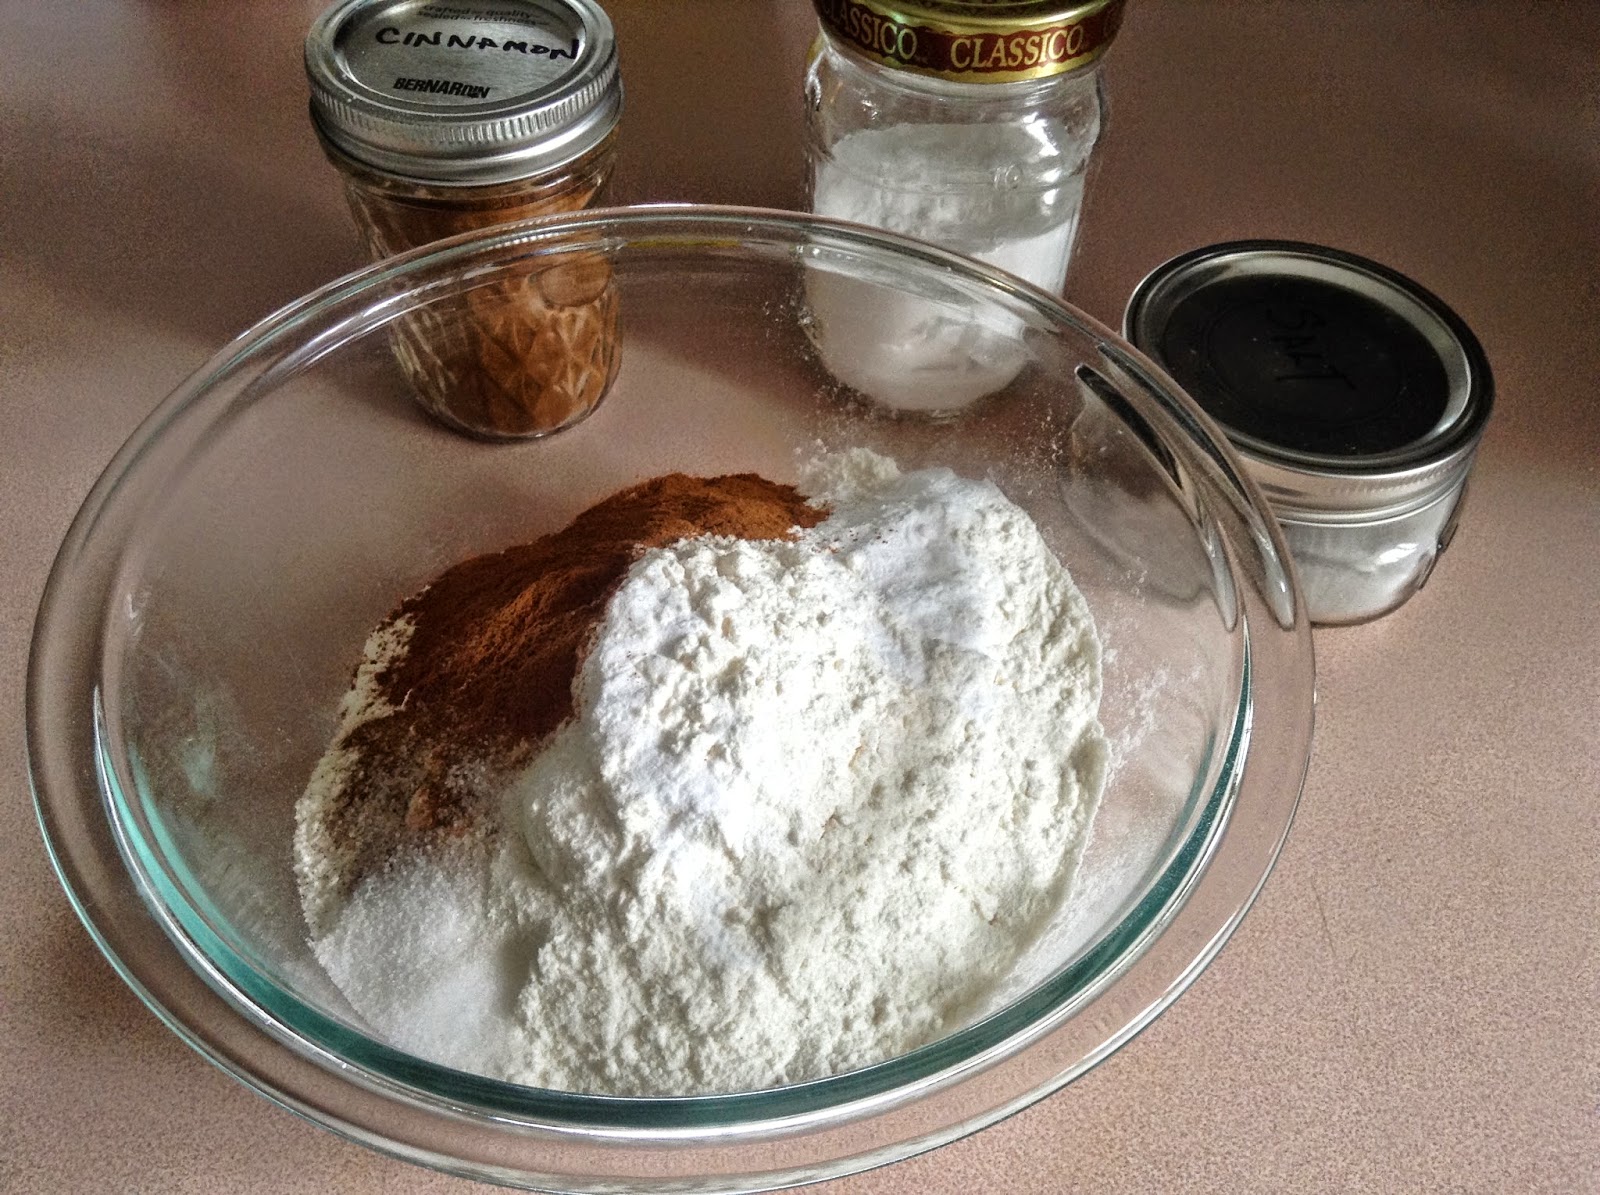
Once I had the carrots and nuts done, I dumped all the wet ingredients plus the sugar into the mixing bowl and turned it on. The recipe says to let it go for 5 minutes, so while that was spinning around, I got the dry ingredients ready and greased the 9 X 13 baking pan.

Carrot cake dry ingredients

Next up was to toss the carrots and nuts in with the wet ingredients and give it a whirl.  

Adding carrots and nuts to Carrot cake batter

Add the flour. I just dumped all of it in at once and gave it a quick mix.

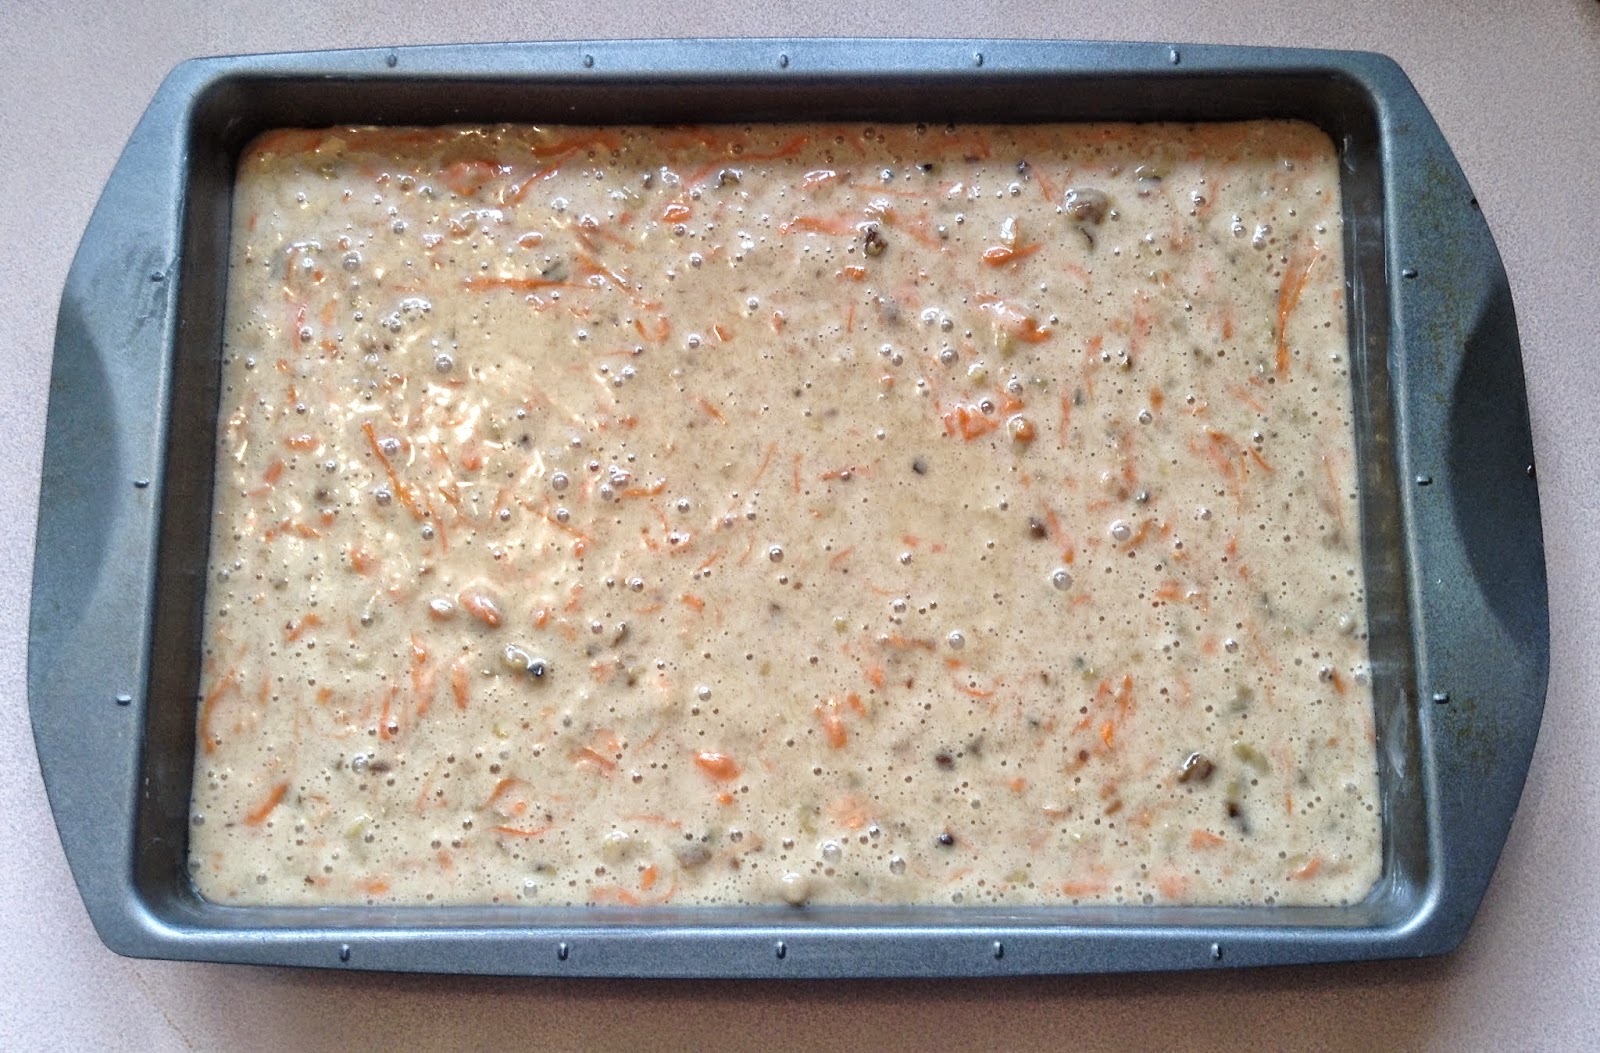
This seriously looks like barf and reminds me of the Rinktum Ditty I made. Pinky orange is NOT a good look for food. Hahah, are you sold on making this yet? Hair and Barf - what the heck will I say about food I hate??


So, take your yummy looking pinky orange mixture and dump it into a greased 9X13 pan. It really needs to be this big of a pan, or two 8X8's or something (24 muffins perhaps). It ends up making a lot of cake. I got 24 large 'forget about the diet' sized pieces out of this.


 Bake at 350 F for 55 - 60 minutes and then let cool on a rack.

While baking, throw your cream cheese ingredients into the blender and cream together.  I made a double batch because....
  1. a regular package of Philadelphia Cream Cheese is 8 oz, not 4, and what am I going to do with 1/2 a brick of cream cheese? I guess I could freeze it...nah...
  2. I think the cake is better with the double recipe. It's a nice yummy amount  - not too much...and definitely not too little :)
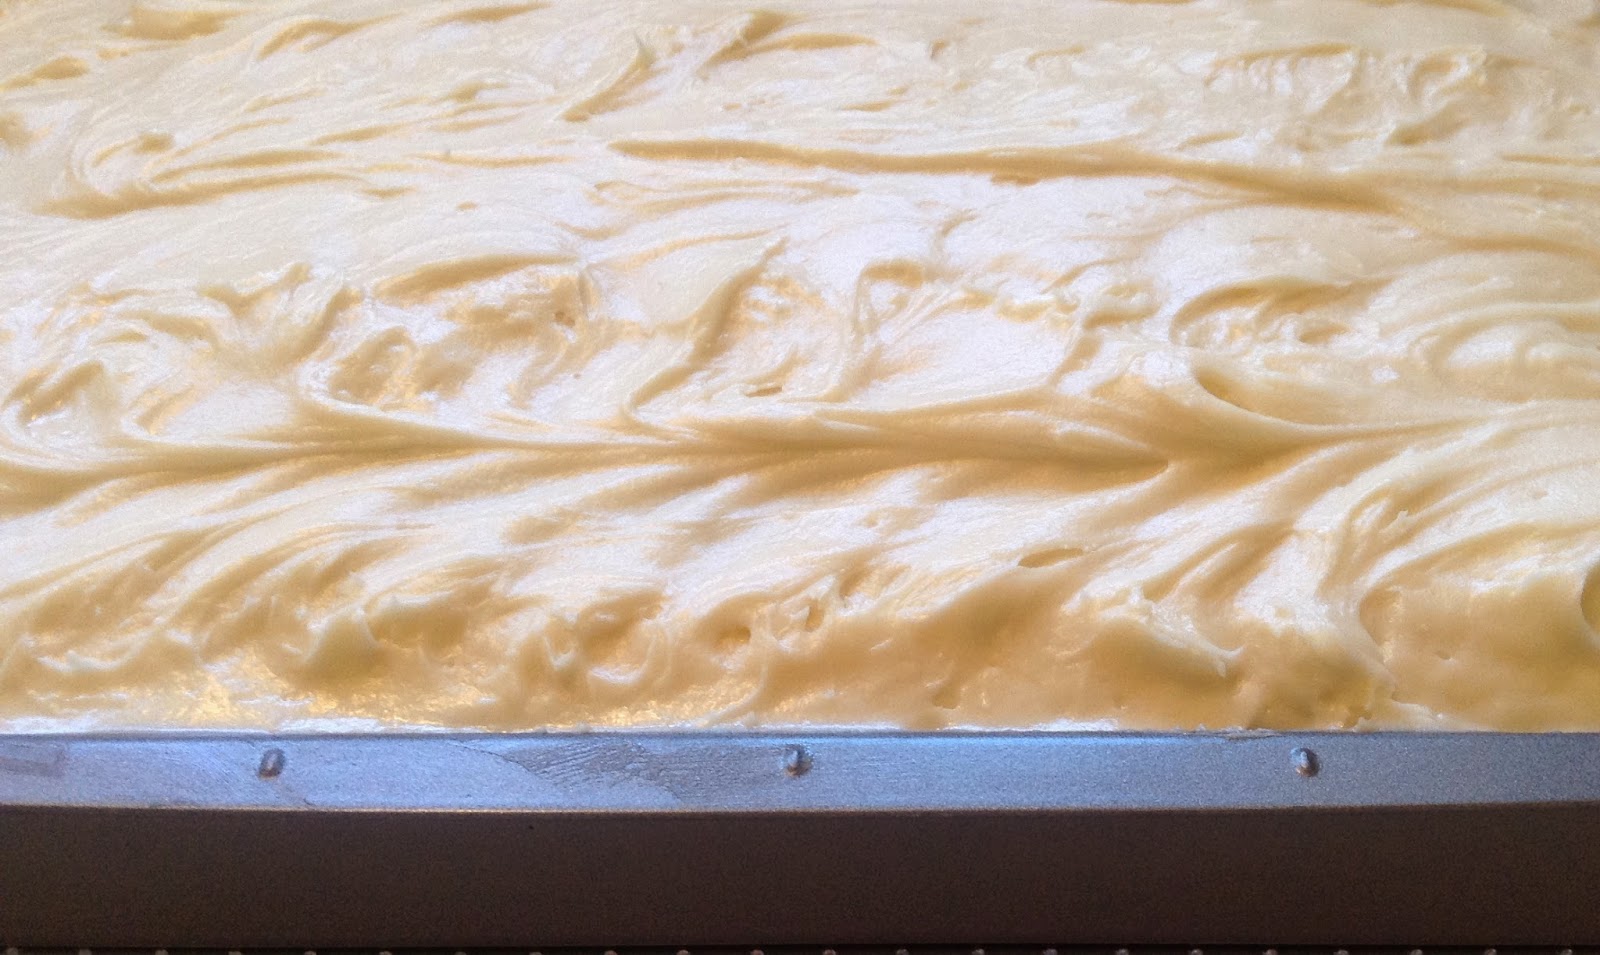
 Once the cake has nicely cooled, slather it with the cream cheese icing. YUM!

Carrot Cake with Cream Cheese Icing

Cut into the non diet friendly servings and enjoy!


Carrot Cake with Cream Cheese Icing
Five Roses Flour Cook Book - 1970? (pg 94)

INGREDIENTS
  • 2 1⁄2 cups Five Roses flour
  • 2 tsp baking soda
  • 2 tsp cinnamon
  • 1 tsp salt
  • 1 cup vegetable oil
  • 2 cup sugar
  • 4 eggs
  • 1 tsp vanilla
  • 3 cups finely grated carrots
  • 1 cup chopped nuts

DIRECTIONS
  1. Preheat oven
  2. Combine flour, baking soda, cinnamon, and salt together.
  3. In the large electric mixer bowl combine oil, sugar, eggs, and vanilla; beat until light, about 5 minutes.
  4. Blend in carrots and nuts.
  5. Blend in dry ingredients, 1/3 at a time.
  6. Pour batter into greased and floured pan
  7. Bake in a moderate oven until top springs back when lightly pressed with fingertips.
  8. Let cake stand in pan 10 minutes before removing. 
  9. Cool completely on rack.
  10. Frost with cream cheese frosting
Rectangular cake pan: 22 cm X 33 cm (9" X 13")
Temperature: 180 C (350 F)
Cooking Time: 55 to 60 minutes
Yield: 1 large cake

CREAM CHEESE ICING (single recipe as shown in book)
Five Roses Flour Cook Book - 1970? (pg 102 )

INGREDIENTS
  • 2 1⁄2 cups icing sugar
  • 1⁄2 cup butter (softened)
  • 1 – 4 oz pkg cream cheese
  • 1 tsp vanilla

DIRECTIONS
  1. Cream butter and cream cheese together
  2. Add in vanilla
  3. Beat in icing sugar
Yield: 500 mL (2 cups)

Monday, August 18, 2014

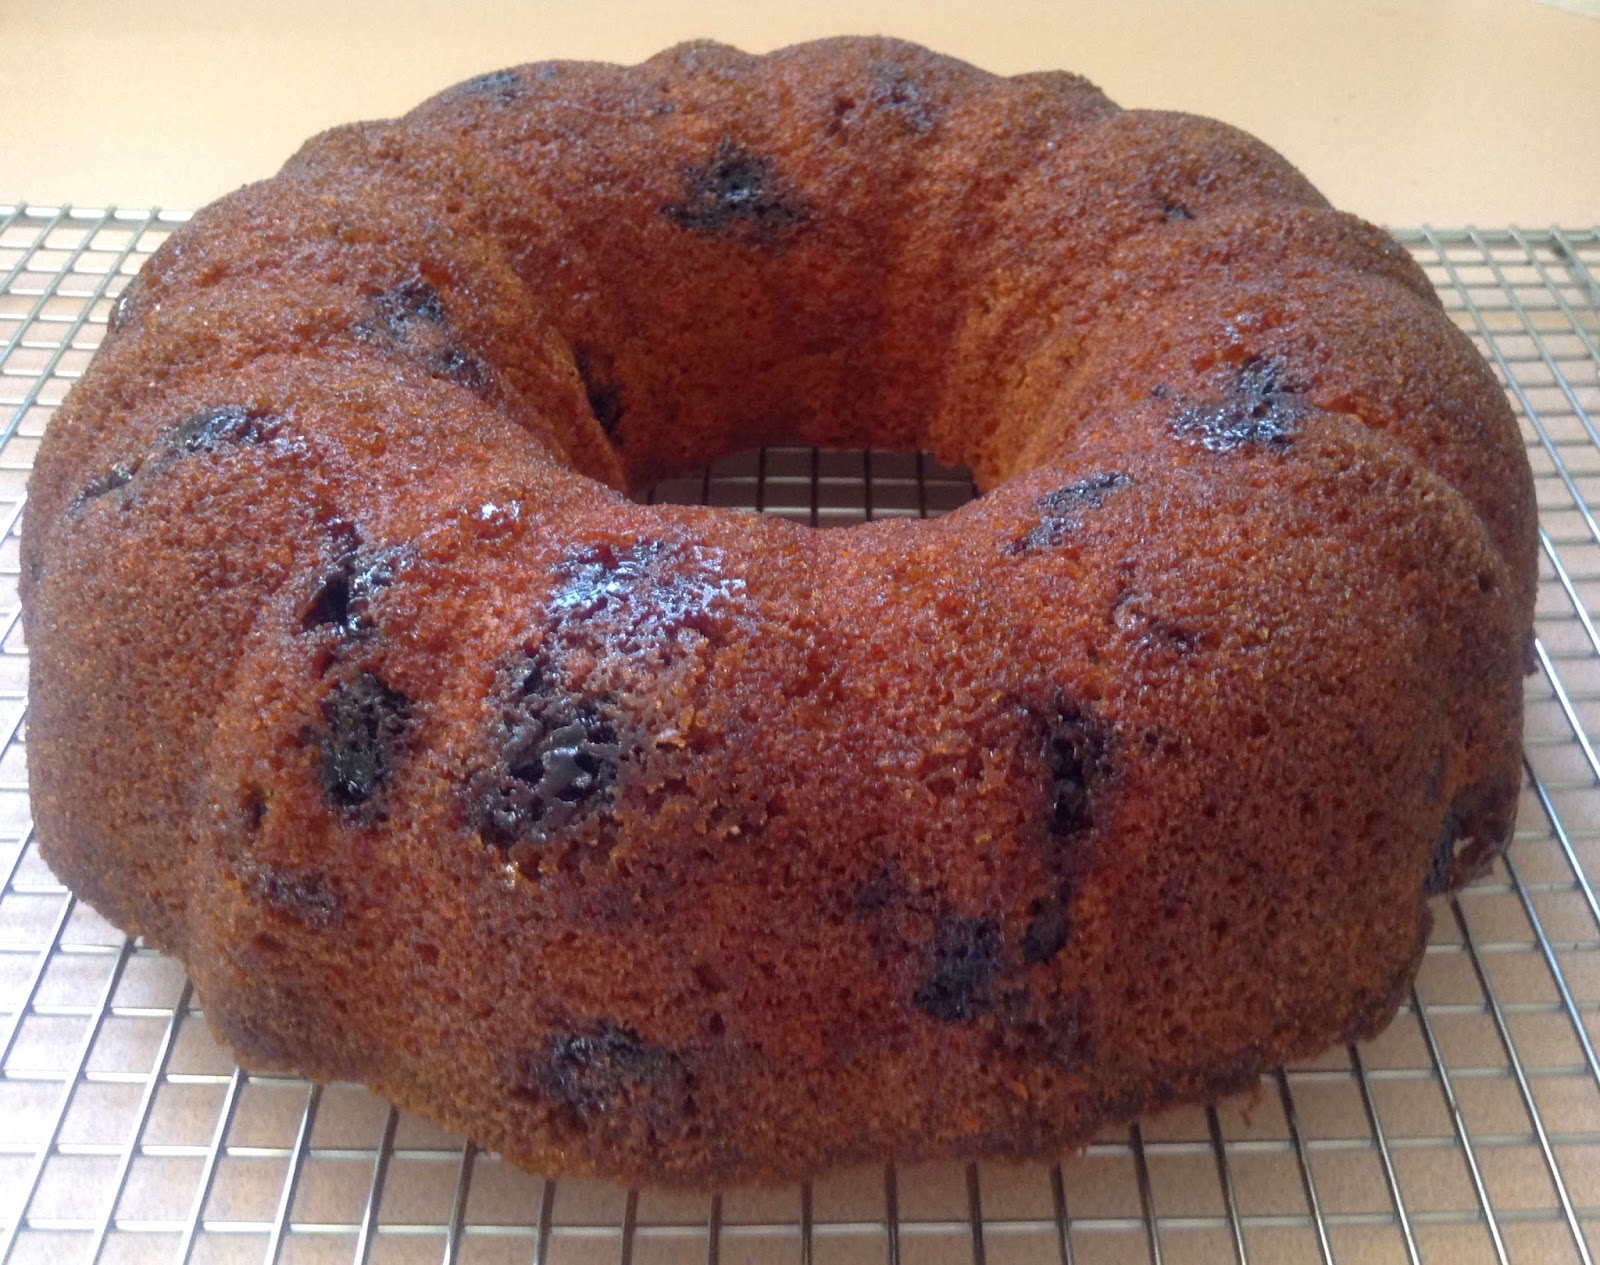
Blueberry Sally Lunn

I was reading through a local cook book 'From Our... Kitchen... to yours' by the The Atlantic Provinces Association of Northern B.C. and I stumbled across a recipe for Blueberry Sally Lunn submitted by Sandra Langille of Truro, N.S.

Blueberry Sally Lunn

The cook book reminds me of so many local association, school, knitting club cook books. All the recipes come with a name attached and there are a lot of filler recipes for having a happy home or finding the right husband. Maybe I should of read this book YEARS AGO :) haha!  These so-called recipes make me think of knitted tea cozies, tea stained tea cups, quilted blankets, ... and gasp!... nosey opinionated relatives that can and will explain to you exactly why you are not yet married and how you let a 'good one' get away.  Hopefully it reminds you of grandmas kitchen or the aged cross stitched 'Home Sweet Home' picture framed at Auntie Annie's house, but not me, sorry.. different upbringing I suppose :)

Recipe for a happy home  (submitted by Maisie)

PREHEAT HOME WITH LOVE TO THE Nth DEGREE

One carefully selected man.
One carefully selected woman.

To the man add the abilities to be a good provider ad give affections. Stir in stability, strength, decisiveness and leadership. Boil until all traces of condescension evaporate.

To the woman add the abilities to be a good homemaker and give encouragement. Stir in loyalty, tenderness, and creativity. Boil until all traces of nagging evaporate.

Carefully blend the two together. Grease immediately with maturity. Flour with common sense. Add heaping amounts of respect and honesty. Constantly add kindness and understanding. Drain off apartness but retain individuality. Whip in sense of humour. Grind in responsibility. Fold in patience mixed with insight. Stir in ability to sacrifice. Soften with trust. Cut out all traces of selfishness. For added richness blend in plans and dreams and season with children.
 
What I do know for sure about the book is that my mom would of either purchased it or received it as a gift when she used to live in northern BC over 30 yrs ago. What I don't know is when the book was published by Gateway Publishing Co. Ltd (Winnipeg, Canada).

Now, having already made two different Sally Lunns, how could I possibly pass up this one. It's similar to the recipe in the American Woman's cook book in that it doesn't require beating the egg whites to stiff peaks, thankfully! but that's about it - the ratios for the ingredients are completely different.

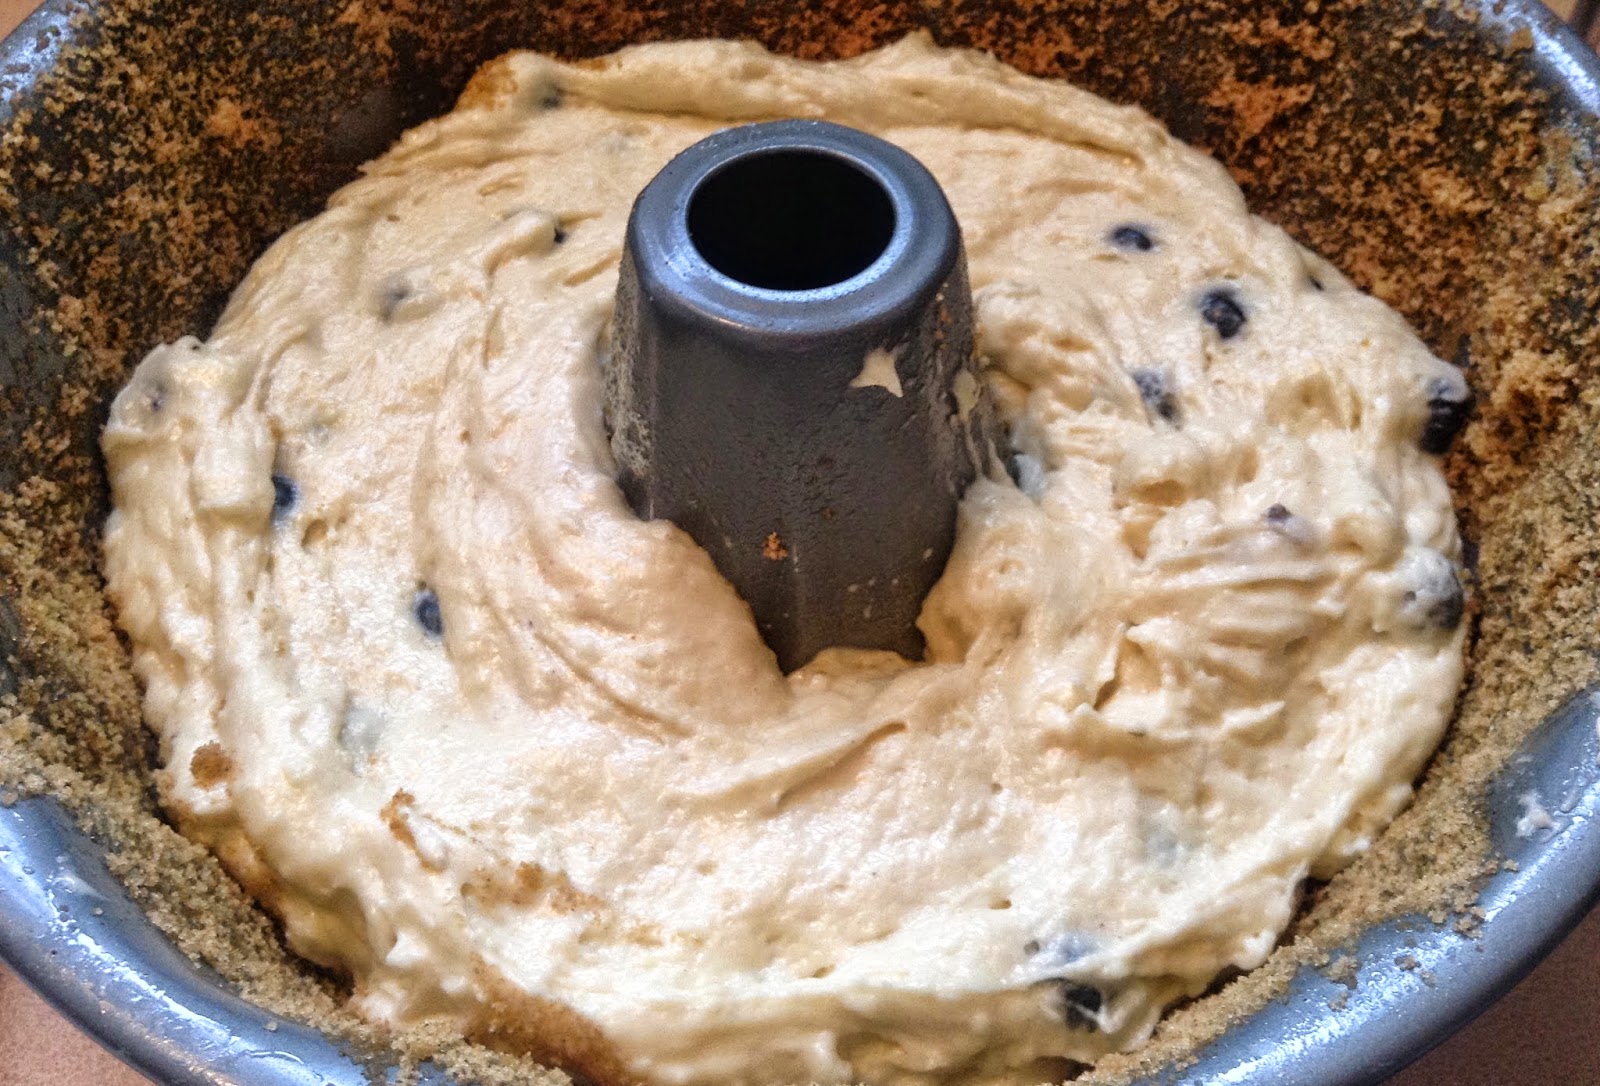
I made 2 changes in the recipe, mostly so that this recipe is baked the same as the other two Sallys. I used a bundt pan for it instead of the 9X9 mentioned in the recipe and, since bundt's get flipped out, I used the brown sugar and cinnamon mixture to dust the sides of the greased pan, like you would with flour.


Once dusted, I wiped off the unused brown sugar mixture so it wouldn't burn to the side of the pan and popped it in the oven.  I just used my finger, which seemed to work the best :)

It came out of the pan really easily once it was almost cooled, no doubt because the bundt pan is non stick and I also sprayed it with PAM before dusting with the brown sugar mix.

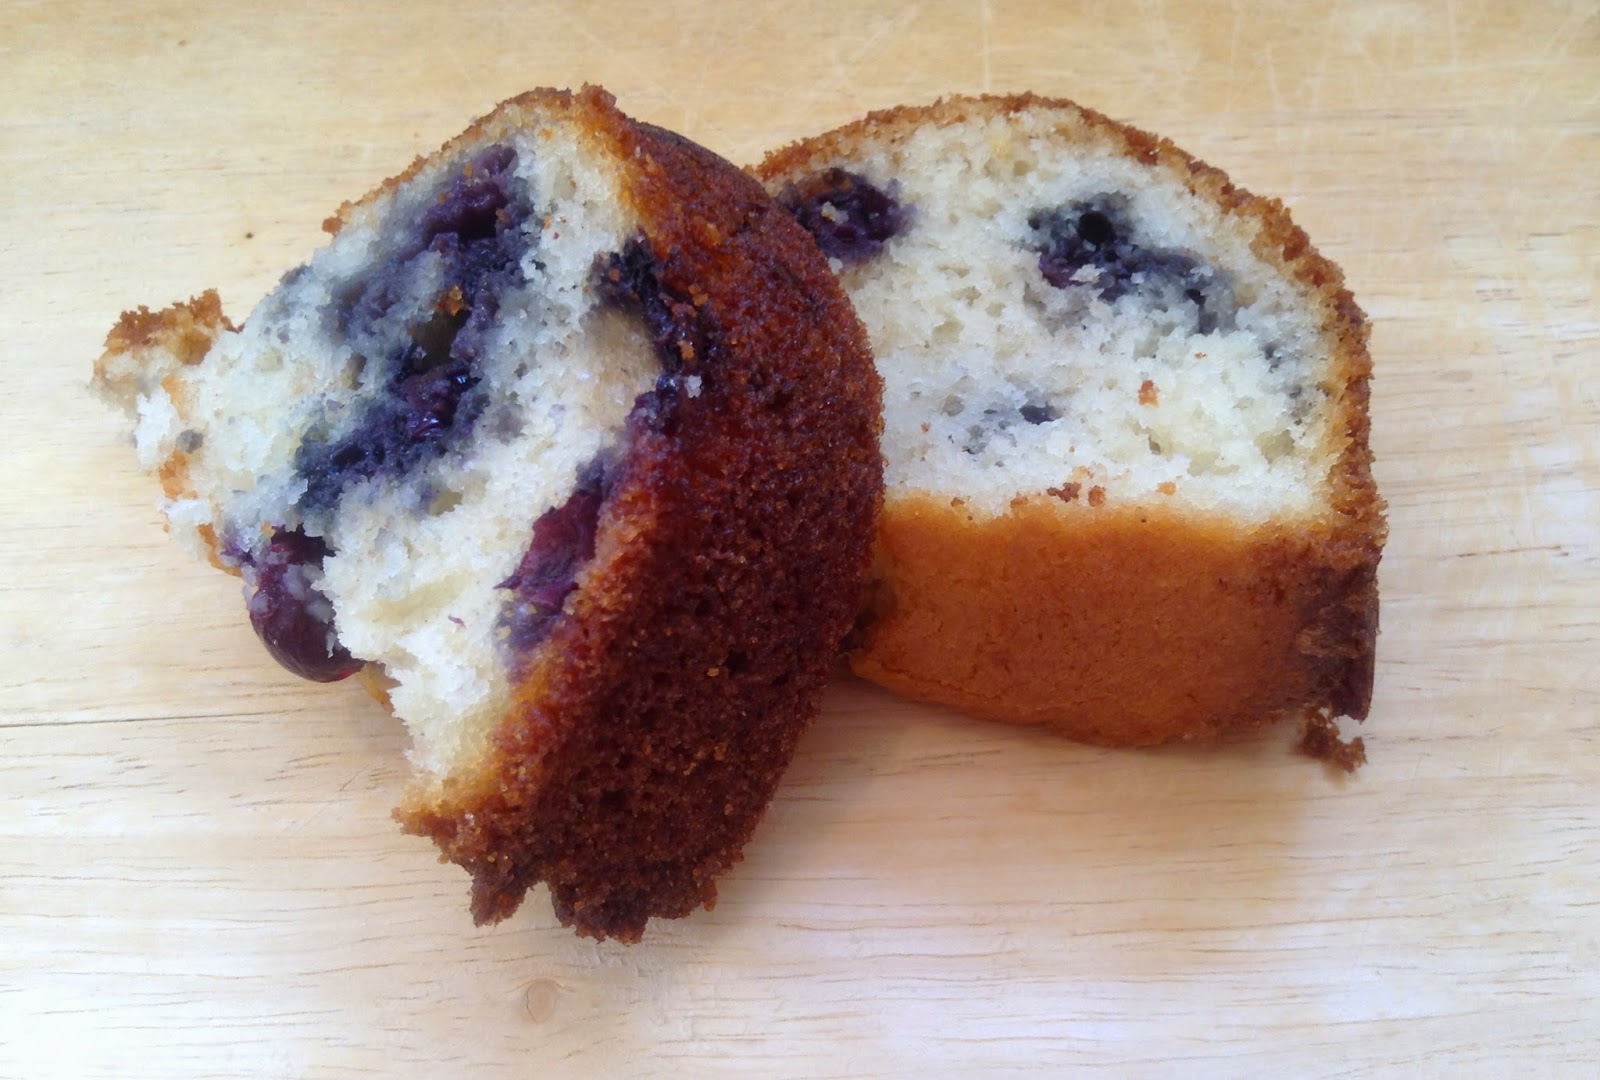
It's not a sweet cake, but the brown sugar and cinnamon coating gives it an extra bit of sweetness and a tiny bit of crunch, which I really like.  I think this really would be amazing served warm with ice cream. Yum!

Blueberry Sally Lunn
From Our... Kitchen... to yours - 1970's? (pg 28) 
Sandra Langille of Truro, N.S.  

INGREDIENTS
  • 1/2 cup shortening
  • 1/2 cup white sugar
  • 2 eggs
  • 1 3/4 cup flour
  • 3 tsp baking powder
  • 1/2 tsp salt
  • 1 cup milk
  • 2/3 cup blueberries
  • 1/4 cup brown sugar
  • 1/2 tsp cinnamon


DIRECTIONS
  1. Cream shortening and sugar, add eggs
  2. Add dry ingredients alternately with milk
  3. Fold in blueberries
  4. Pour into greased 9 X 9 inch pan
  5. Mix brown sugar and cinnamon and sprinkle on top
  6. Bake at 350 degrees for 1 hour
  7. Serve warm with whipped cream or ice cream

Friday, August 1, 2014

Nut Coffee Cake with Blueberries

There seems to be a lot of blueberries for sale, everywhere! And all at a fairly good price. Between me and my sister, I think we collected more than we really need, so besides freezing them,  I used about a pound to top up the amount of fruit I needed when making cherry jam... I guess it's Cherry Blueberry Jam now. I hope it tastes great!..hope hope and more hope.. even if it's not great, I hope at least edible and somewhat yummy! Jam is a funny thing, you can't really know for sure if it all worked until it's done..  *sigh*... ok..ok, less about jam and more other blueberry stuff! Although...runny jam is great on ice cream!

I love coffee cake, especially when having coffee. It seems like such a civilized thing to do. Like afternoon tea with dainty teacups. But coffee cake and coffee feels more rustic and down to earth. More like a friendly visit with girlfriends instead of a snooty affair. Apologies to afternoon tea drinking / cucumber sandwich eating folks :)

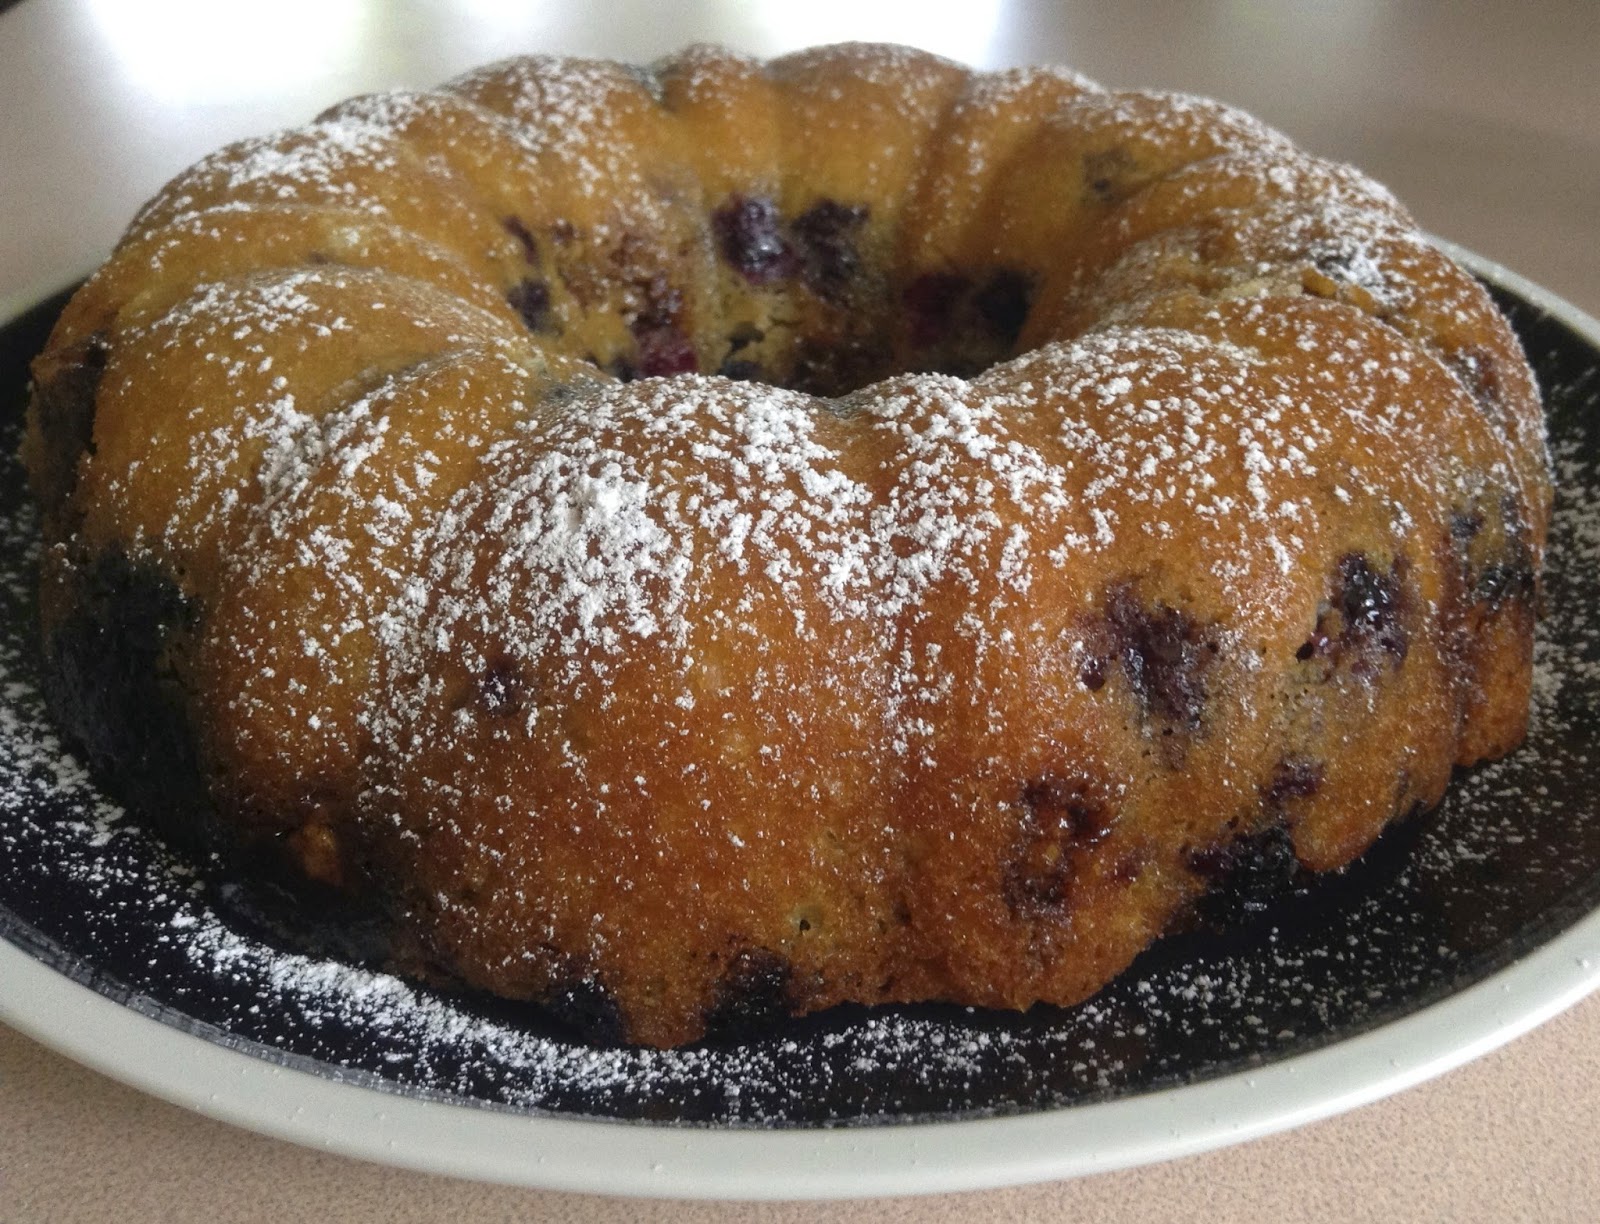
I took this one over to my mom....minus a TINY slice...Thankfully I had better self control than I did when I made the Sally Lunn!  It was yummy, although very cake like and not as dense as I envision coffee cake to be.
Nut Coffee Cake with Blueberries

I basically followed the recipe as is with the exception of 1 or 2 things.  Ok, 3 things if I'm being honest.

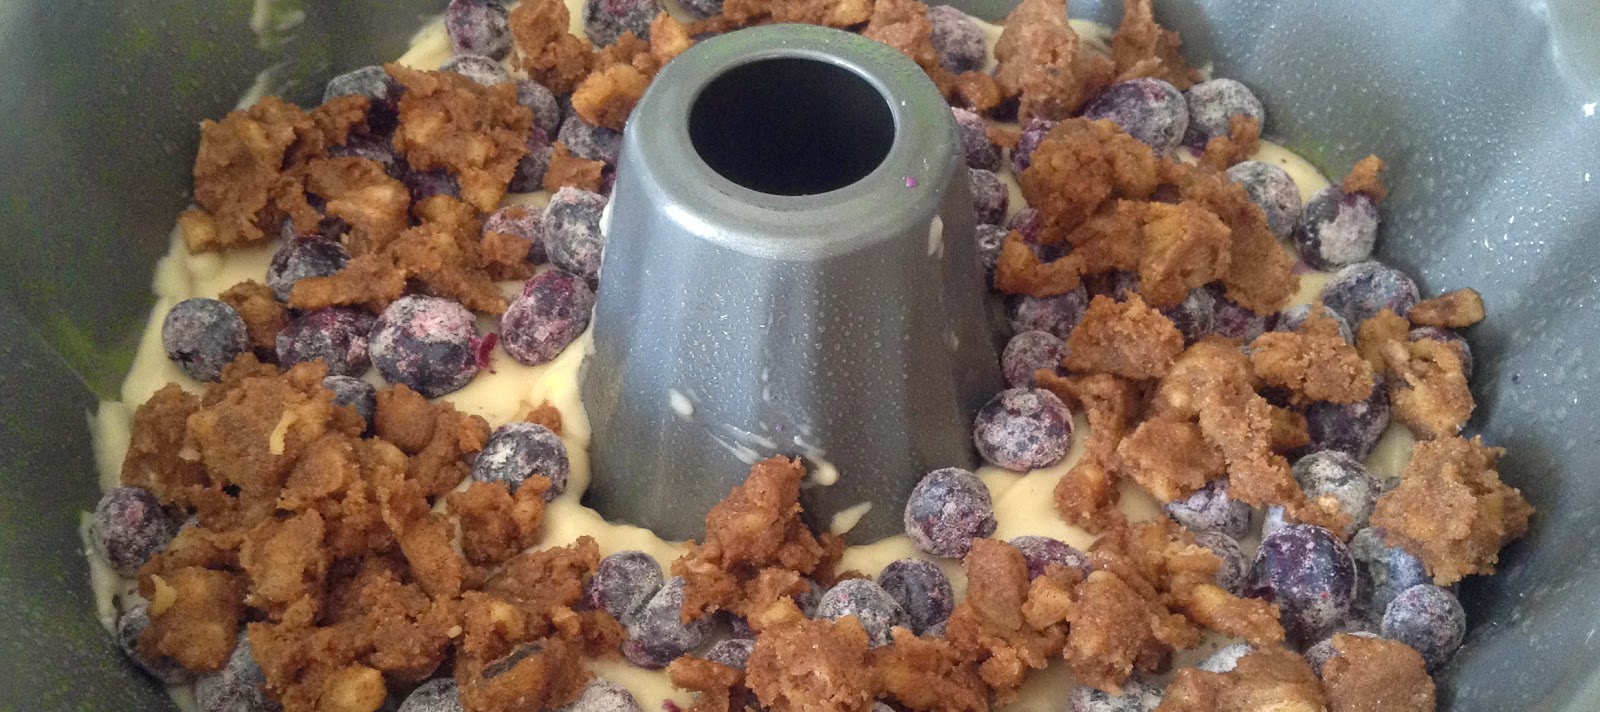
I didn't read 'square pan' until I had already poured the batter into the Bundt Pan. And, well, I kind of decided that I didn't want to only use half the topping, nor did I want to put the topping and blueberries on top - so I followed the basic recipe and just added blueberries along with the first layer of topping in the middle of the batter.

Nut Coffee Cake with Blueberries - in the middle
It doesn't mention it in the recipe, but I usually dust fruit with flour before adding them into the batter. So I did that too.

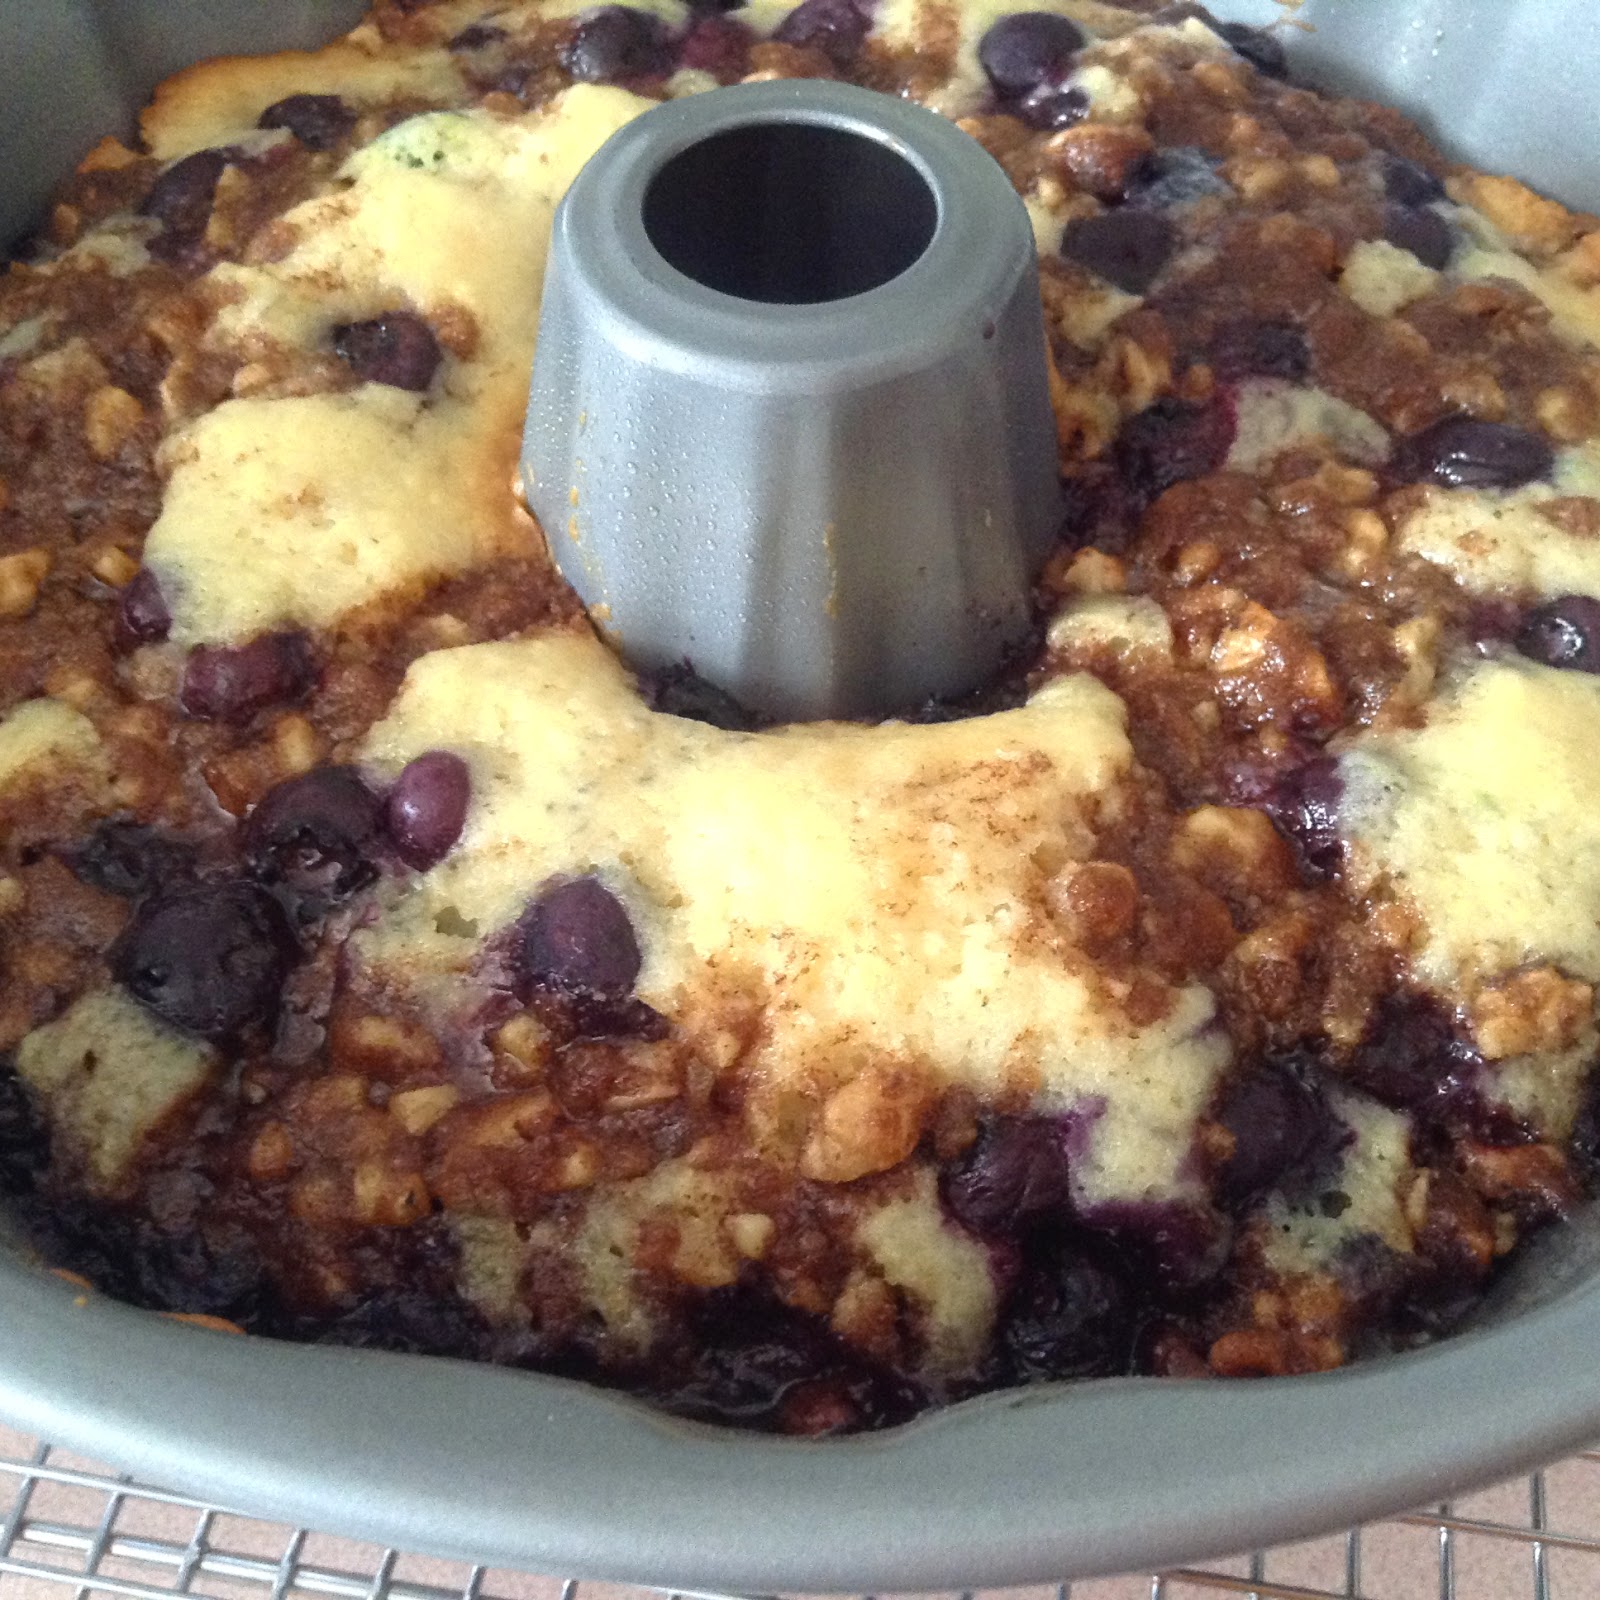
I did have a bit of concern when I put the final bit of topping on. I thought to myself, "How the heck is this going to work...the cake gets flipped, so this is really the bottom", that's when I read 'square pan', which makes more sense based on the directions! 

There wasn't anything else to do, but put it in the oven and hope for the best. And..well, it worked out great! The blueberries and nuts sunk in to the batter a bit while cooking, so it didn't leave a weird sticky mess on the bottom when I flipped it over  :) Yay! I won!

I let it cool for the 10 - 15 minutes they recommend and then flipped it out onto a plate.

I wanted to pretty it up, so I lightly sprinkled it with icing sugar.

I took some pictures, and then off to my mom's house, cake in hand :)  Hahah, they didn't wait long to try it, since when I asked how she liked it later on that day, she said she liked it and that it was still warm when she tried it :)


Nut Coffee Cake with Blueberries
Five Roses Flour Cook Book  - 1970?  (pg 37)

Topping

INGREDIENTS
  • 1/2 cup brown sugar
  • 1/2 cup finely chopped nuts
  • 1 tsp cinnamon
  • 3 tbsp butter or margarine

DIRECTIONS 

Combine brown sugar, nuts, and cinnamon. Cut in butter until mixture is the size of large peas.

Batter (Basic Recipe)

INGREDIENTS
  • 1 1/4 cup Five Roses All Purpose Flour
  • 2 tsp baking powder
  • 1/2 tsp salt
  • 2/3 cup sugar
  • 2 tbsp shortening
  • 1 egg - beaten
  • 1 tsp vanilla
  • 2/3 cup milk

DIRECTIONS
  1. Combine flour, baking powder, and salt.
  2. In another bowl, cream together sugar and shortening until smooth.
  3. Add egg and vanilla, and beat until mixture is light.
  4. Gradually stir in dry ingredients alternatively with milk.
  5. Spread half of the batter into greased pan. 
  6. Sprinkle half of topping on top.
  7. Cover with remaining batter and sprinkle with remaining topping.
  8. Bake in a moderate oven.
  9. Allow cake to sit at room temperature in pan on rack 10 -15 minutes.
  10. Cut pieces from pan and serve warm.

Square Pan: 20 cm (8")
Temperature: 180 C (350 F)
Cooking Time: 30 - 40 minutes
Yield: 1 coffee cake

Variations: Blueberries
  • 1 1/2 cup fresh or frozen blueberries, not thawed

DIRECTIONS
  1. Prepare only half of the topping.
  2. Spread batter in greased mould.
  3. Arrange blueberries on top and sprinkle with topping

Sunday, July 20, 2014

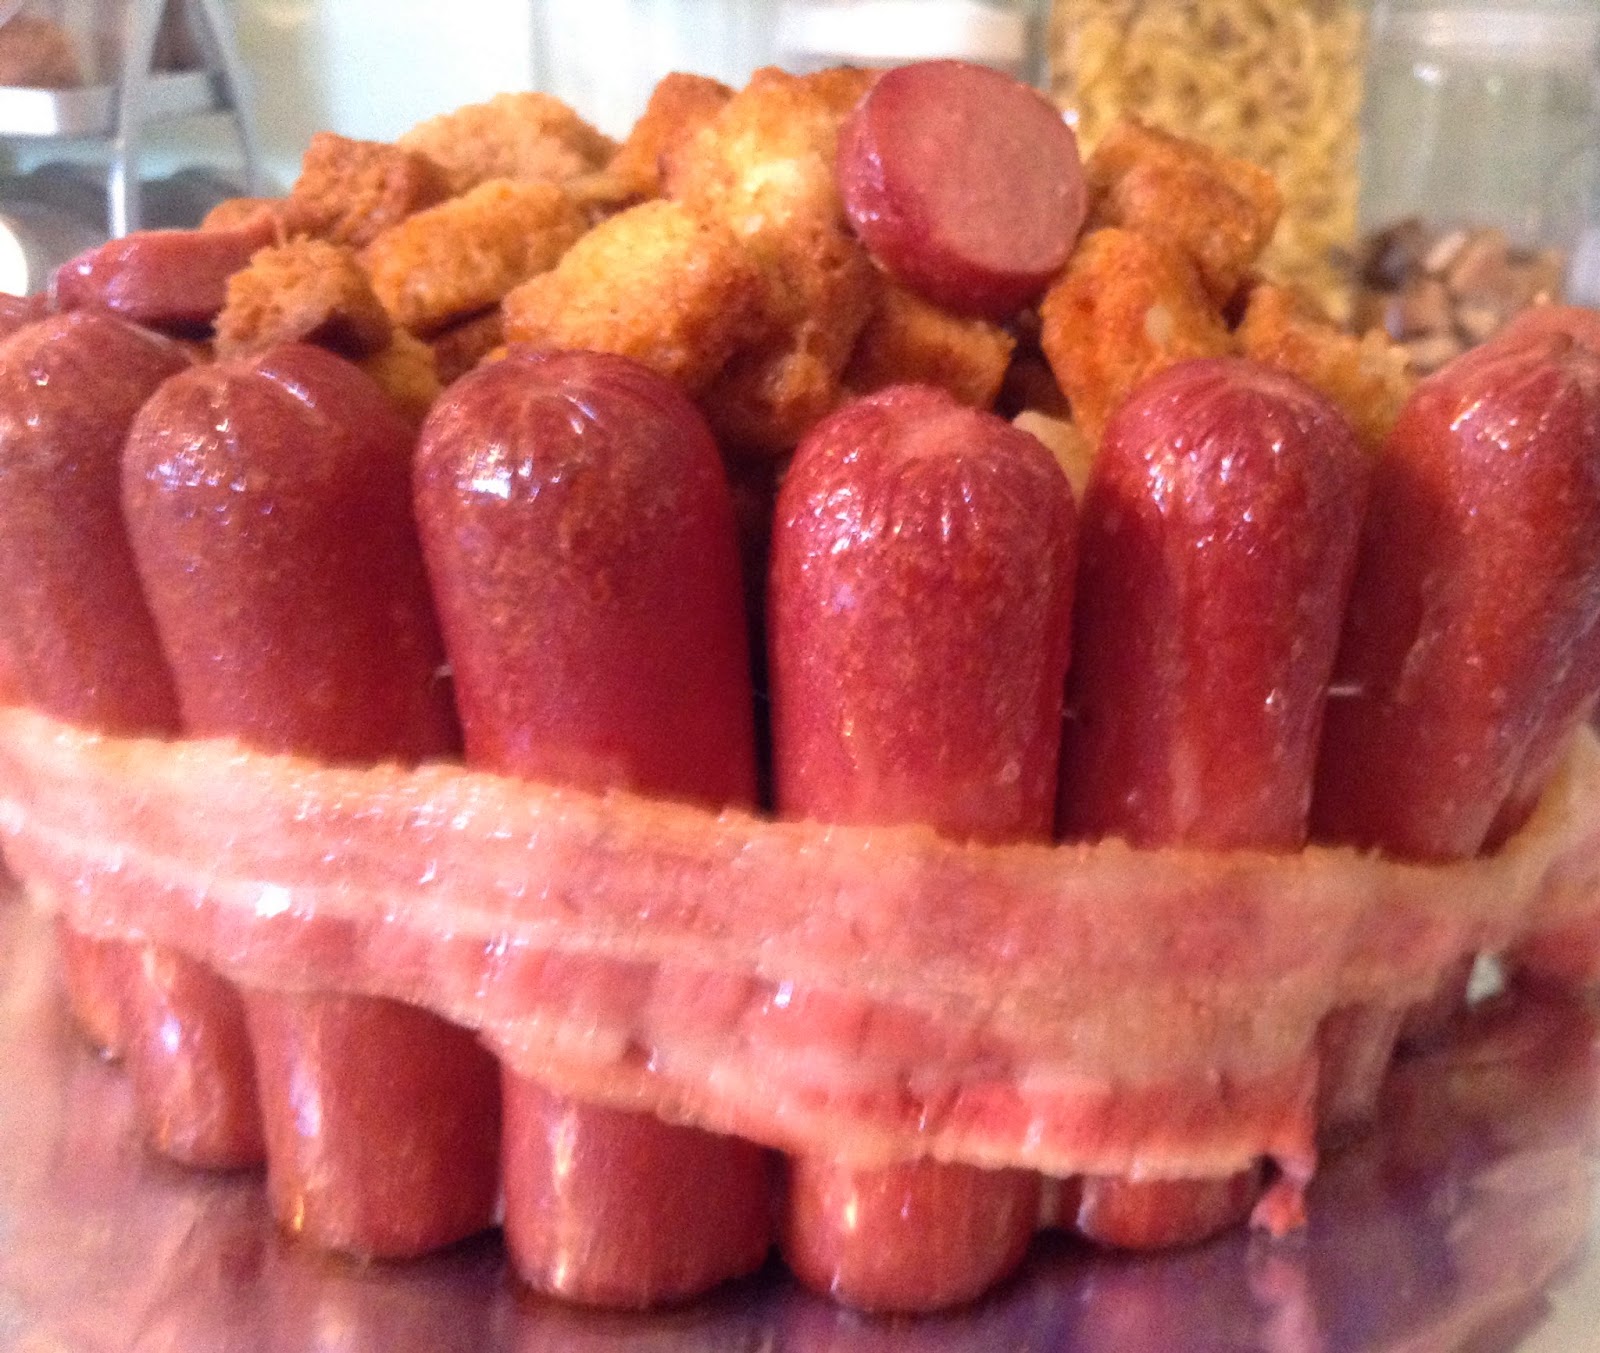
Birthday dinner with the family: Stuffed Crown Roast of Frankfurters with Pineapple and Nut Stuffing

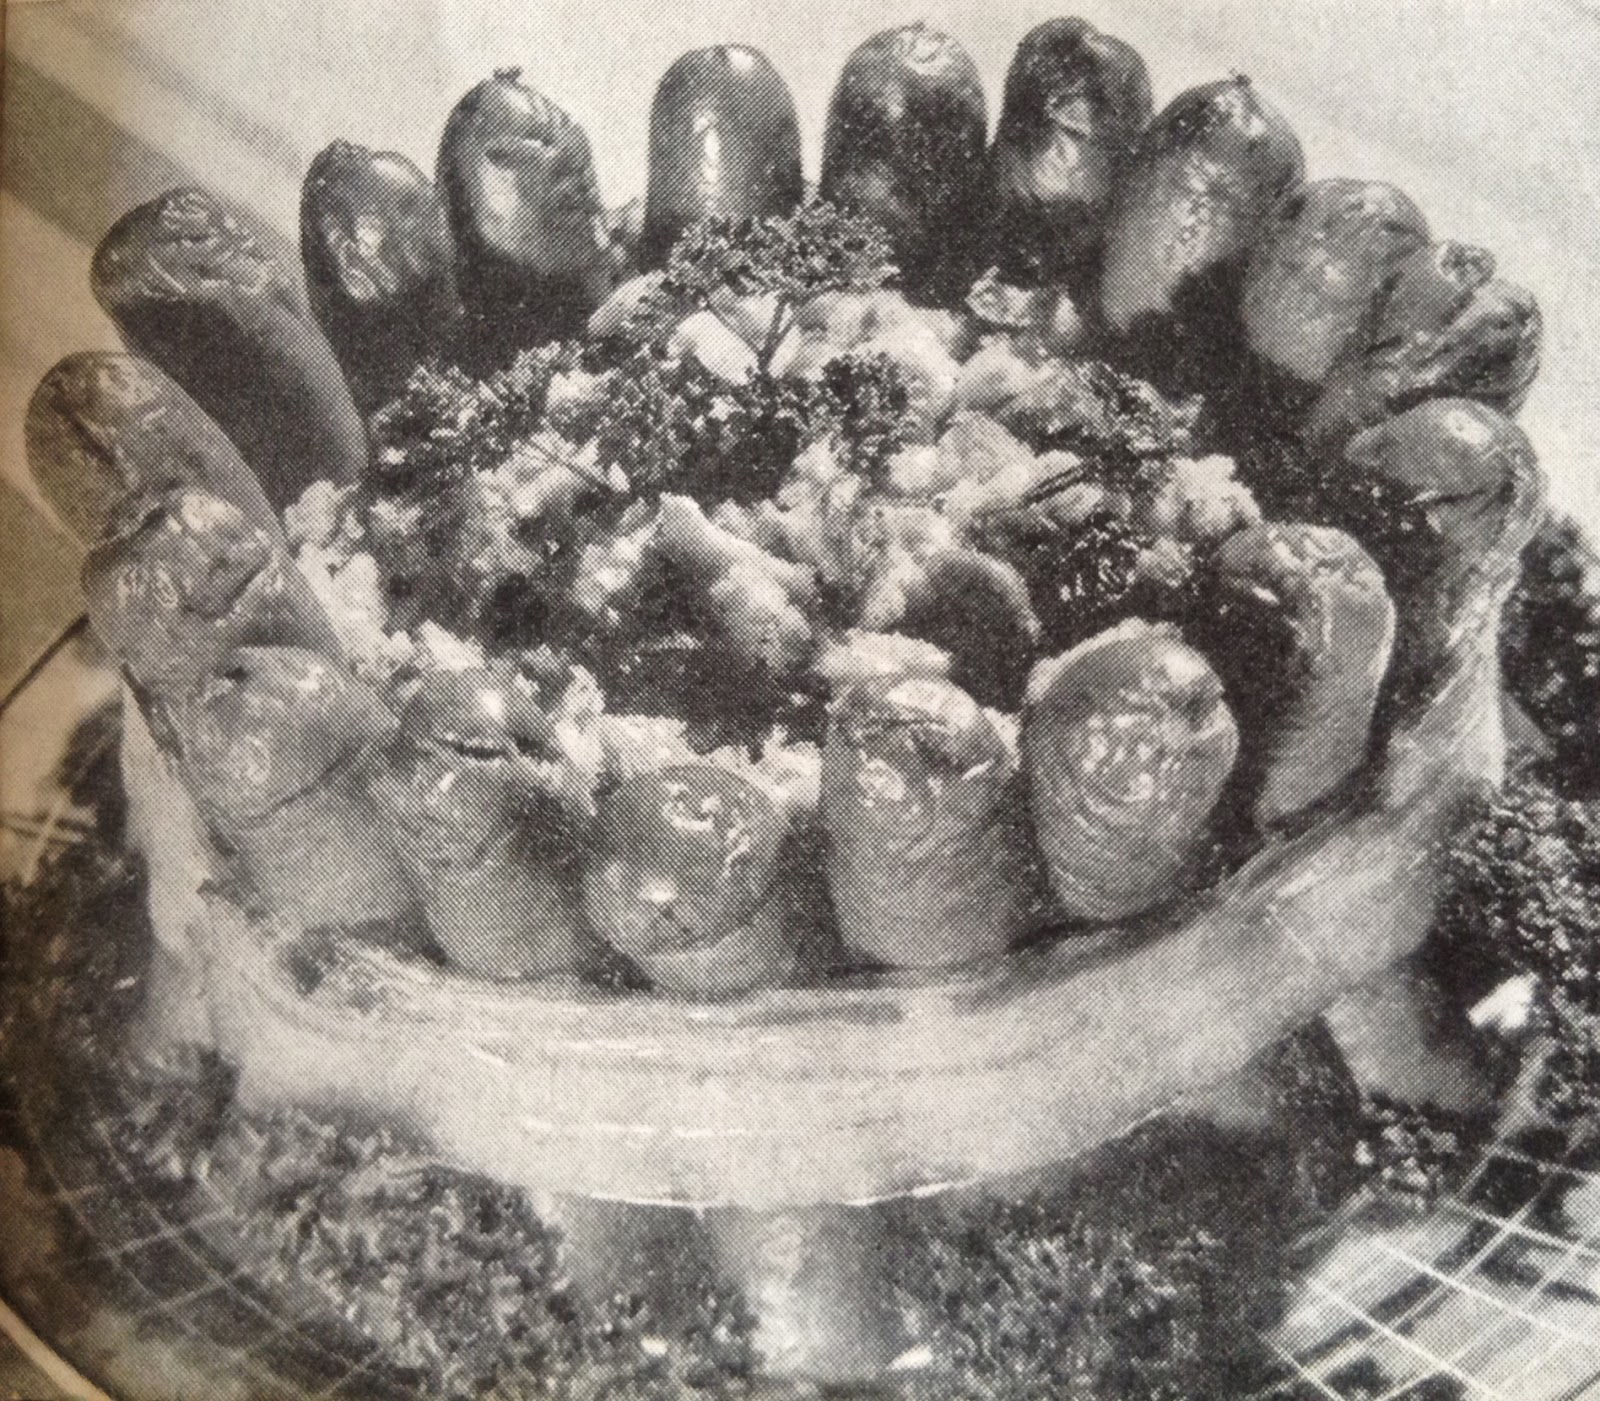
Ok, perhaps serving this for dinner on my sisters birthday wasn't the best present she received, but it was interesting...kind of...maybe :) I do think my picture of the Crown is a wee bit more appetizing than the original, sorry...but those hotdogs/sausages just look nasty in black and white!

Hahah, the recipe states:  "A crown roast of wieners is an ideal solution for guest problems when the budget is low.I can pretty much guess the family is going to rethink coming over for dinner again :) So...yes, it is an ideal solution for guests problems!


The stuffed crown is fairly simple, and might go over well for kids at a party or BBQ, but really, not so much for adults.  The original recipe calls for sauerkraut, but since they also add other options you can use, I chose stuffing. I picked a Pineapple and Nut stuffing from the same book - Culinary Arts Institute Encyclopedic Cookbook - 1950.

Perhaps if I had chose sausages over beef wieners it might of been better too.  Ahh well, it's not about making the best food, but making what is in the cookbook :)  I'll keep telling myself that!

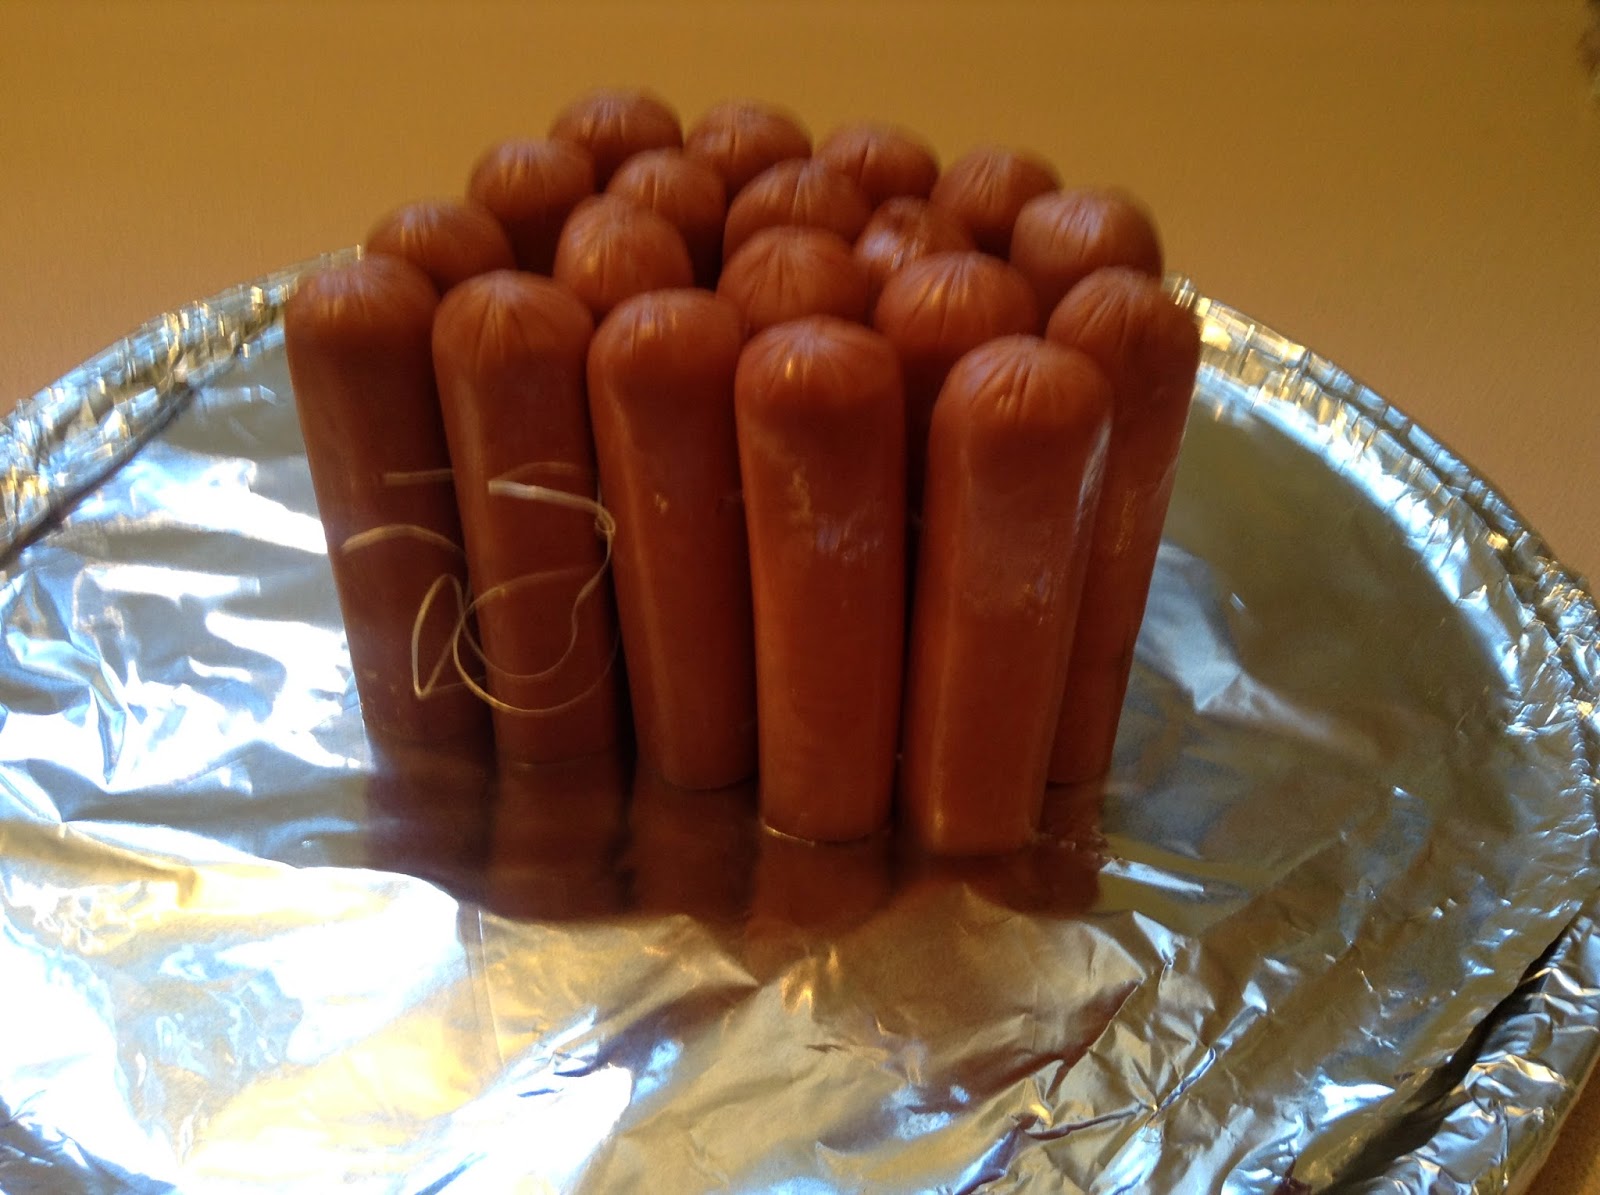
I cut the hotdogs in half since there was no way 4 of us would eat 20 or so hotdogs and figured it would be more stable that way too.

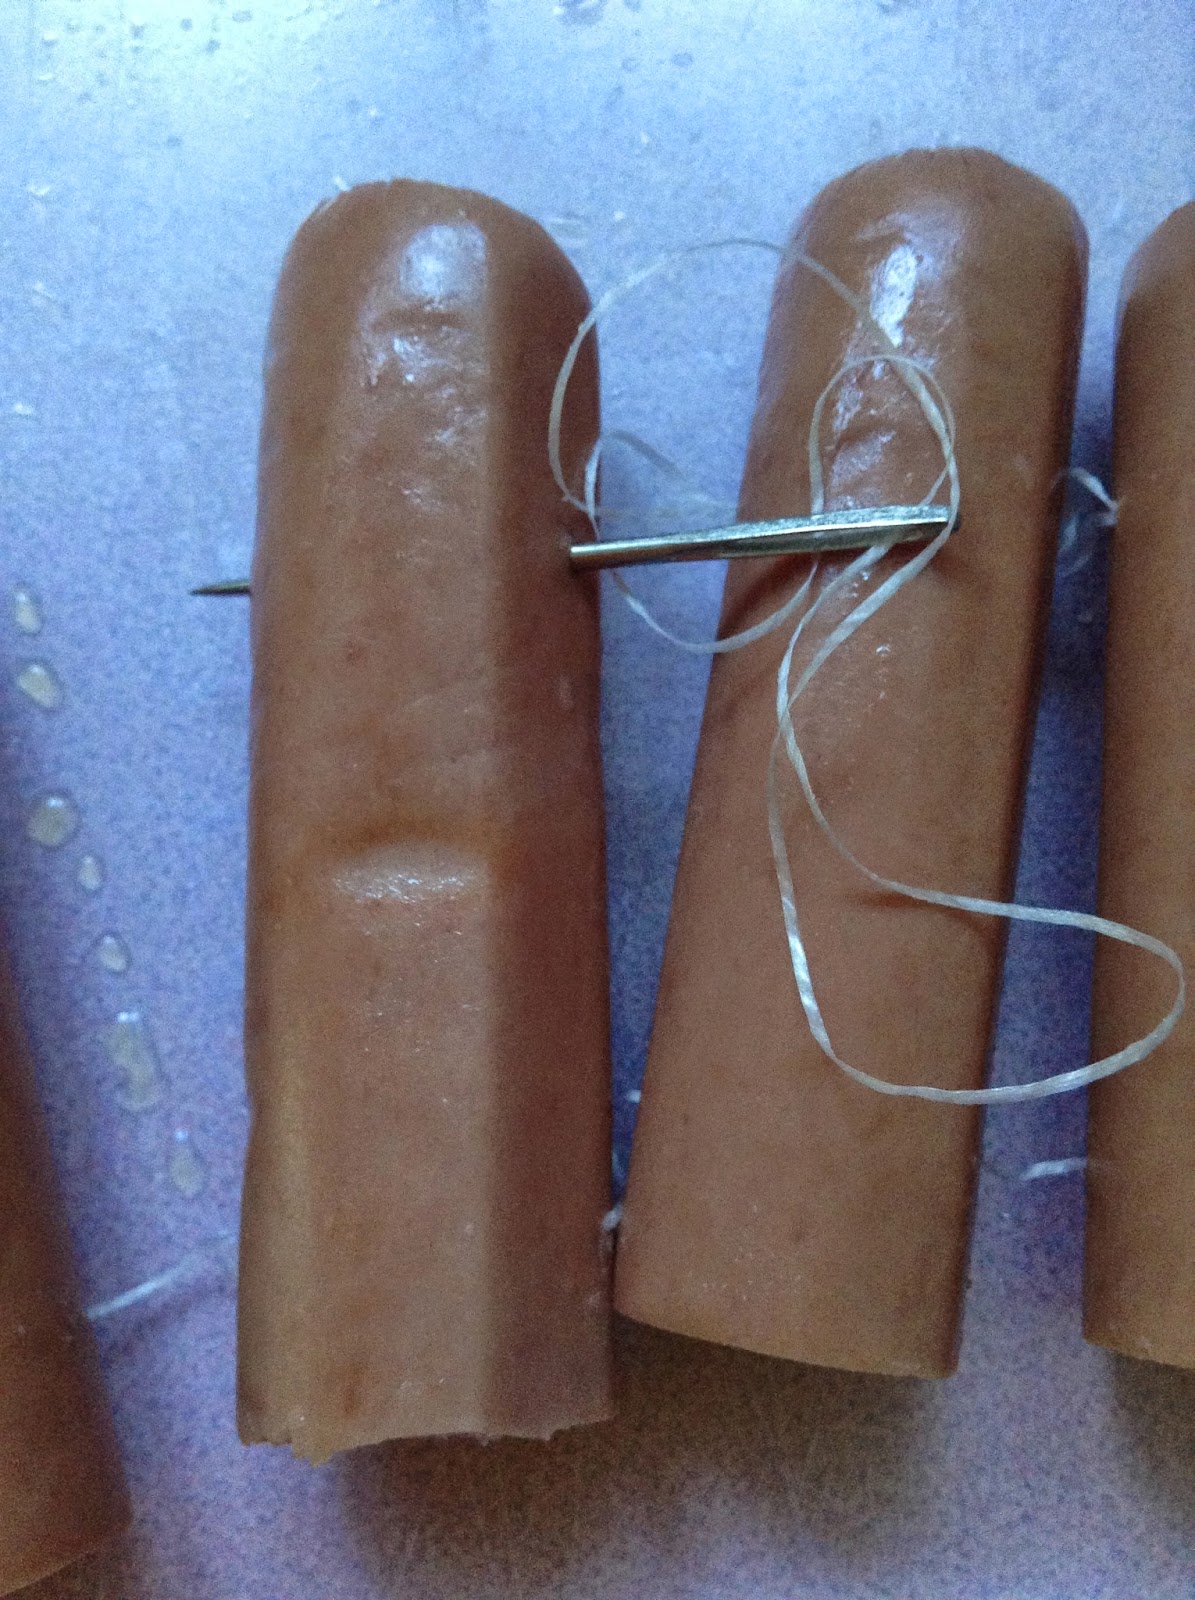
I carefully ran the thread through the bottom of the hotdogs and then another line through the top part and then pulled them all fairly tight in a row. Thread goes through hotdogs very easily, but they feel delicate, like the thread will tear through if you aren't careful.

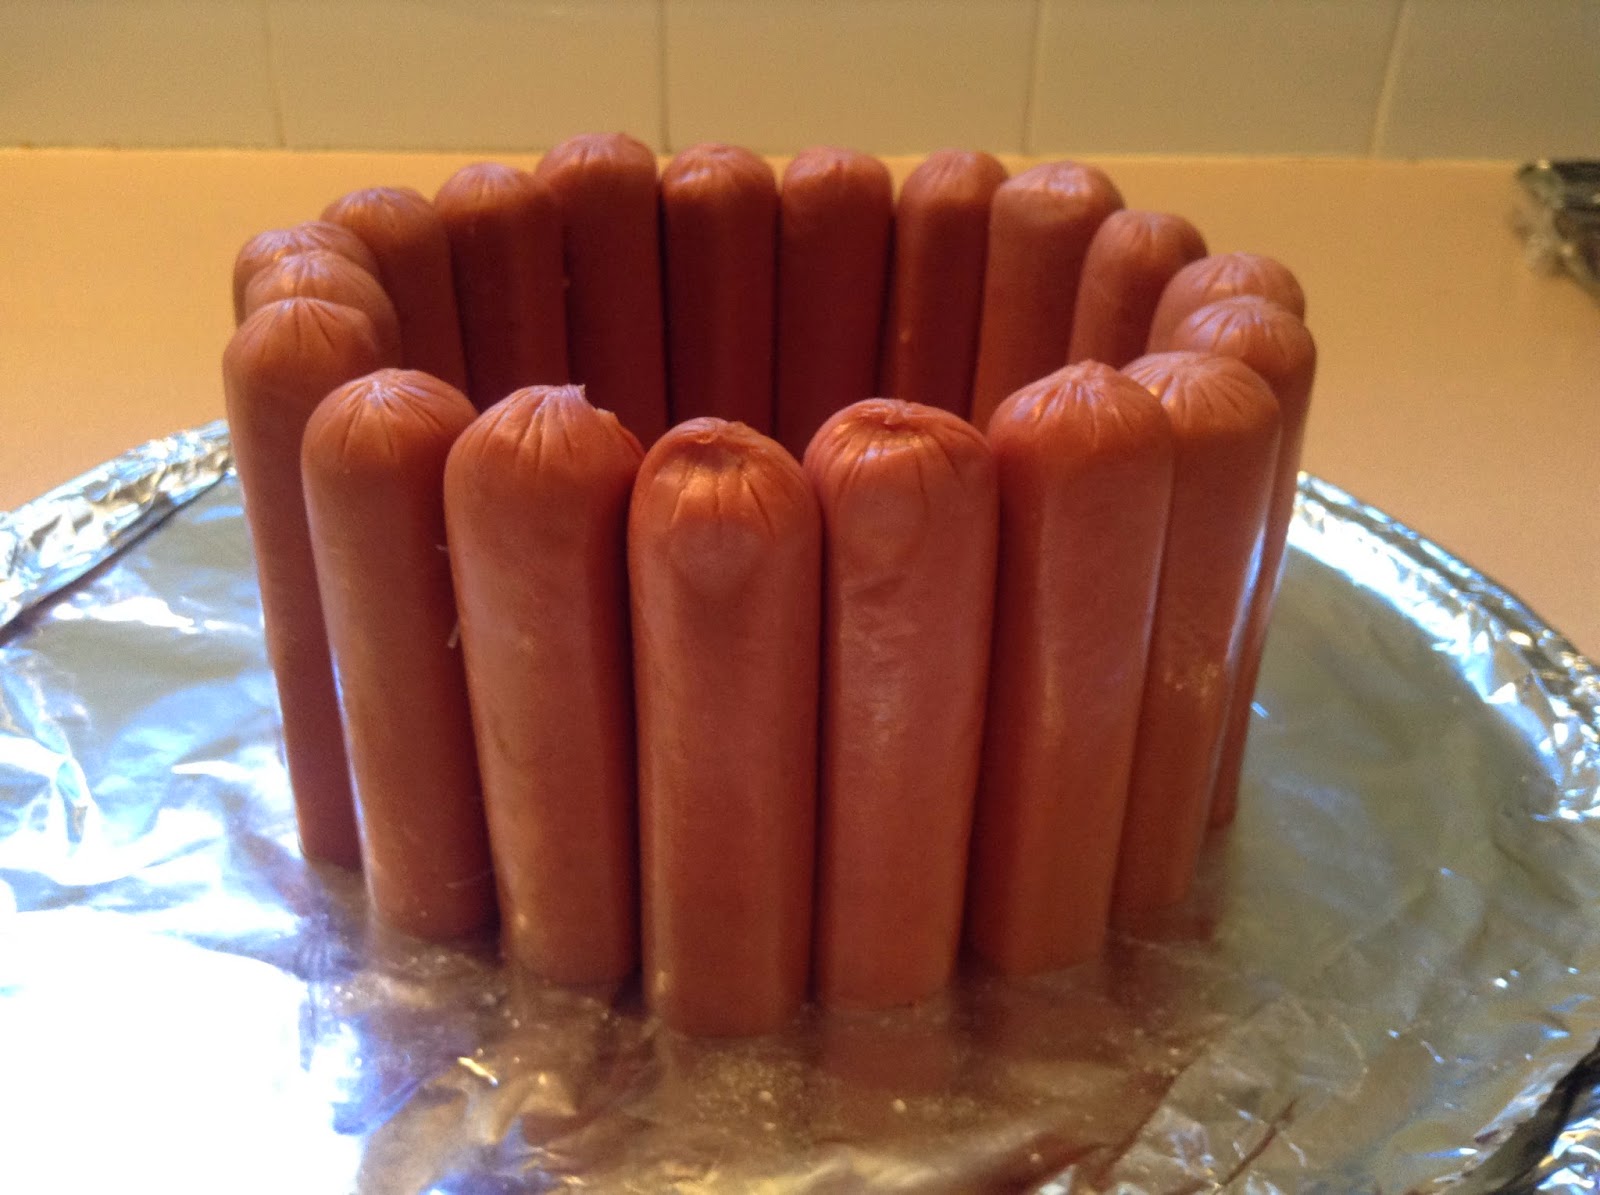
It was easier to bundle them all up and then stand them upright before trying to stand them in a circle. The cut part of the hotdog definitely made them more stable for standing on end.  Building the crown was the best part of it,  truly an epic creation! ;)

Once they were all set in a circle, I tied the strings together to keep them a bit more in shape.

At this point, I carefully added the stuffing and then stretched out a piece of bacon so it would wrap around the entire crown roast.  It looks fairly impressive for just hotdogs and stuffing. I was a wee bit proud of that...but ... coming out of the oven a few of the hotdogs did split off the thread, so one side was sadly sagging.

I put a little tinfoil tent over the stuffing so it wouldn't dry out too much. It still ended up being dry, but I'm pretty sure that was the stuffing recipe's fault and not the cooking.

Overall, it tasted like hotdogs with dry stuffing with it. Nothing spectacular at all. Choosing a hotdog/sausage product that tastes good just baked in the oven would probably help this beauty improve in flavour too :)


As an extra, due to worry over people going hungry, I made a side dish of potatoes - Potato Triumph!

Sadly, I didn't get around to doing the baked banana's - the weather here has been hot! Having the oven on for the stuffing and Crown Roast was long enough. Instead I tossed a bunch of frozen bananas in a food processor and whipped them up. YUM! Light and airy :)


Stuffed Crown Roast of Frankfurters
Culinary Arts Institute Encyclopedic Cookbook 1950 (pg 387)

INGREDIENTS
  • 20 Frankfurters
  • 2 cups cooked Sauerkraut
DIRECTIONS
  1. Arrange frankfurters side by side, with curved side up.
  2. Using large needle and string, sew through all the frankfurters 1/2 inch from the bottom and 1/2 inch from the top.
  3. Tie ends of the top string together, bringing first and last frankfurter of the row together.
  4. Repeat with bottom row.
  5. Stand frankfurters on end to form a crown. (Concave side should be out)
  6. Fill center of crown with sauerkraut.
  7. Bake filled crown in moderate oven (375 F) about 20 minutes. 
Serves 10

Fill crown with stuffing, creamed cabbage, creamed cauliflower or Potato Balls instead of sauerkraut.

Sunday, July 13, 2014

Birthday dinner with the family - First up: Strawberry and Pineapple Cocktail

Strawberry and Pineapple Cocktail
 I decided to help celebrate my sisters birthday by inviting over her son, daughter-in-law, and granddaughter, for an interesting 1950's recipe laden birthday dinner. 

First up was the Strawberry and Pineapple Cocktail.  I thought it odd to be called a cocktail without alcohol in it, but heck...I wasn't alive and drinking in 1948!

Overall, I'm not sure how well the cocktail went over. The kids are doing a sugar-fast, so I didn't add any sugar to sweeten the drink...and as a drink - it's dangerous! Chunks of fruit hiding out of sight might make you wonder how well you know the heimlich maneuver!

I personally didn't mind the taste of it. It was a bit tart, but not overly so, but I probably wouldn't make it again. I don't see a need to cut up fruit and mix juices together, it was a lot of extra work for a so so drink. I'd rather just have a straight up glass of orange juice.  Guess I'm lazy that way :)

I followed the instructions as shown below, using small chunks of strawberry and pineapple in the bottom of the glass and then using a strawberry and pineapple ring for garnish.  I wish there were pictures of this drink in the book, because I don't think I garnished correctly....the pineapple ring and strawberry sunk...so, I'm glad I added the toothpick to the strawberry, plus it made it easier to eat the other fruit out of the bottom of the glass.


Strawberry and Pineapple Cocktail
The American Woman's Cook Book - 1948 (pg 163)

INGREDIENTS
  • 1 cup orange juice
  • 1/3 cup lemon juice
  • 1 cup diced pineapple
  • sugar
  • 1 cup strawberries

DIRECTIONS
  1. Combine the orange and lemon juice sweetened to taste, keeping the mixture rather tart.
  2. Chill.
  3. Wash and drain the strawberries and hull them.
  4. At serving time cute the berries in half (except six large ones), mix well with pineapple, place in glasses and cover with the fruit juice.
  5. One large, perfect berry set on a tiny circle of pineapple may decorate the top of each cocktail.

Wednesday, July 9, 2014

Mom's Jelly Roll


I wanted to make a Jelly Roll or something since I have a bunch of homemade blueberry and raspberry jam sitting around, and since I haven't made any of my moms recipes, I figured this would be a good recipe to test out since I knew she had one written down.

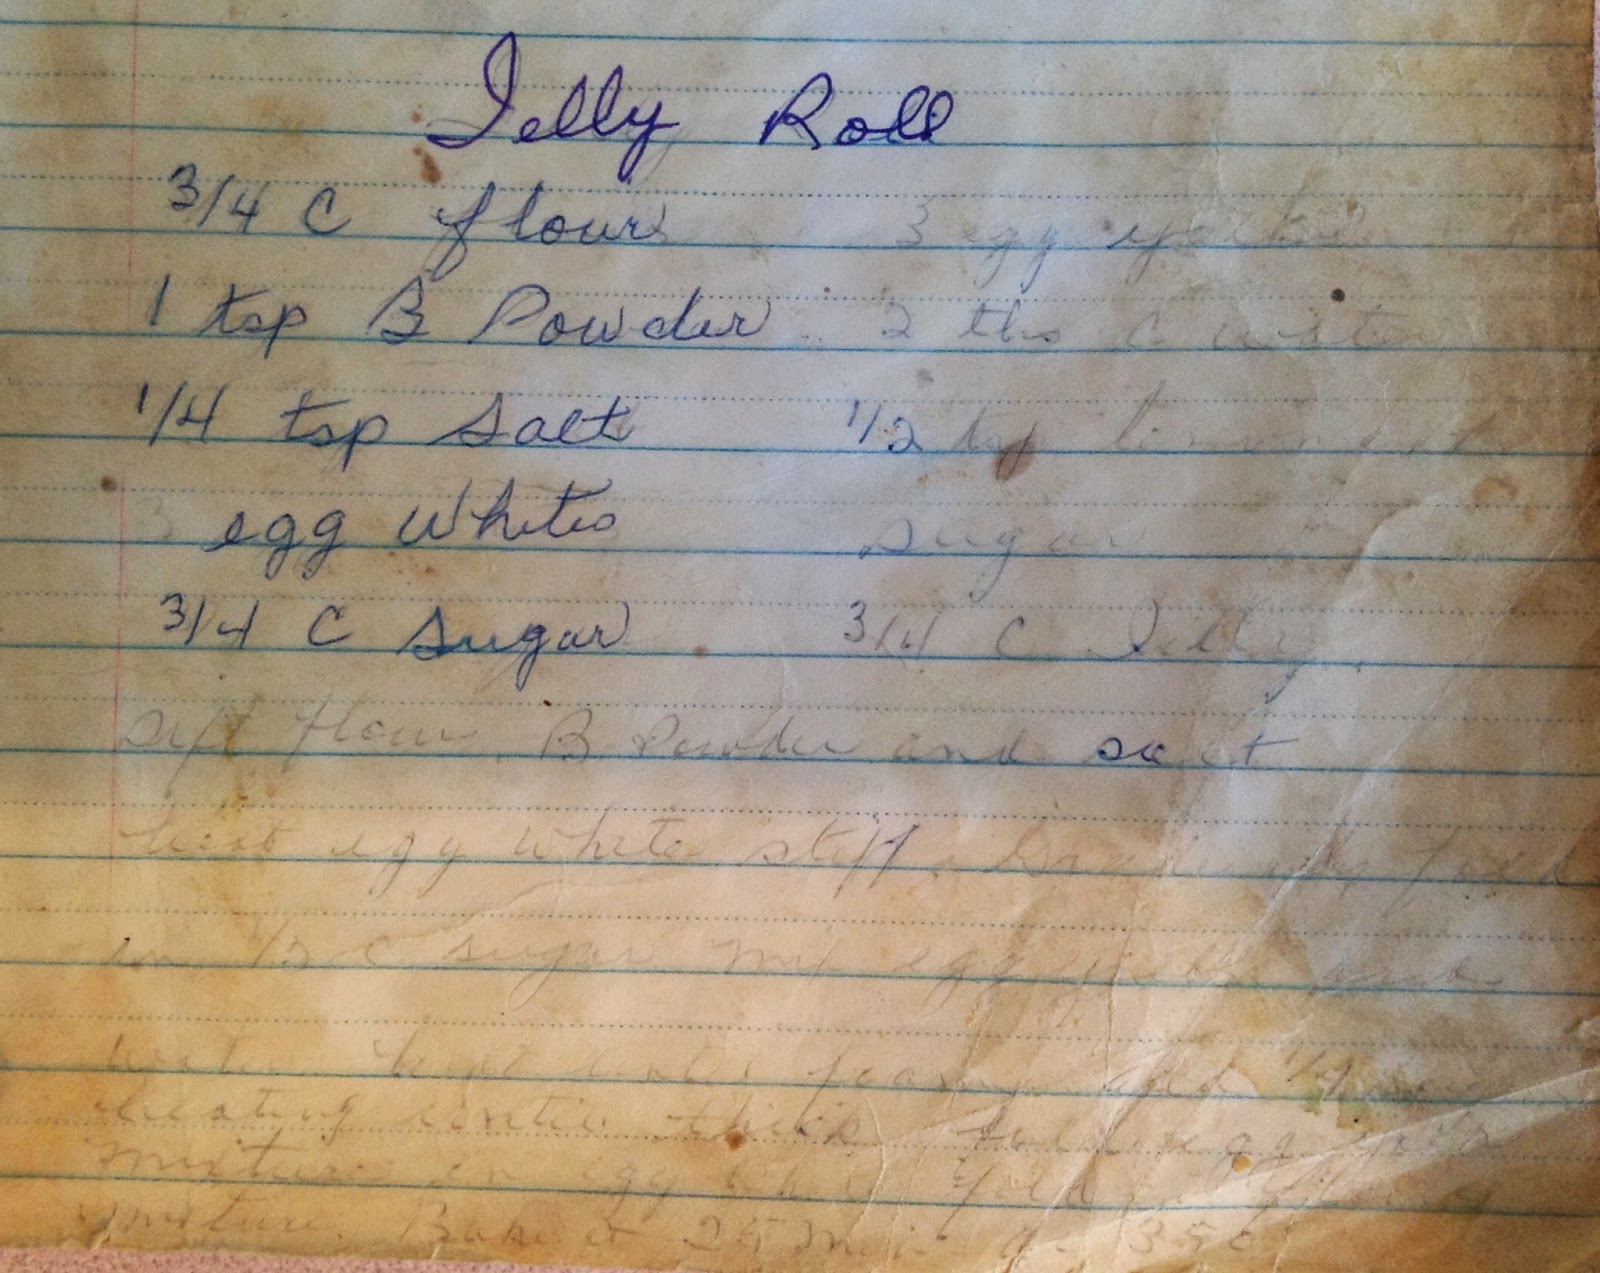
This recipe comes from the little blue exercise book.

I wasn't sure I would be able to make it since it's really hard to decipher, but I worked it out. Well, I think I did :)

I wrote out everything I could understand, checked which ingredients were in the instructions and vice versa and then put it all together.  The only ingredient I'm unsure of is the lemon zest...or whatever it is, because I can't find it in the instructions and there is no mention of some other ingredient that I am missing from the list.  Also, for the second sugar on the list, I'm guessing icing sugar to decorate the top with, although I have seen some jelly roll recipes where they sprinkle it over the jam before rolling also.

What I love about this, is that my mom tried to figure it out again too! She copied over some of the faded writing, but then left off.


So, off to the market for the ingredients...a stick of butter, a container of milk, a loaf of bread... for those of you who remember sesame street.
Once all the ingredients are collected. Mix all the dry ingredients together. I added the lemon zest to the flour, stirred it all up to combine and let it sit while I moved on to the eggs.

Separate the 3 eggs - whites and yolks.  Beat the egg whites until stiff and then fold in 1/2 cup of sugar.

Mix the yolks and cold water together and then add in 14 cup of sugar and mix until foamy.

Fold the yolk mix in to the whites

Once that's all done, gently fold in the flour.  On a greased pan with a greased parchment - spread out the batter. It's bubbly feeling and looking, very much like pancake batter. At first I thought it wouldn't spread, but it puffs up and fills in the thinner spots.  It still needs to be spread evenly or it will get crispy in spots when it cooks.

My mom's instructions don't give any information on what to do once cooked and there were two different trains of thought in other recipes I looked at.  I chose option 1 listed below, but I think option 2 would of worked just as well... since I was only using jam. If I was using whipped cream or something that would melt, then option 1 for sure.
  1. Once out of the oven, cut off crispy edges and then roll in a clean towel until cooled. Once cooled, unroll, and spread with jam
  2. Once out of the oven, cut off crispy edges, spread with jam, and then roll while still warm.

Having chosen option 1, once it cooled, I unrolled it and spread with blueberry jam.

Roll up lengthwise, placing open edge down and garnish.

All that's left is to bring the Jelly Roll to mom.


Mom's Jelly Roll
The recipe and instructions are how she wrote it out.

INGREDIENTS
  • 3/4 cup flour
  • 1 tsp baking powder
  • 1/4 tsp salt
  • 3 egg whites
  • 3/4 cup sugar
  • 3 egg yolks
  • 2 tbsp cold water
  • 1/2 tsp lemon zest*
  • sugar*
  • 3/4 cup jelly

DIRECTIONS
  1. Sift together flour, b.powder, and salt
  2. Beat egg whites until stiff. Gradually fold in 1/2 cup sugar.
  3. Mix egg yolks with water. Add in 1/4 cup sugar and beat until foamy.
  4. Fold egg yolk mix into egg white.
  5. Fold in flour mix.
  6. Bake 25 minutes @ 350 F