Showing posts with label Jam. Show all posts

Monday, December 8, 2014

Thimble cookies

I don't know where the time goes, but it goes by pretty darn fast. One day I'm thinking it's Monday...I have the whole week ahead of me and in a blink it's Thursday and I haven't done half of what I want to and even less of what I need to do before Friday because Saturdays are ME days and laundry and all other things wait!  I wish days were longer....yup even Mondays :)


Being all belated on this post, I figure I'd at least explain what has sucked up some of my attention -  besides re-watching Torchwood, that is. I spent some time crocheting a couple headbands, a doggie jacket for my mom's dog, Chico - who is the sweetest little guy, and an owl hat.  I like doing other things while watching tv, it's like it doesn't count if I'm doing stuff since I have something to show for it at the end.

crocheted owl beanie

But on to the cookies - which I forgot to take a picture of when they were completely finished and I had drizzled with melted white chocolate. Sorry!

When I was here, visiting my mom a year ago, I wrote down her recipe for Thimble cookies. Since I had some homemade Blueberry-Cherry jam that I made this summer, I figured I'd put it to good use.  The cookies taste really good and they are easy to make, but I think the recipe is off somewhat in that it seems like the baking time is way too long and the dough isn't firm enough to hold up to longer baking times with the lower cooking temperature - they spread way to much - I even left the rolled dough balls in the fridge to firm up.
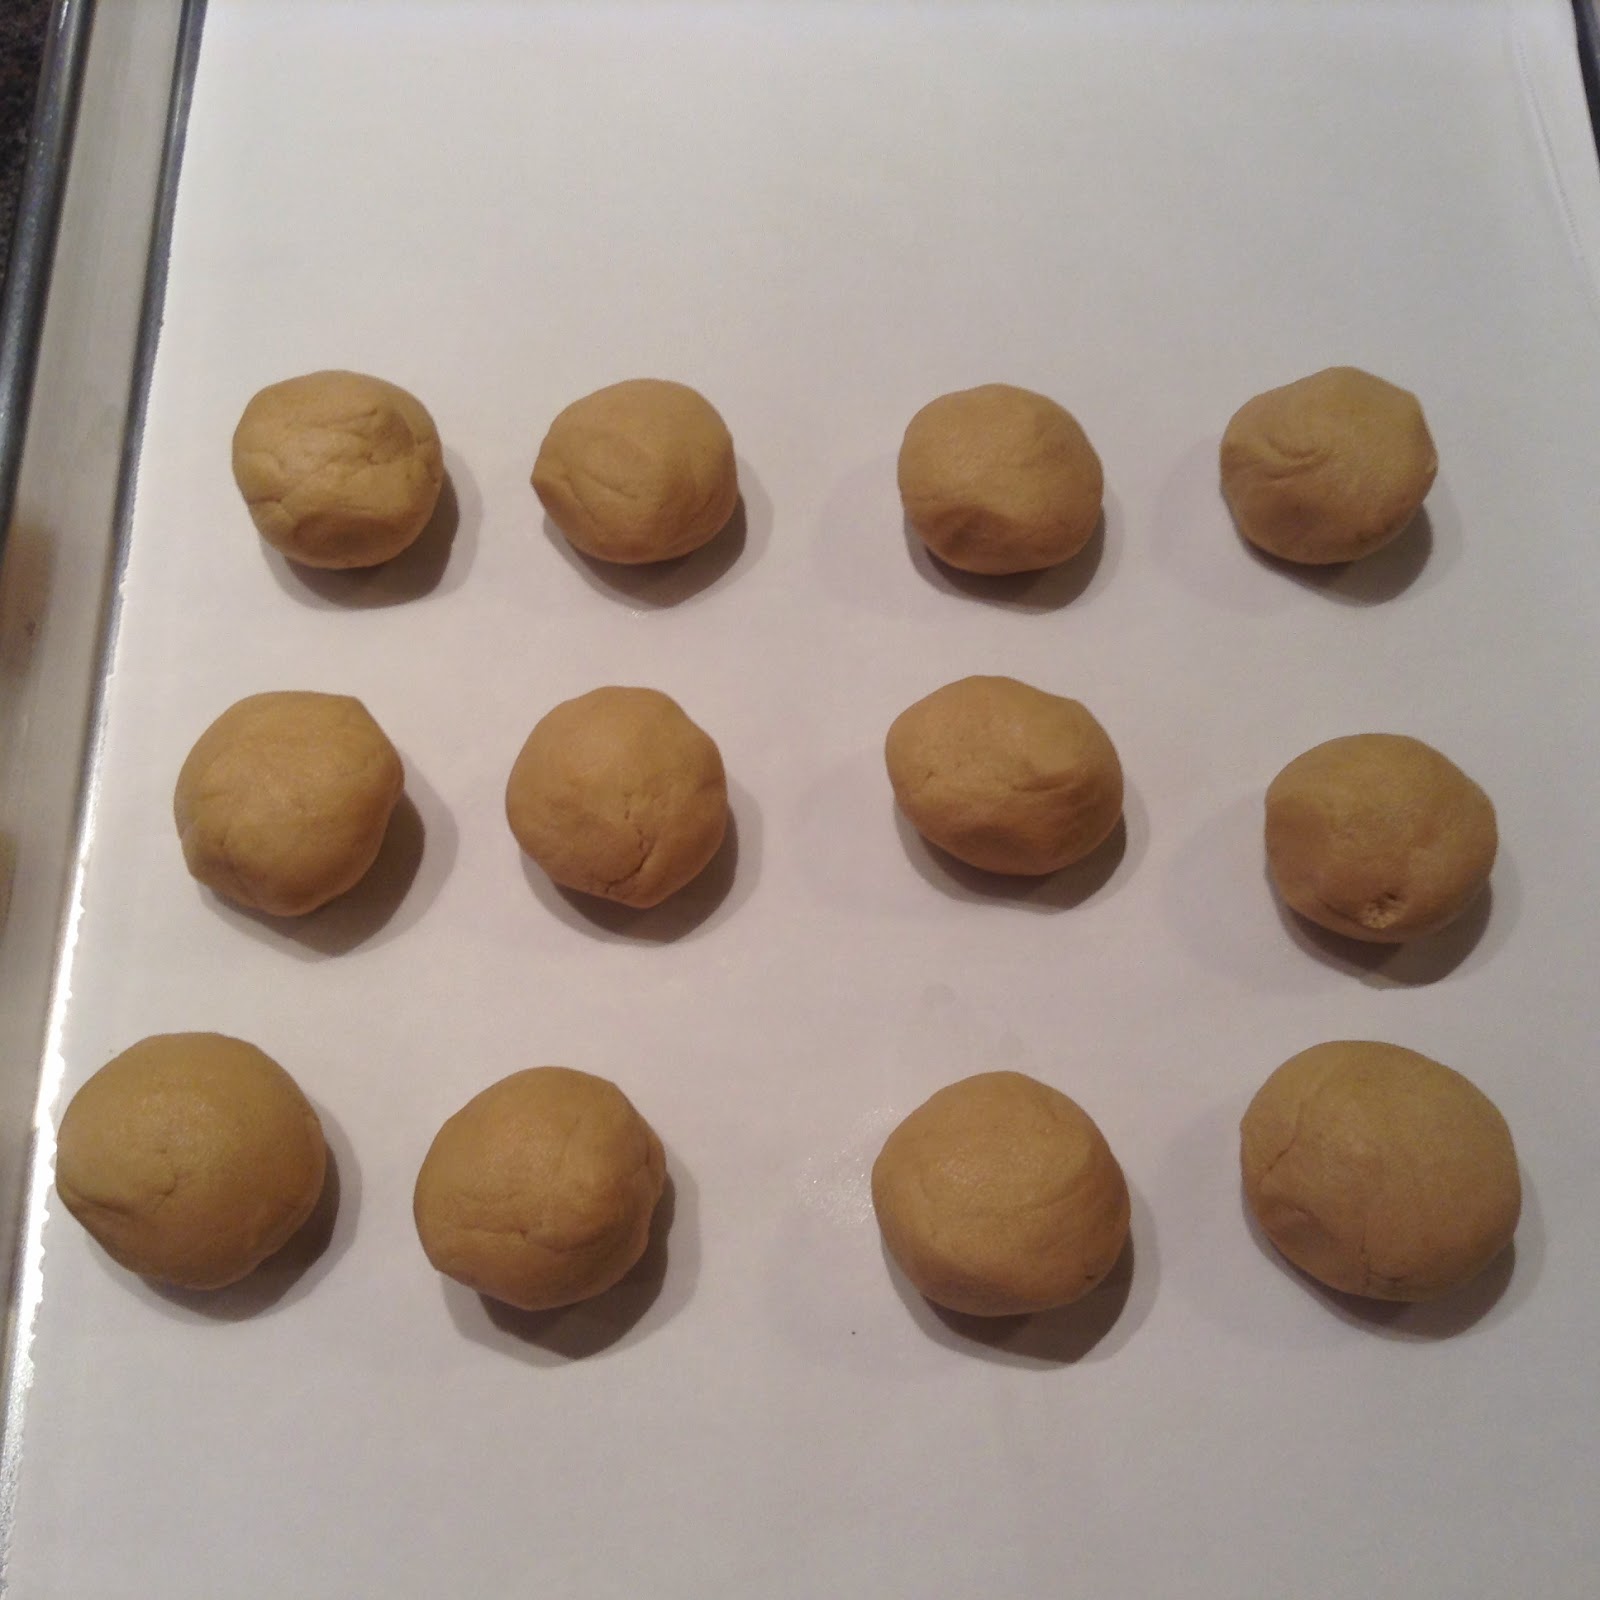
Thimble cookie dough balls
I'm going to skip all the gather ingredients and mix up the cookie pictures. The recipe is pretty simple to follow along.  So....wow, that sure made the mixing the dough steps go by quick! ;)

Once you have your dough all nicely mixed up, roll the dough into balls. Mine were 1 level tablespoon.  It's just easier to have them ready.

Gather up some coconut and/or crushed almonds, and beat the egg white. hahah, that was one bad egg!

Thimble cookie prep

Now, I can tell you this and I'm sure for a billion people this is simple, but my brain does not like to play nice with my hands.  The simple basic idea is one wet hand - one dry hand.

Thimble cookie egg bath

With one hand (the wet) you drop the dough into the egg white and then ONTO the coconut or almonds.
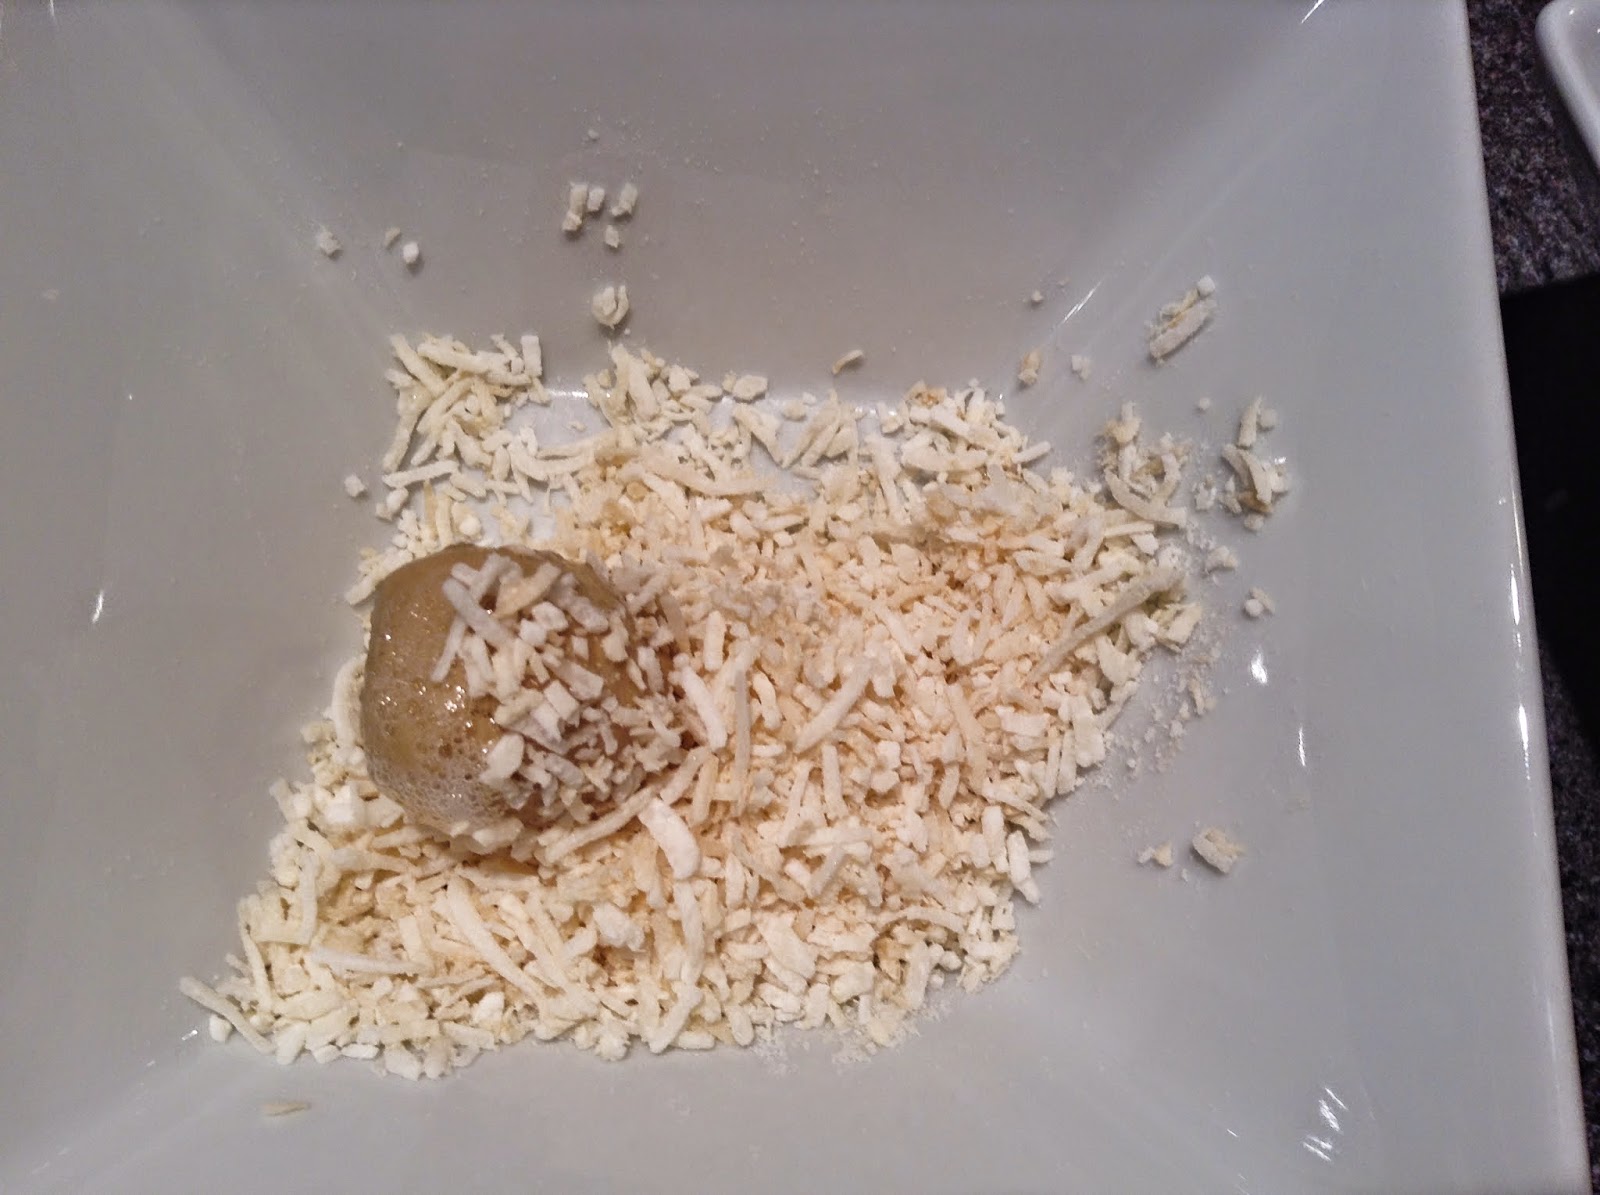
Thimble cookie crushed almond

With the other hand (dry hand) you roll the cookies in the coconut or almonds and then put them on the cookie sheet.

See those cookies...yup, that dozen right below...I had to wash my hands 6 times...SIX TIMES so I wouldn't get coconut or almonds in the egg white. Every second freakin cookie I used the wet hand in the dry ingredients or dry in the wet.  Even telling myself 'pay attention' I couldn't do it!

My brain is not connected to my hands!

Thimble cookies ready to indent

I did get them done, as you can see, and then decided I needed therapy to get over my obsessiveness with having coconut or almonds in the egg whites :)
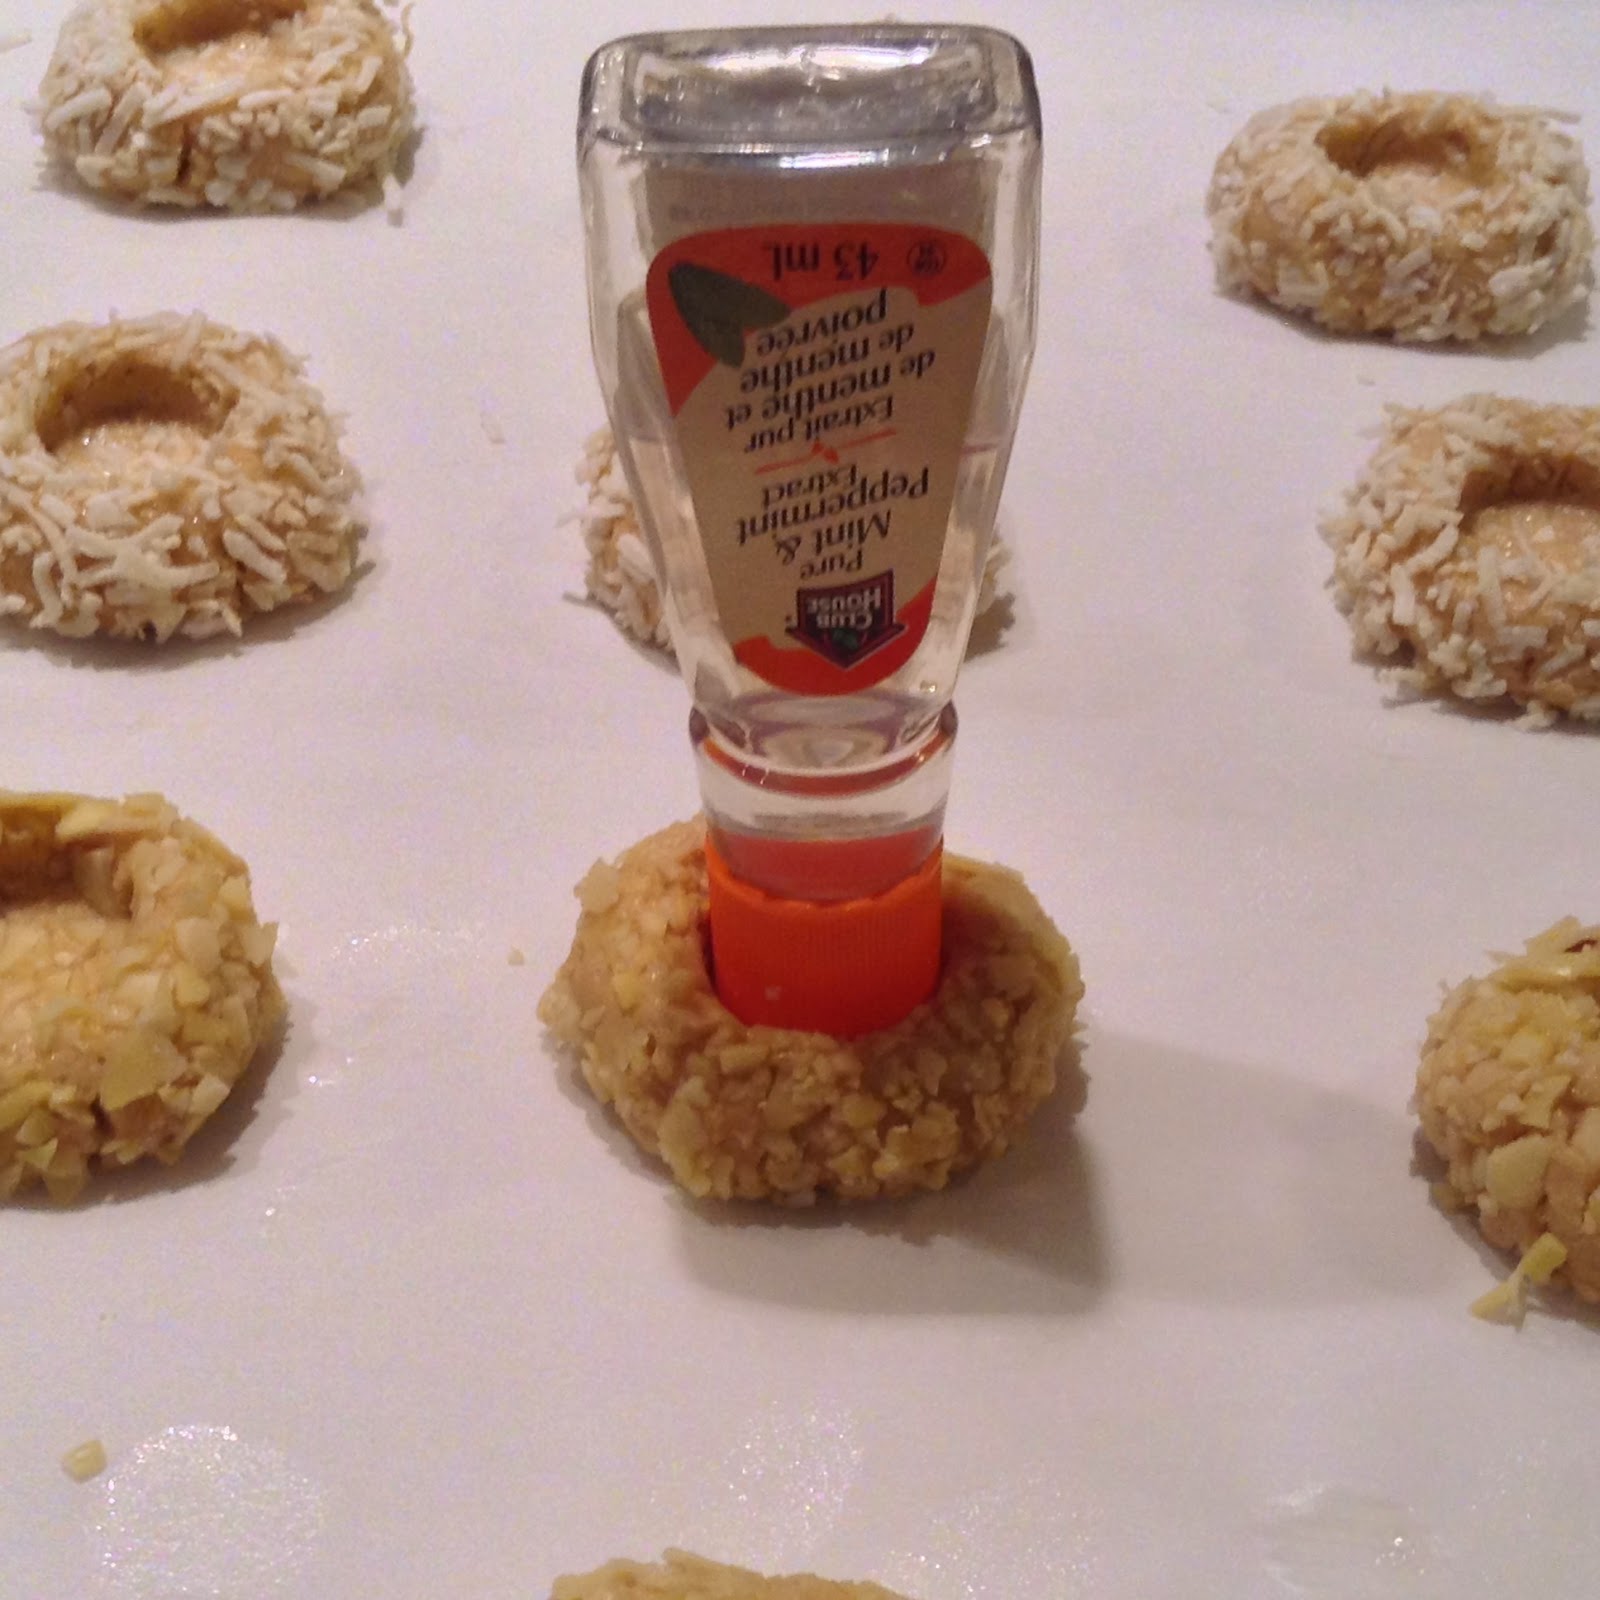
Thimble cookies - indent with extract lid

The first batch I made, I used the top of an extract bottle to make the indent and then following the recipe, I baked the cookies for 15 minutes, pulled them out of the oven to indent again...and I was disappointed :(   The cookies spread - a lot.

I used two spoons and mooshed them back in to shape. Yup, it's a technical cooking term..I've used it before, so it makes it real :)  Indented again, and baked for another 10 minutes...watching them spread the entire time. *sigh* I removed them from the oven and filled them with jam.

It was NOT the picture perfect cute rounded jam filled little cookies I've seen before.  *another sigh*

The second batch had longer fridge time before putting in the oven. For this dozen I used a teaspoon for the indent - definitely my favorite of the two methods.
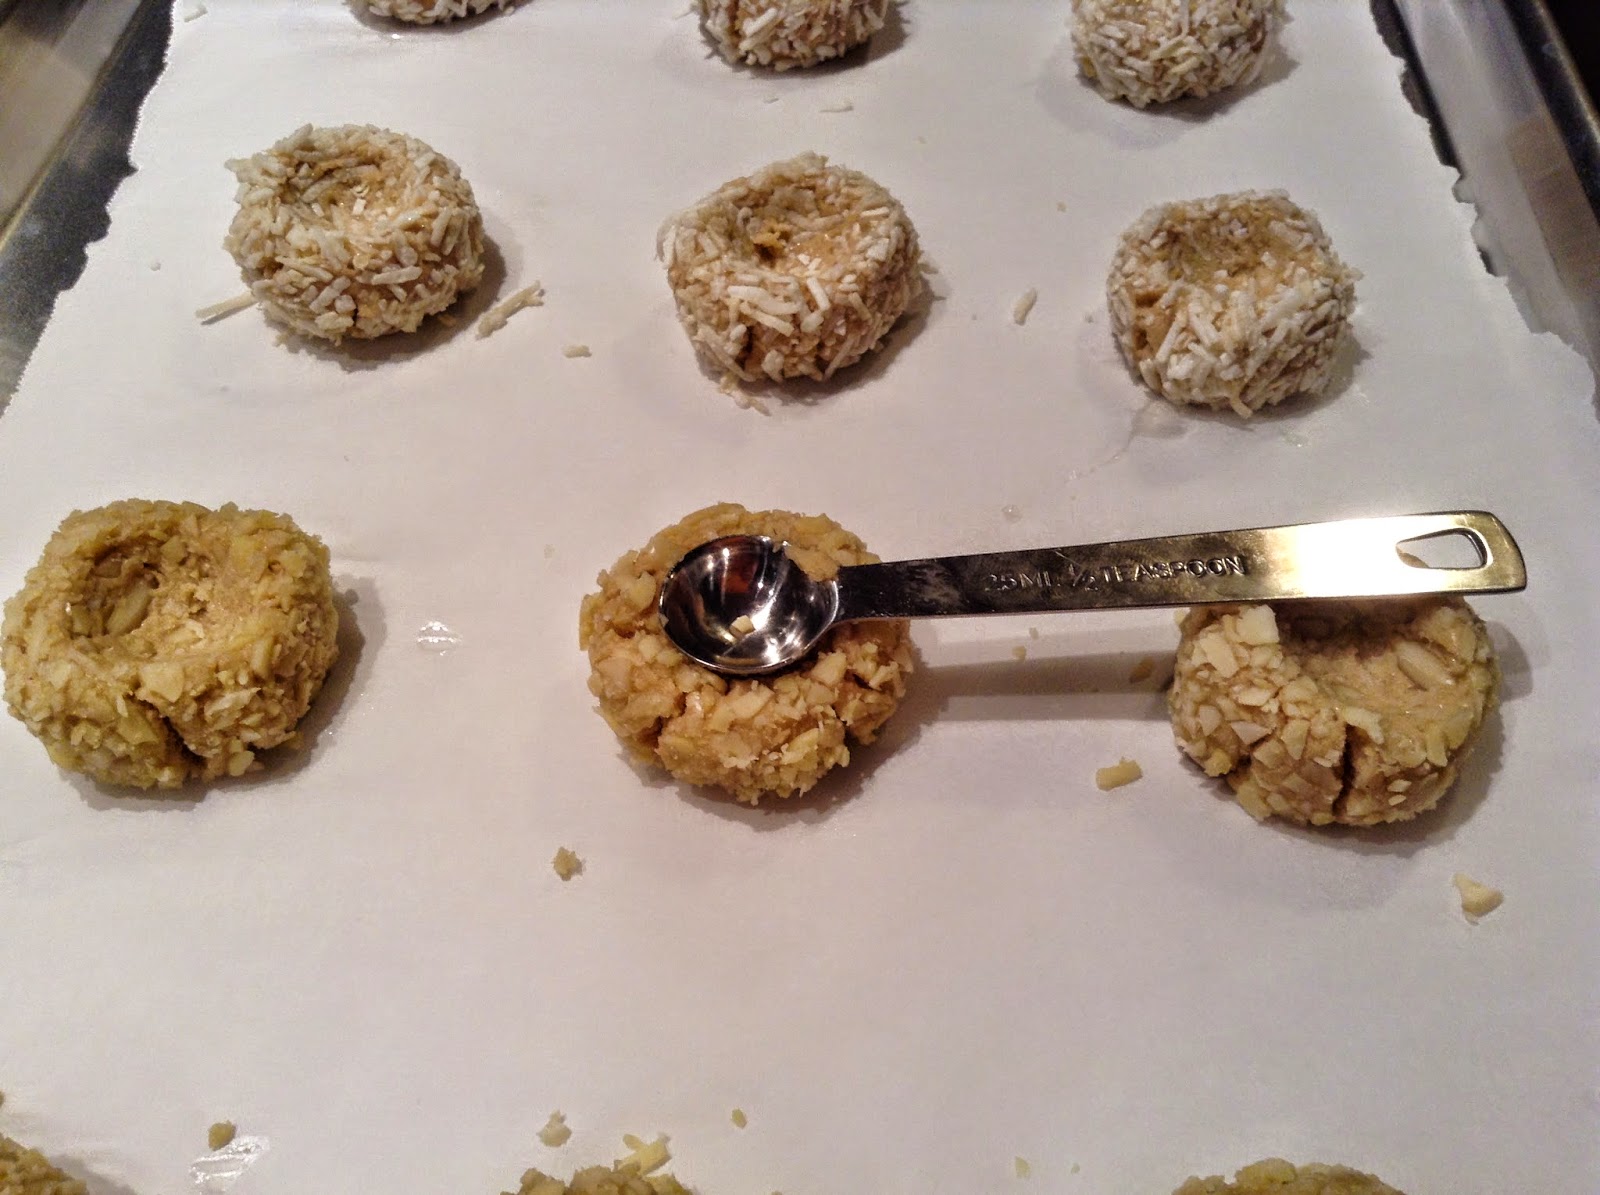
Thimble cookies - indent with teaspoon

Again, I baked them for 15 minutes, pulled them from the oven,  mooshed them back together and indented again, where needed ..but this time I put the jam in so that it would bake too..and a white chocolate chip. I prefer doing it this way too. The jam thickens a bit and makes it easier for storing.
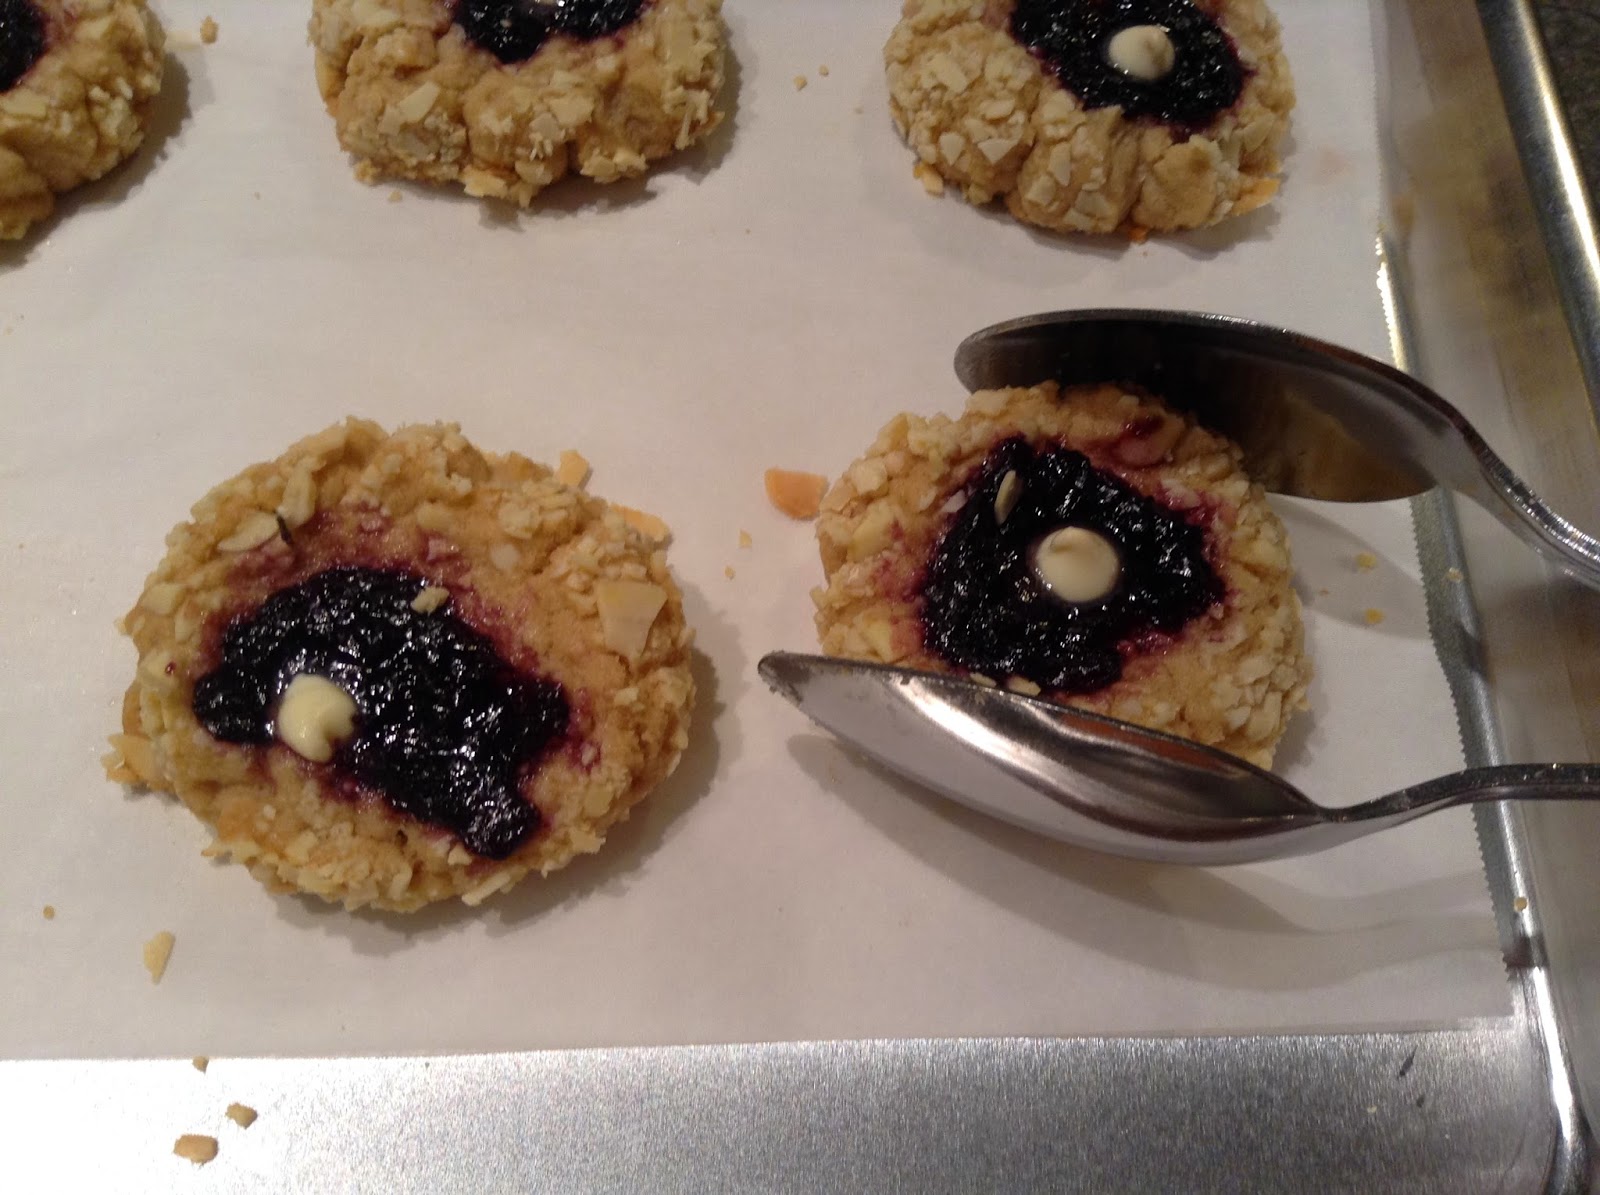
Thimble cookies mooshed back in to shape

I shortened the cooking time of the second baking bit for this batch. 15 minutes is way too long and I'd probably even say 10 minutes is too much also.

Pulled from the oven, I mooshed them together again.   Sorry, this is where the cookie pictures end...so..here are some lights on my tree - with my favorite heart ornament :)

Merry Christmas

Once the cookies cooled, I drizzled white chocolate over the tops. Yum.  Although I think they were a bit over baked, they were good. They had a bit of a crunch to them with a softer inside.

I would make these again and play around a bit more with the temperature and baking times. I don't think any 'mistakes' would make terrible tasting cookies.


Moms Thimble Cookies
As written

INGREDIENTS
  • 1/2 cup butter
  • 1/2 cup brown sugar
  • 1 egg yolk
  • 1 egg white
  • 1 cup flour
  • 1/8 tsp salt
  • 1/2 tsp baking powder
  • 2/3 cup of coconut or almonds (finely chopped)
  • Jam
DIRECTIONS
  1. Cream butter and sugar together
  2. Beat in egg yolk
  3. Stir in rest of ingredients and mix well.
  4. Shape into balls
  5. Make indent with thimble
  6. Dip in egg white and roll in the coconut or nuts
  7. Bake 325 F for 15 minutes
  8. Indent again
  9. Bake 10 - 15 mins more
  10. Fill with Jam
  11. Let cool


Thursday, August 14, 2014

Whole Wheat Tea Biscuits

It's hard to beat tender, flaky biscuits for that melt-in-your-mouth goodness.

I was going to make the tea biscuits in the Purity cookbook, but then I came across the whole wheat recipe.

I'm pretty sure I loved the basic Tea Biscuit recipe in the Five Roses Flour cook book, so it seemed like the place to start. How do I know I loved it? Well, glad you asked! On one of the back pages of the book, I wrote ' Tea Biscuits pg 41'. And yup, it is my 30+ yr ago selfs' handwriting.

Tea biscuits are the ultimate in easy quick comfort food. They have been a wonderful breakfast, snack, and dinner food for me over the years. Yum!


I've made my fair share of basic tea biscuits over my lifetime using whatever recipe I came across, but I don't often switch it up flour wise. Until now. Whole wheat tea biscuits just sound a bit healthier and less guilty feeling when smothered in homemade blueberry-cherry jam. I think this means I can have more than one!

One of the great things about tea biscuits is that they can be made fancy using scalloped cutters, or utilitarian little squares cut from a patted down pile of dough, or cut into sticks - perfect for dipping in soups! It's all yummy in my tummy goodness :)

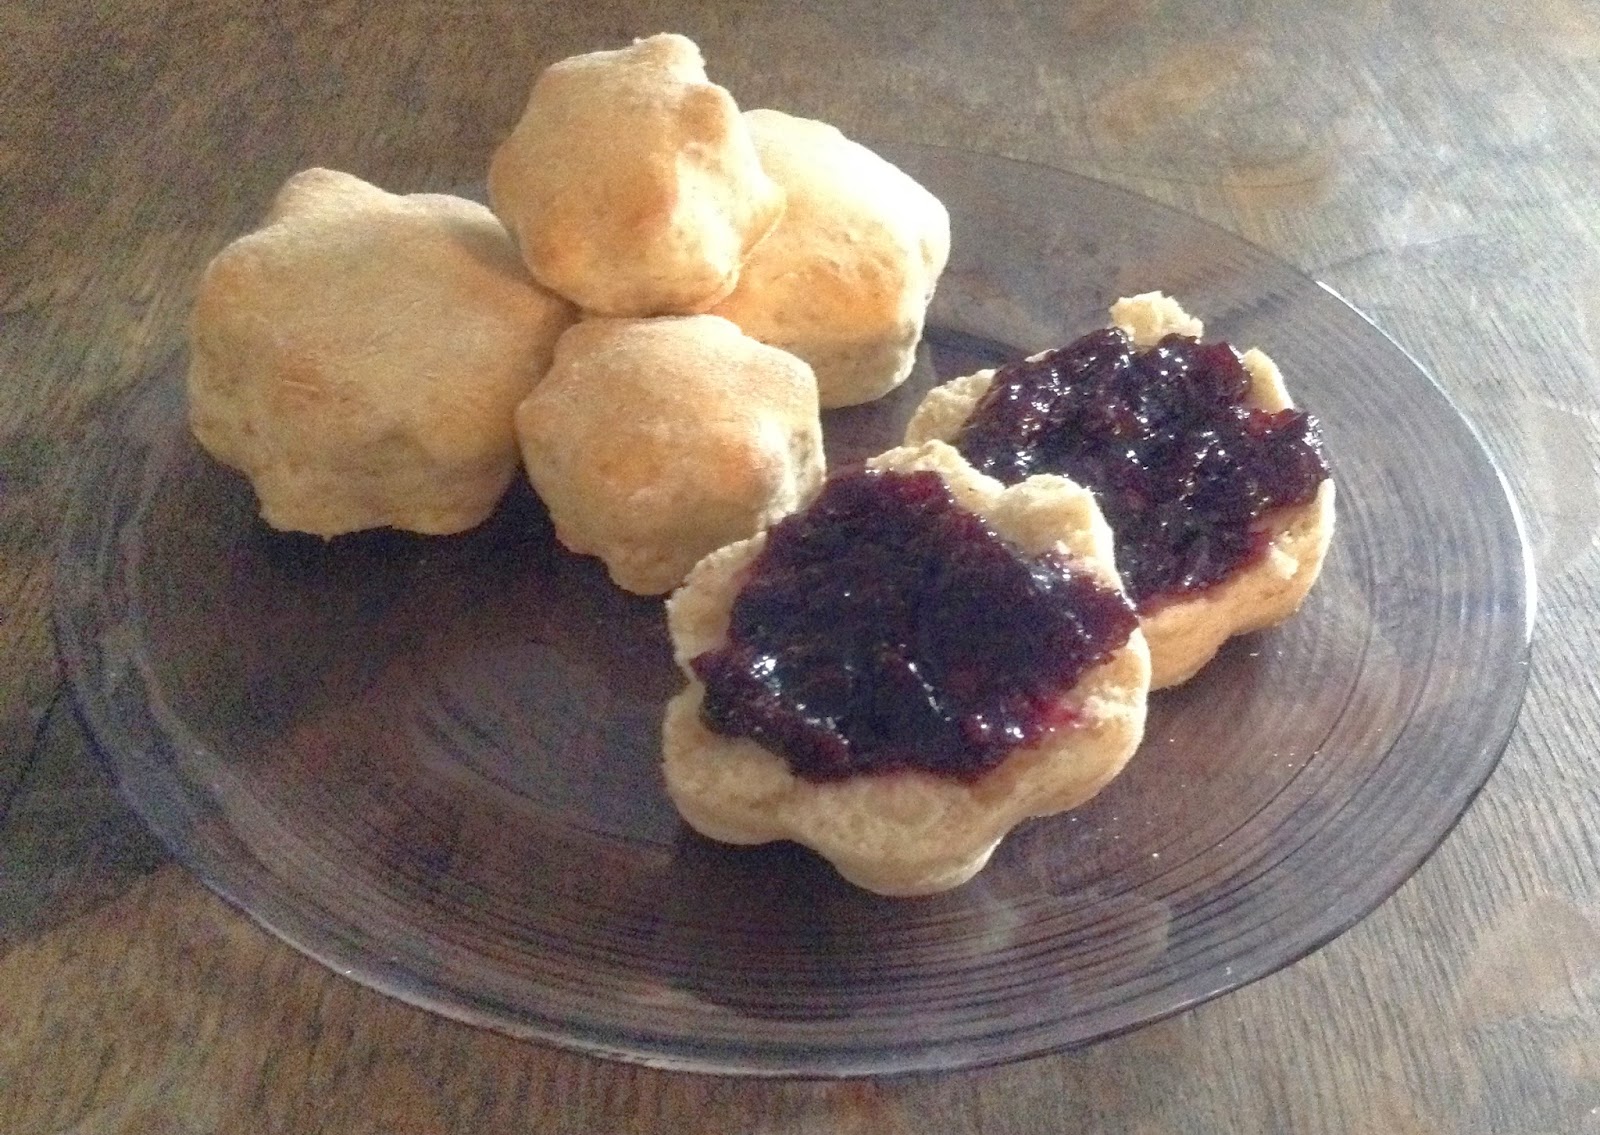
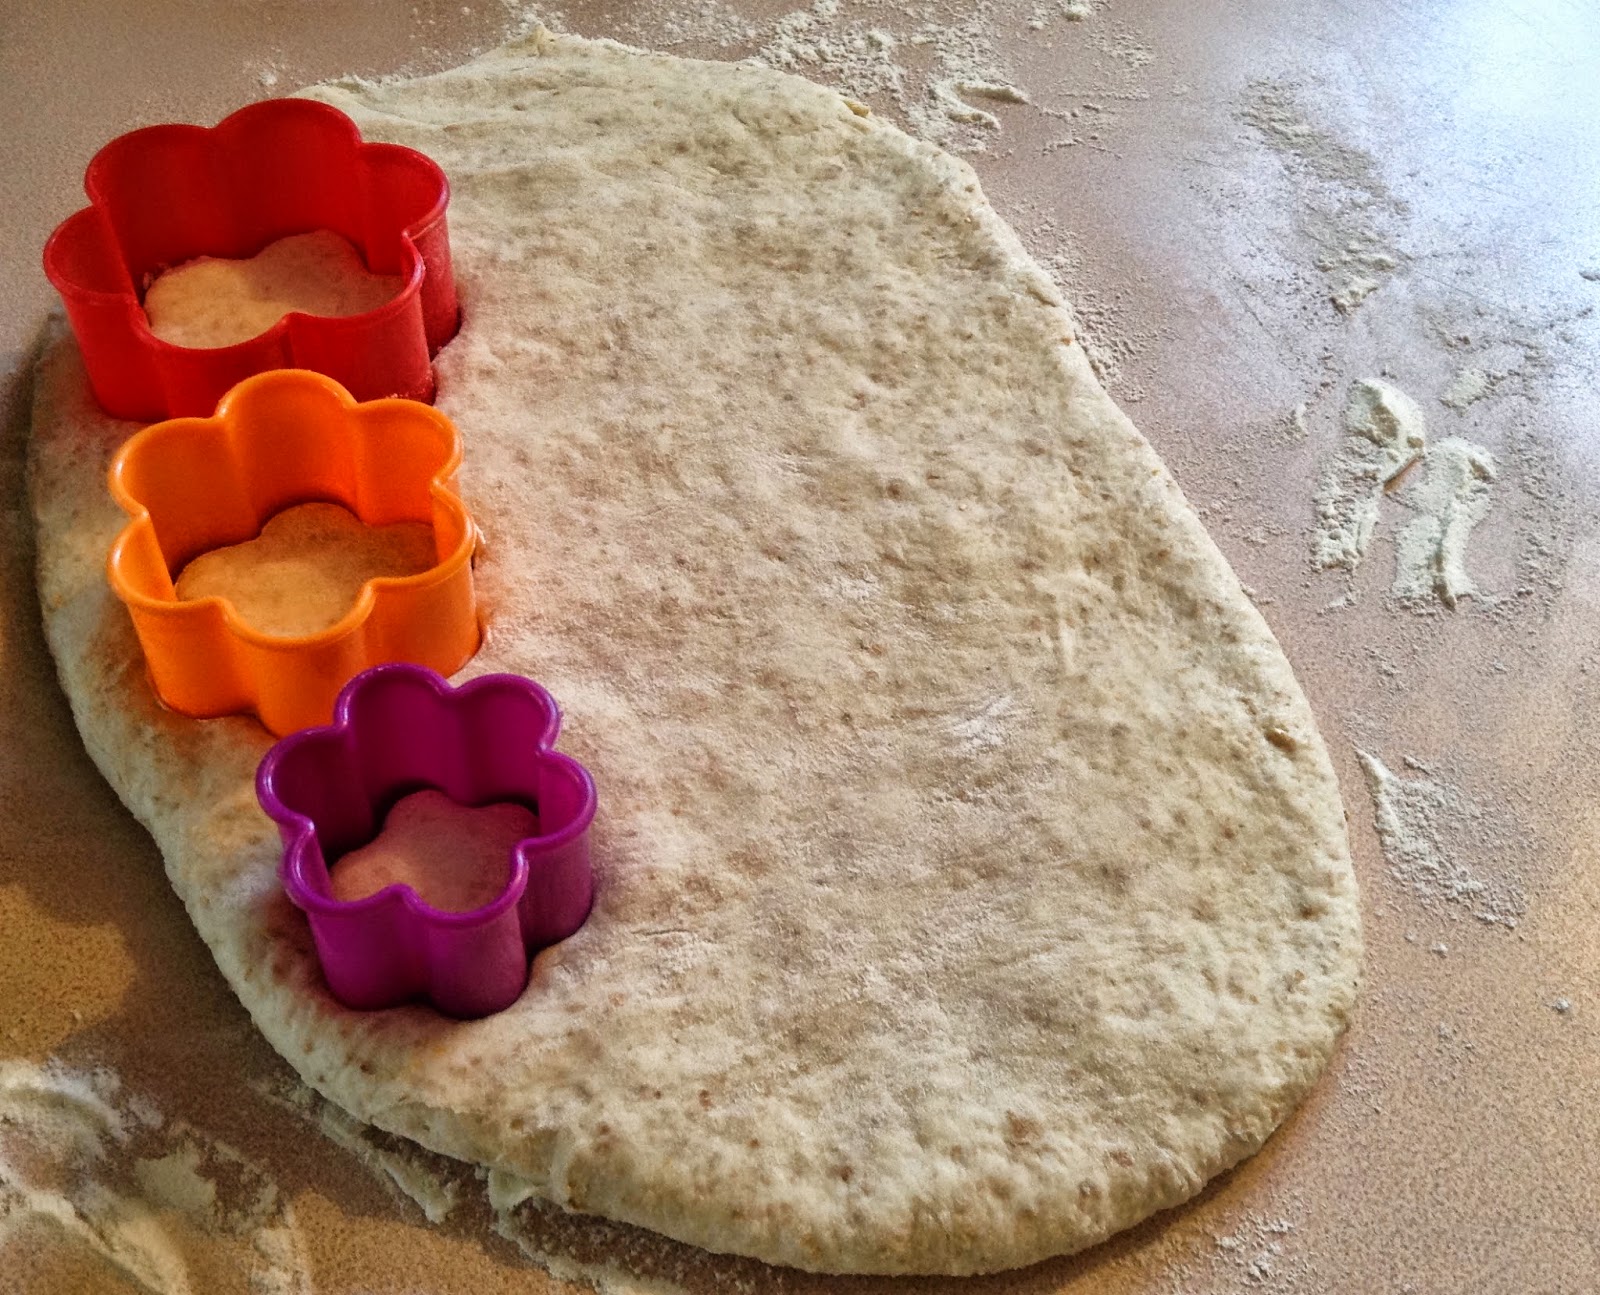
Whole wheat tea biscuits with flower cookie cutters

The texture of these biscuits are not quite the same as regular tea biscuits. They are a bit more dense feeling, but they were delicious with just the right amount of sweetness.

I would make these again, for sure :)

Tea Biscuits (basic)
Five Roses Flour Cook Book - 1970? (pg 41)

INGREDIENTS
  • 2 cups Five Roses All Purpose Flour
  • 4 tsp baking powder
  • 1 tsp salt
  • 1/4 cup shortening
  • 1 cup milk or light cream

Variation: Whole Wheat Tea Biscuits

Use only:
  • 1 cup Five Roses All Purpose Flour
  • 1 cup Five Roses Whole Wheat Flour
DIRECTIONS
  1. Preheat oven
  2. Combine flour, baking powder, and salt.
  3. Cut in shortening with two knives or a pastry blender until mixture is the consistency of coarse cornmeal.
  4. Make a well in the center of ingredients and add liquid all at once.
  5. Stir batter vigorously until it comes freely from the sides of the bowl.
  6. Turn dough onto lightly floured board and knead lightly for a few seconds.
  7. Roll or pat out to desired thickness*
  8. Cut dough with floured biscuit cutter and place on ungreased baking sheet.
  9. Bake in a hot oven.
  10. Serve immediately with butter and jam or marmalade.

*Thickness of dough: 1 cm (1/2")
Diameter of biscuit cutter: 5 cm (2")
Pan: cookie sheet
Temperature: 230 C (450 F)
Cooking Time: 12 - 15 minutes
Yield: 15 - 18 biscuits


Wednesday, July 9, 2014

Mom's Jelly Roll


I wanted to make a Jelly Roll or something since I have a bunch of homemade blueberry and raspberry jam sitting around, and since I haven't made any of my moms recipes, I figured this would be a good recipe to test out since I knew she had one written down.

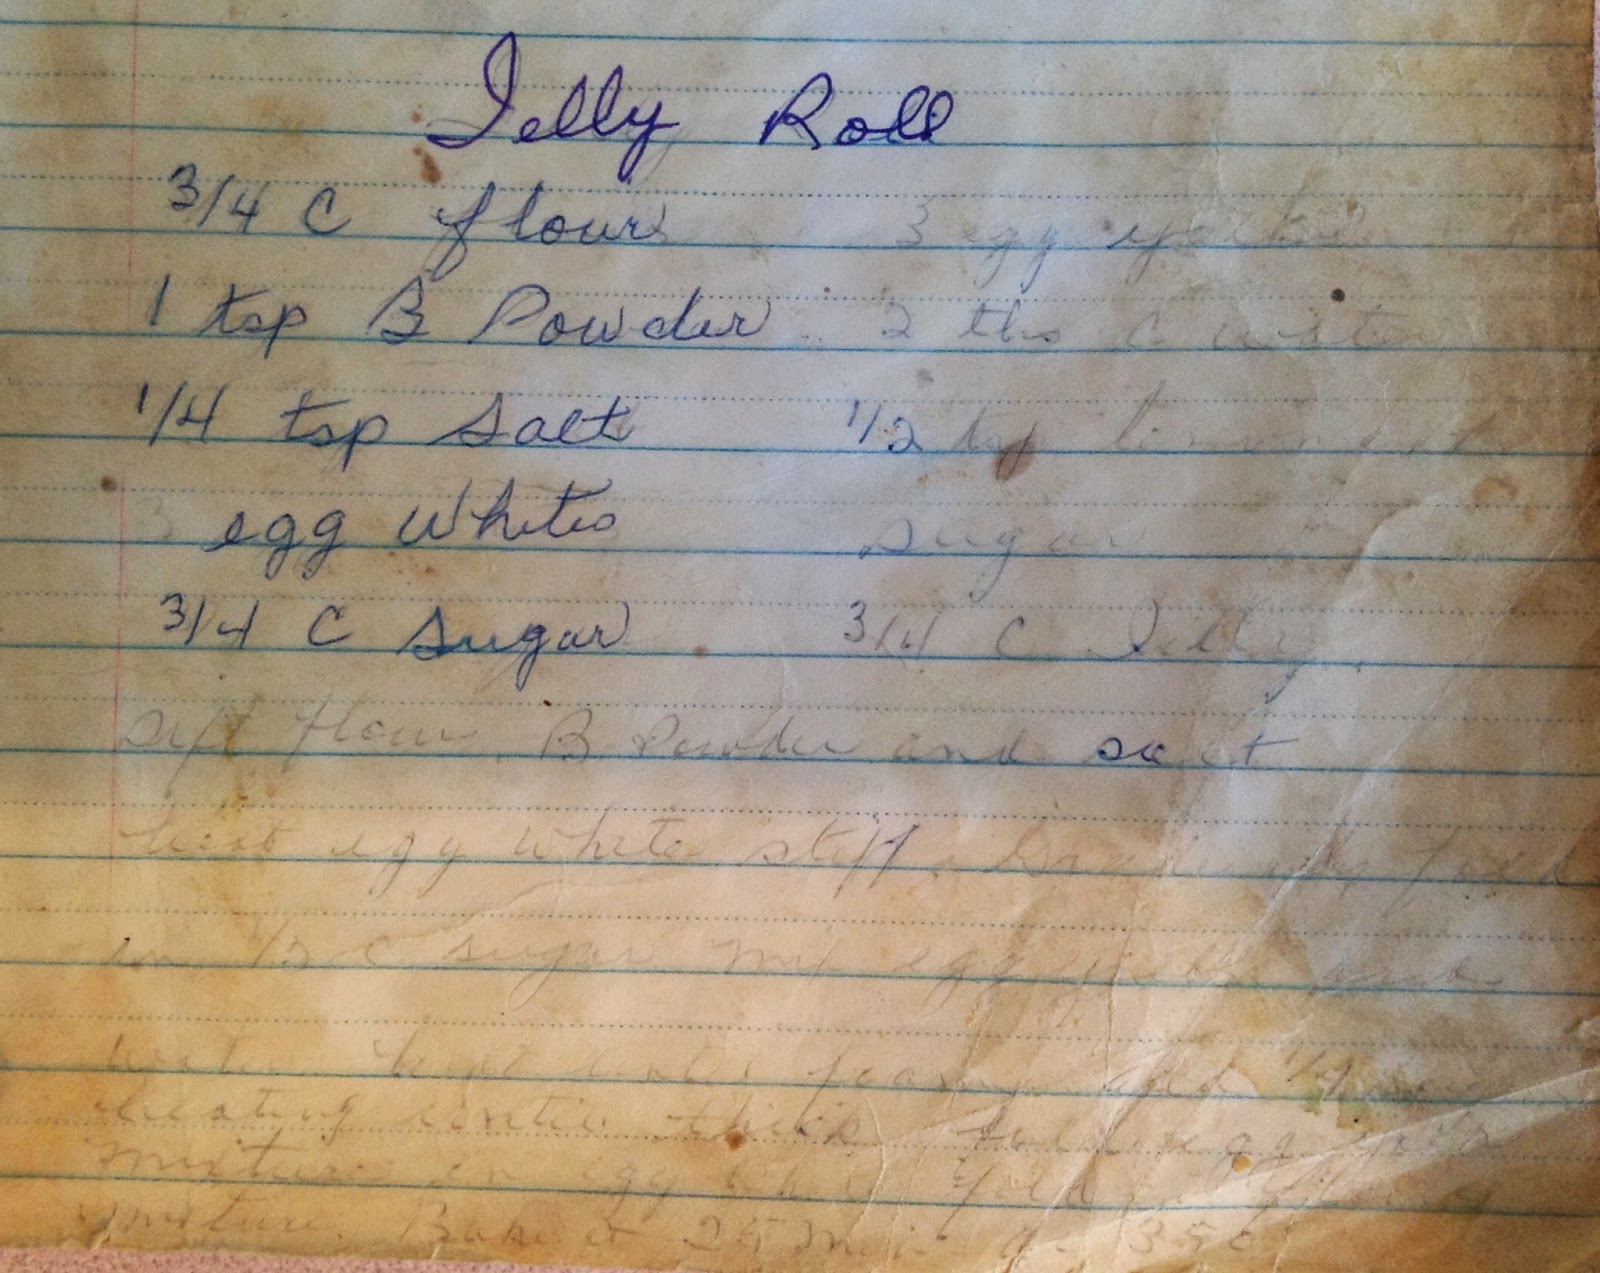
This recipe comes from the little blue exercise book.

I wasn't sure I would be able to make it since it's really hard to decipher, but I worked it out. Well, I think I did :)

I wrote out everything I could understand, checked which ingredients were in the instructions and vice versa and then put it all together.  The only ingredient I'm unsure of is the lemon zest...or whatever it is, because I can't find it in the instructions and there is no mention of some other ingredient that I am missing from the list.  Also, for the second sugar on the list, I'm guessing icing sugar to decorate the top with, although I have seen some jelly roll recipes where they sprinkle it over the jam before rolling also.

What I love about this, is that my mom tried to figure it out again too! She copied over some of the faded writing, but then left off.


So, off to the market for the ingredients...a stick of butter, a container of milk, a loaf of bread... for those of you who remember sesame street.
Once all the ingredients are collected. Mix all the dry ingredients together. I added the lemon zest to the flour, stirred it all up to combine and let it sit while I moved on to the eggs.

Separate the 3 eggs - whites and yolks.  Beat the egg whites until stiff and then fold in 1/2 cup of sugar.

Mix the yolks and cold water together and then add in 14 cup of sugar and mix until foamy.

Fold the yolk mix in to the whites

Once that's all done, gently fold in the flour.  On a greased pan with a greased parchment - spread out the batter. It's bubbly feeling and looking, very much like pancake batter. At first I thought it wouldn't spread, but it puffs up and fills in the thinner spots.  It still needs to be spread evenly or it will get crispy in spots when it cooks.

My mom's instructions don't give any information on what to do once cooked and there were two different trains of thought in other recipes I looked at.  I chose option 1 listed below, but I think option 2 would of worked just as well... since I was only using jam. If I was using whipped cream or something that would melt, then option 1 for sure.
  1. Once out of the oven, cut off crispy edges and then roll in a clean towel until cooled. Once cooled, unroll, and spread with jam
  2. Once out of the oven, cut off crispy edges, spread with jam, and then roll while still warm.

Having chosen option 1, once it cooled, I unrolled it and spread with blueberry jam.

Roll up lengthwise, placing open edge down and garnish.

All that's left is to bring the Jelly Roll to mom.


Mom's Jelly Roll
The recipe and instructions are how she wrote it out.

INGREDIENTS
  • 3/4 cup flour
  • 1 tsp baking powder
  • 1/4 tsp salt
  • 3 egg whites
  • 3/4 cup sugar
  • 3 egg yolks
  • 2 tbsp cold water
  • 1/2 tsp lemon zest*
  • sugar*
  • 3/4 cup jelly

DIRECTIONS
  1. Sift together flour, b.powder, and salt
  2. Beat egg whites until stiff. Gradually fold in 1/2 cup sugar.
  3. Mix egg yolks with water. Add in 1/4 cup sugar and beat until foamy.
  4. Fold egg yolk mix into egg white.
  5. Fold in flour mix.
  6. Bake 25 minutes @ 350 F