Showing posts with label Culinary Arts Institute Encyclopedic Cookbook. Show all posts

Monday, February 2, 2015

Sweetpotato Biscuits

I love sweetpotato; boiled, mashed, or roasted. So why not biscuits?

I found a recipe in the Culinary Arts Institute cookbook that I thought would be interesting to try and it didn't have a lot of ingredients either. Might I add that I still need to figure out the lighting in my place, but I'm a bit lazy – sorry :)

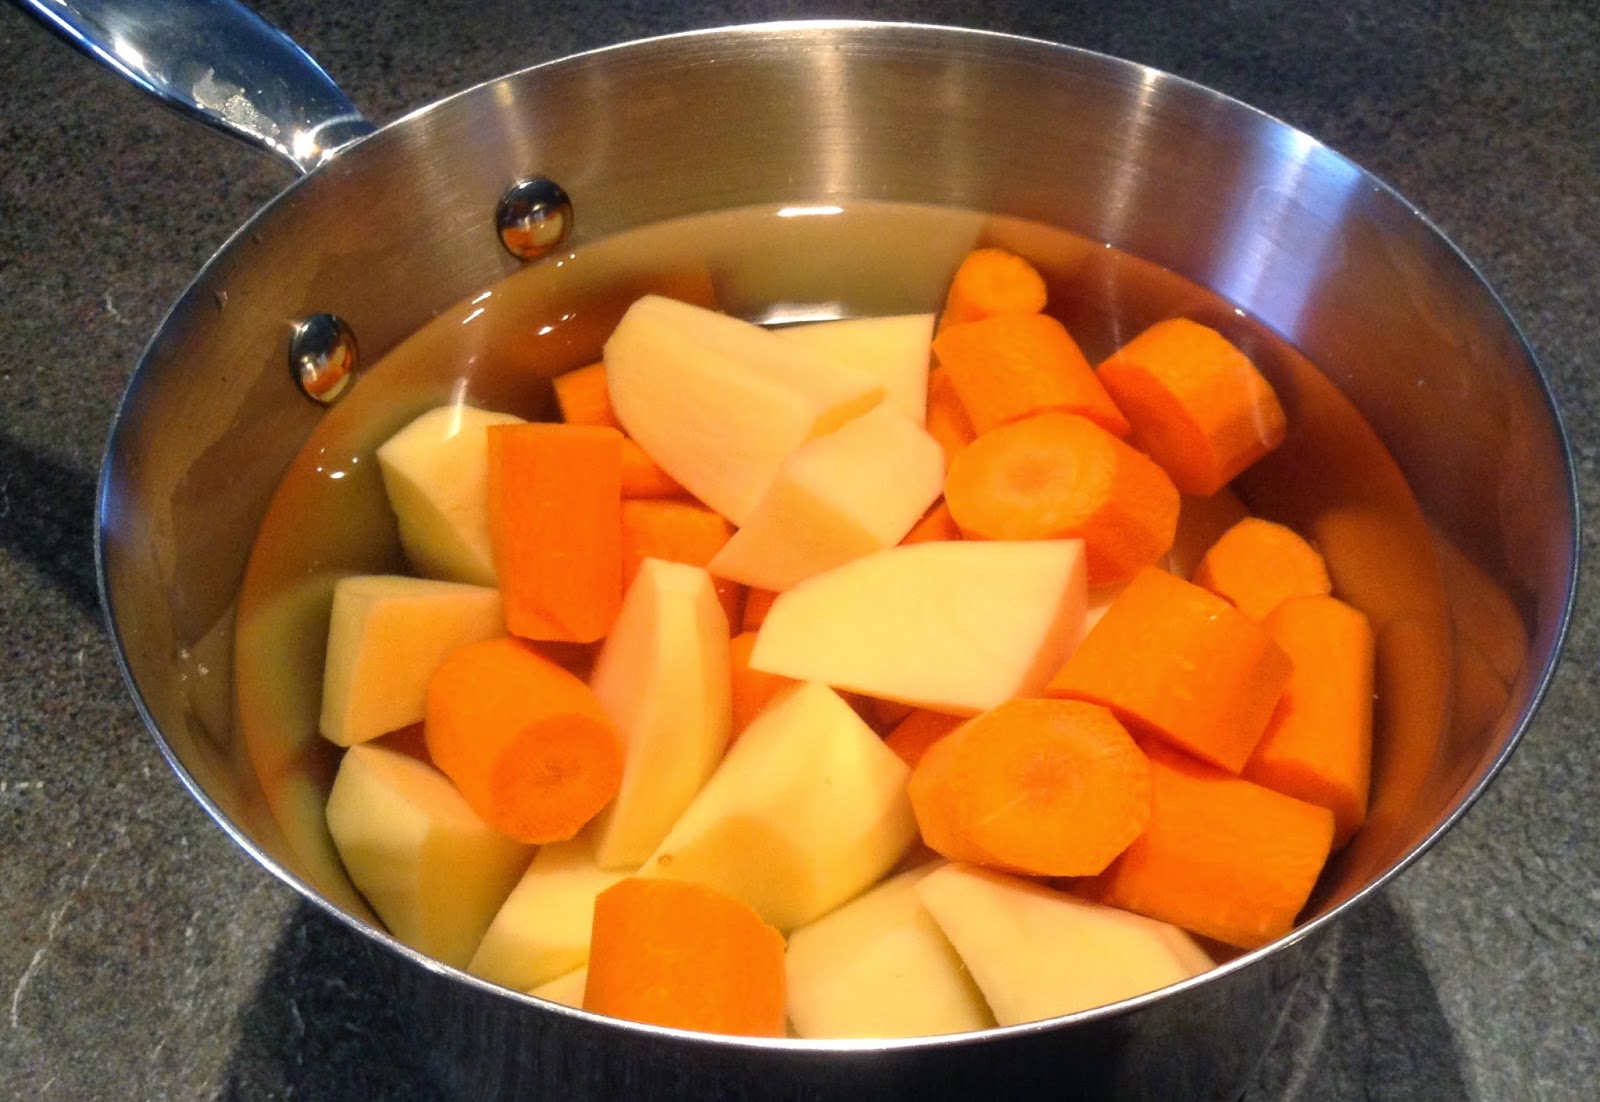
I gathered up all the ingredients, boiled and mashed the sweetpotatoes and set them aside to cool. 

Sweetpotato biscuits ingredients

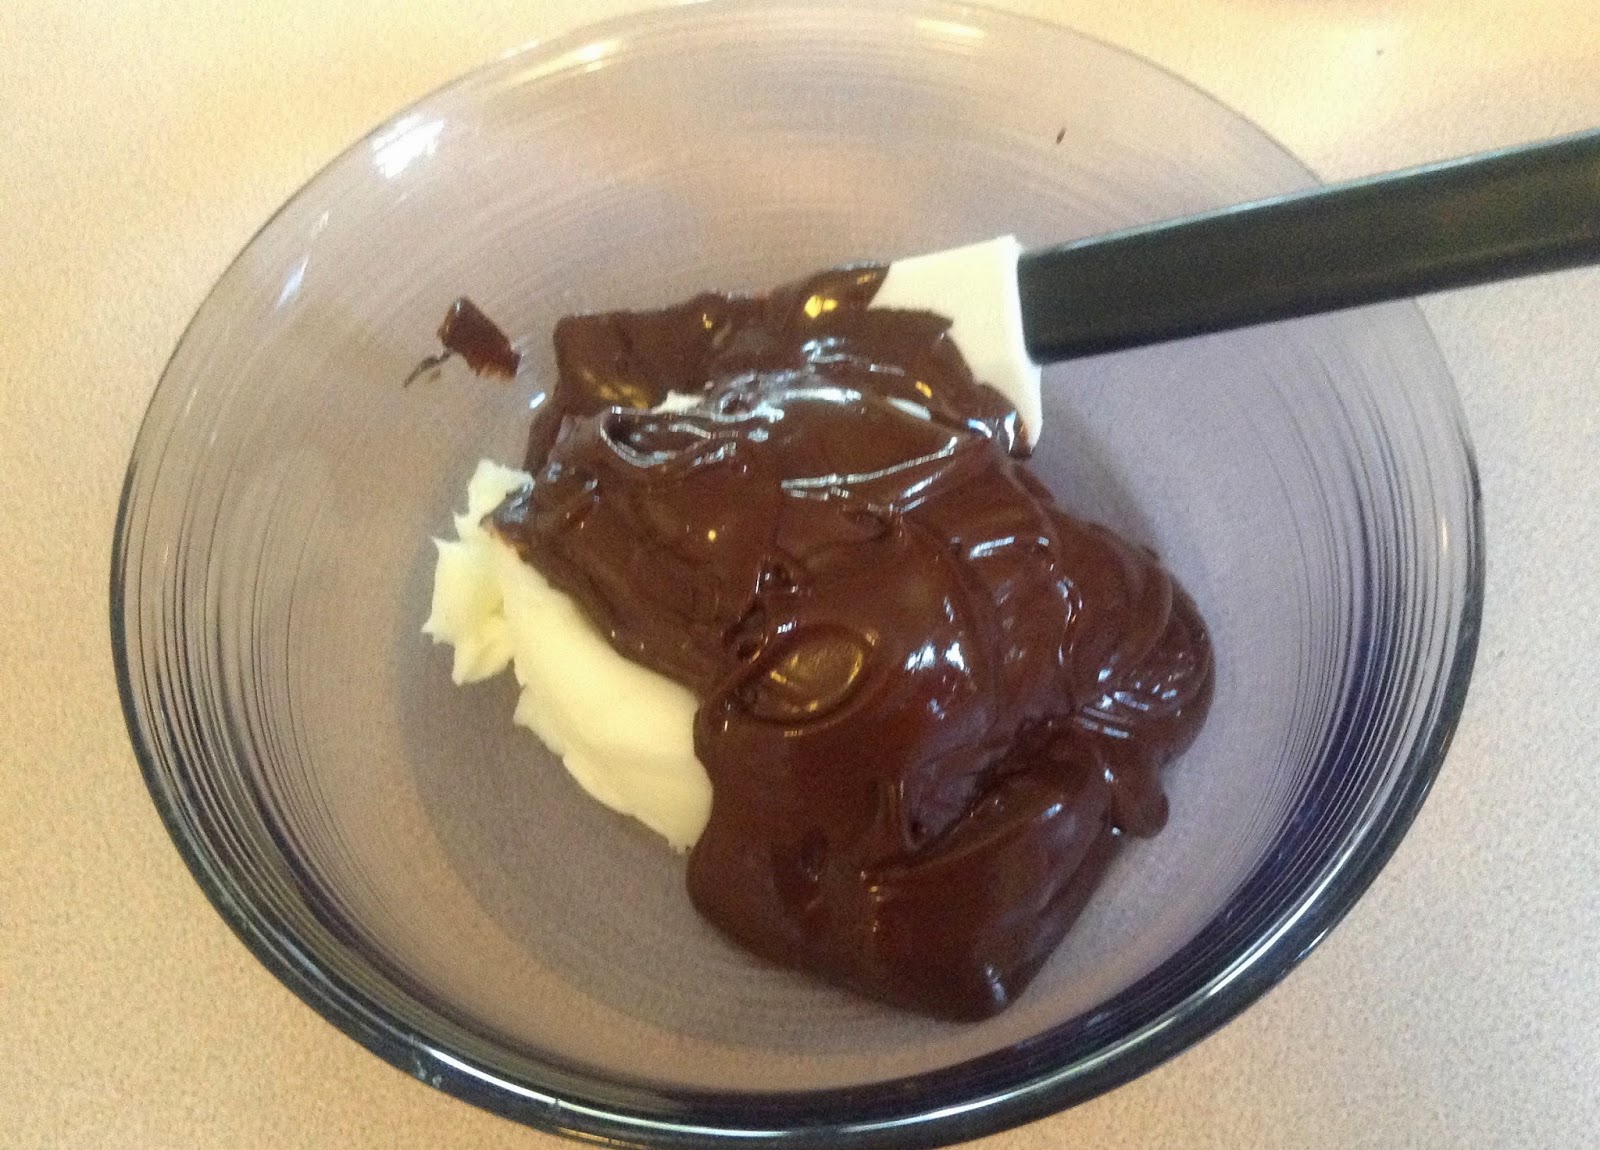
I mixed up the flour, salt, and baking powder and set the oven to preheat. I 'cut' in the shortening using the tips of my fingers until it looked like coarse corn meal. For some reason I find this very satisfying and I like the feel of the flour and shortening at this stage, it makes me want to run my fingers through it. Sadly, it will melt the shortening or butter if I give in to that temptation :)

Sweetpotato biscuits flour and shortening

I mixed the milk with the mashed potatoes and was rightfully skeptical, it's a wee (by wee I mean A LOT) gloppy - that's my technical term for goopy runny mess.


I added the orange goop to the flour mixture and stirred quickly as the directions indicated. With the baking powder it became airy, but very sticky.  I think the recipe really needs more flour. I scraped it out onto the counter with a lot of flour. I think I must of added at least another 1/2 a cup or more. before I could pat it out enough to cut and not have it stick to everything. Kneading wasn't really a priority or feasible.

I used a cute little cup that I had purchased at Ikea years ago to cut the dough. I think it was a kids cup and came in a package of three. I loved them because of the little round bubbles encircling the bottom. I never use them really, they sit in my cupboard until I need something like this. I drink out of coffee cups all the time instead of glasses, go figure?! A few times when I've needed tea candle holders I have used the little cups and they worked great. So they weren't a total waste of money, Ha ha ha!

Sweetpotato biscuit dough

 I think the recipe as written needs some adjusting. I checked online and similar recipes start off with 2 cups of flour and the same amount of milk and sweetpotato, so I think this one just slipped by without product testing. 

They look pretty sad getting ready to go in the oven. :(

Sweetpotato biscuits ready for the oven

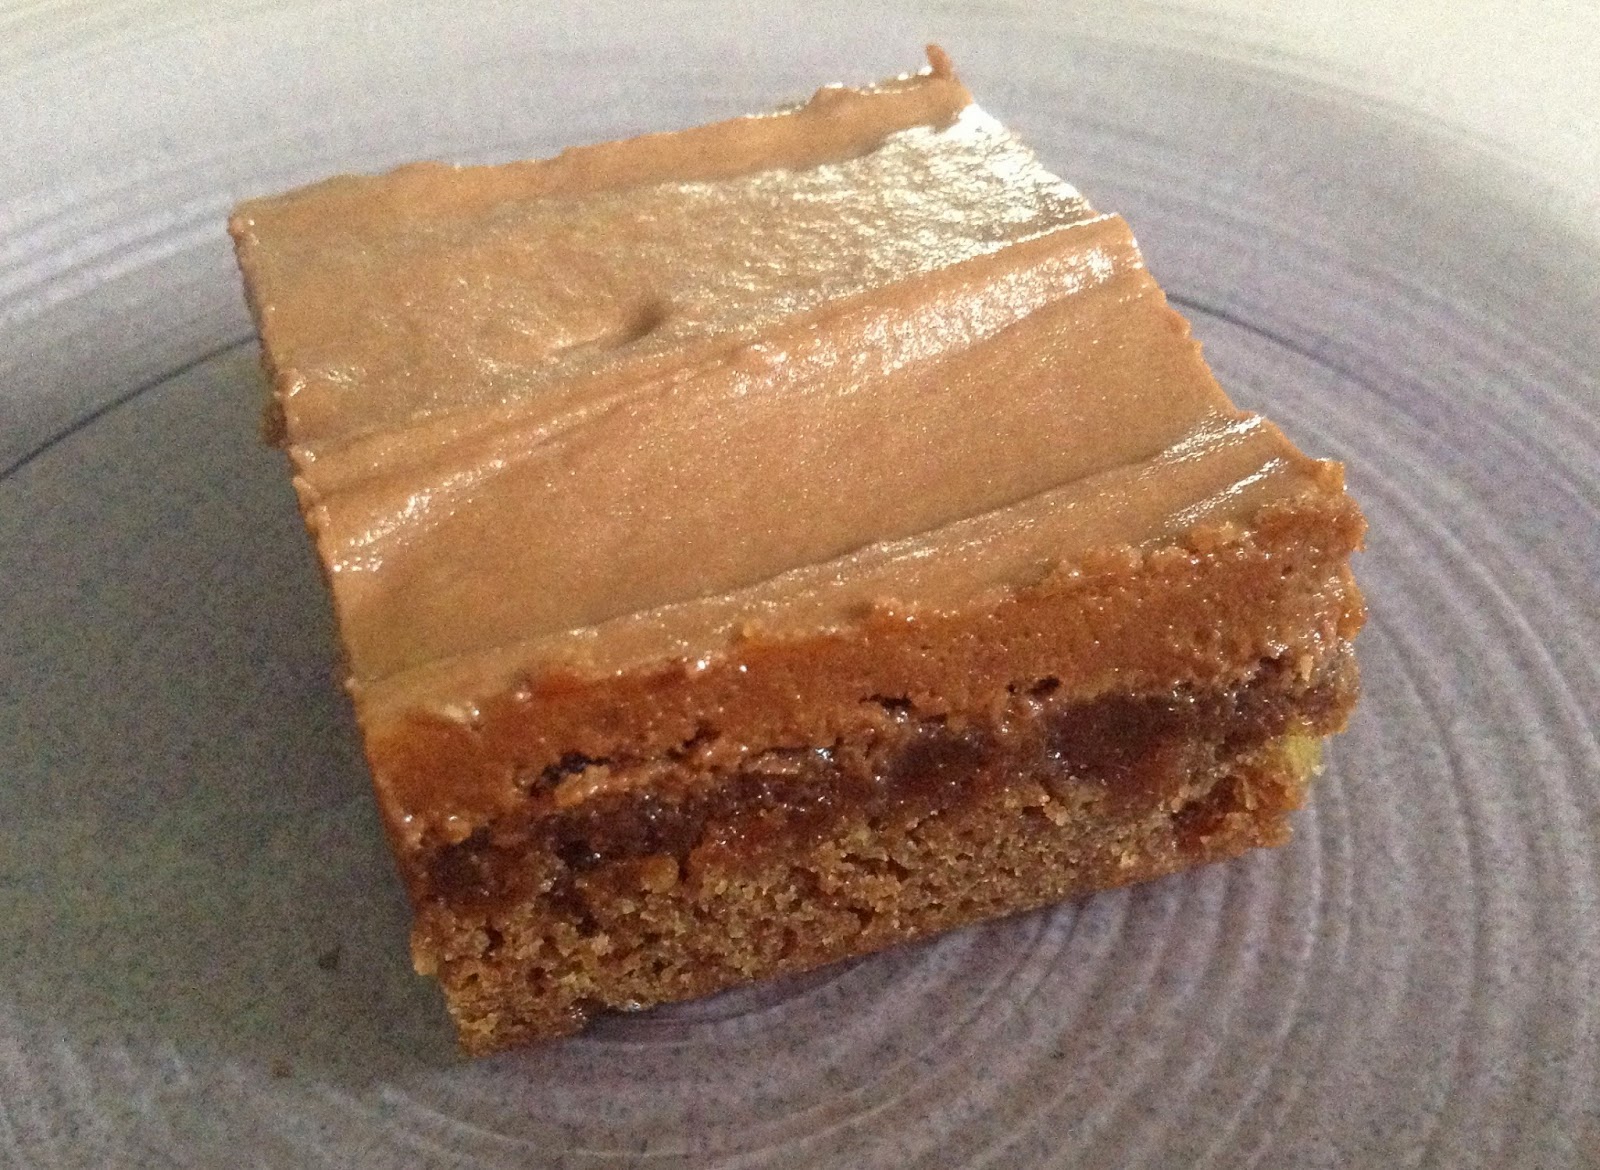
But...they baked up better than I hoped and puffed up slightly. Taste wise, hrmmm.. I think the batter would go amazingly well as dumplings cooked on the top of a stew, but they are nothing special as a biscuit.

Sweetpotato biscuits


90 - 95  calories / 5 grams of fat each - give or take :)


Sweetpotato Biscuits
Culinary Arts Institute Encyclopedic Cookbook - 1950 (pg 158)

 INGREDIENTS
  • 1.5 cups all purpose flour 
  • 2 Tbsp baking powder 
  • 3/4 tsp salt 
  • 1/2 cup shortening (cold) 
  • 1.5 cups sweet potato (mashed)
  • 1 cup milk
DIRECTIONS
  1. Sift flour, baking powder, and salt together
  2. Cut in shortening.
  3. Combine milk and sweetpotatoes.
  4. Add to first mixture and stir quickly.
  5. Knead lightly, using as little flour as possible on board.
  6. Roll out to 1/2" thickness, cut with floured cutter.
  7. Place on greased baking sheet and bake in hot oven (425 F) for 12-15 minutes
Makes 25 biscuits.


Tuesday, January 6, 2015

Potato Carrot Mold with Tomato Sauce

Happy New Year!  I wish you all the love that can fill your heart, laughter that makes you pee your pants, and happiness that causes your cheeks to hurt!

The holidays are mostly over, I say mostly because I still have my Christmas tree up :) Who knows, I might keep it up until the snow melts!

I had a nice quiet dinner with my mom on Christmas day. We had Turkey and all the fixings. It was nice. I didn't know what to get her - there isn't much a person with terminal cancer needs except a miracle and more time, neither of which I can provide. My sister had a good suggestion, so I went with all the Christmas treats my mom loves (sardines, oysters, crackers, roasted nuts, etc) and put them all together in a gift tray. She seemed to like it :)

I worked between Christmas and New Years and I spent a bit more time crocheting. I'm addicted to it lately. I feel so old! haha - but I did make and sell 2 hats and a doggie jacket without trying and sent off 2 hats/2 headbands to Ontario. Seriously...I need a life ;)


Now, knowing I have no life, I decided it was time to make something from the cookbooks that was simple and would get me back to the crochet hook quicker. Just kidding...haha, I had a lot of potatoes to get rid of.

At first I figured I would just make the Potato and Carrot mold, foregoing the tomato sauce since it sounds like an odd combination, but really, the potatoes and carrots mashed together are just that, mashed carrots and potatoes and nothing special. But YUM, perhaps I just had a craving for tomatoes or something, but it was SO GOOD with the potatoes and carrots. I couldn't stop eating it! YUM YUM YUM.  I think this is my new way of eating mashed carrots/potatoes! It may not look all that appetizing, but it filled my tummy with love :)

Potato Carrot Mold with Tomato Sauce

I didn't follow the tomato sauce recipe listed below since I didn't have any canned tomatoes, but I did have a can of tomato sauce (not to be confused with pizza sauce, spaghetti sauce, or tomato paste). I sauteed some garlic and then added it with onion flakes, salt and pepper to the sauce. It was simple and lovely.

Carrots and Potatoes

The recipe calls for 3 medium carrots and 3 medium potatoes. Argg, I hate that. It's so arbitrary and I have no idea what the average medium potato/carrot size was n 1950's. I don't even know what the average is in 2015! So, best guess as shown above. 


I chopped them up nicely and boiled them in salted water until tender. They do look pretty sitting in the pot ready to go :)


I gave away my hand mixer to a guy I dated last year...didn't work out, move on, so I was left with the options of using my kitchenaid (umm...no) or unpacking my food processor (umm...no), so the immersion blender was the only other choice...and I'm happy to say that it works wonderfully for this!

If you don't know the average medium carrot and potato size in 1950, you may want to add more or less warm milk to the mixture as you blend. I added the cup full and it was a bit too much, but really, it only changed the consistency, not the flavour.


I put the mix in two casserole dishes to bake. They came out of the oven looking the same as they went in. There was no browning on top. Possibly due to the extra milk.

Potato Carrot mold
Ready for oven
Potato Carrot mold
Out of Oven
It's not the most appetizing of foods with the tomato sauce on it, but I recommend giving it a shot.


Potato Carrot Mold
Culinary Arts Institute Encyclopedic Cookbook - 1950 (pg 482)

INGREDIENTS
  • 3 medium potatoes
  • 3 medium carrots
  • 1 cup warm milk
  • 2 tbsp butter
  • 1/2 tsp salt
  • 1/8 tsp pepper
DIRECTIONS
  1. Pare potatoes and carrots and cook together in boiling salted water until tender; mash.
  2. Add milk, butter, salt, and pepper; beat until fluffy.
  3. Pour into greased casserole and bake in moderate oven (350 F) 20 minutes, or until browned.
  4. Serve with Tomato Sauce.  For 4.


Tomato Sauce
Culinary Arts Institute Encyclopedic Cookbook - 1950 (pg 490)

INGREDIENTS
  • 2 1/2 cups canned tomatoes
  • 1 small onion, chopped
  • 4 cloves, 2 tbsp fat
  • 2 tbsp flour
  • 1/2 tsp salt
  • 1/4 tsp pepper
DIRECTIONS
  1. Cook tomatoes, onion, and cloves together for 10 minutes. 
  2. Melt fat, add flour, salt, and pepper and blend.
  3. Add tomato mixture and cook 2 minutes longer, stirring constantly.
  4. Strain.
  5. Makes 1 cup sauce.

Thursday, October 9, 2014

Cranberry Tarts for Thanksgiving

This weekend is Thanksgiving in Canada. Mmmmm Turkey, stuffing, veggies and homemade cranberry sauce...and of course dessert. I'm not overly excited for pumpkin pie, so I decided to make something that still would blend in nicely with the holiday.

Cranberry Tart with Heart cutout

My mom and aunt made tarts when my aunt was here visiting this summer and my mom talks about them quite often. They used a recipe for Cranberry Meringue Pie from the Culinary Arts Institute Encyclopedic cookbook, but without the Meringue. Right next to that recipe is a similar recipe for Cranberry Pie, so I'm not sure why they didn't use that one instead. I'll have to ask when I'm over there on Sunday.

Cranberry Heart Tart

I cheated a wee bit and used pre-made pastry shells for the base and used extra shells to make the pastry decorations. I think it would of been easier to get the dough out of the shell when they were frozen...it's way too soft and fragile trying to get it out in a less than frozen state. Just sayin'.

It's a pretty easy recipe to follow but it takes a little bit of time to wait for all the cranberries to pop and also for the final cooking part. Just a wee bit of standing around.

I doubled the recipe, which made about 60 tarts. The recipe (as it's written below) says it makes 1 9" pie, so I wasn't sure what that equaled out to in tarts, so to be safe I doubled it. More to share!

Cranberries

After dissolving the sugar in 1.5 cups of the water, I added in the cranberries and let it cook down for a while on medium heat. A bit more than a simmer, but not a boil, so I could walk away from the stove without things burning.  I could hear the cranberries popping!


After cooking so that most of the cranberries had burst, I tempered the egg, butter, water, salt, cornstarch mixture with some of the hot cranberry mix, and then while stirring the cranberries on the stove, I slowly poured the tempered egg mix in. Please don't scramble the eggs...please don't scramble the eggs...please don't scramble the eggs...hahah, that was what I was thinking in my head. It was scary to think it all could go wrong in an instant.

Phew!

At this point you let it cook until it turns clear and thickens up. I had the stove on medium-low (closer to medium) and it was taking quite a while to clear up, but it was getting less cloudy and thick. After about 20 minutes I had enough and to me it looked great..and goopy!

Cranberry filling cooking

I put the cranberry filling in the tart shells using a soup spoon. Yes, I know, I need to learn to do this more neatly...or you might be nice and think that the below picture isn't too bad, but well...this was the cleanest looking set of tarts I had :)

Cranberry Tarts filled with goodness

I added on cutouts of acorns, hearts, and baby hearts.  Wala! Off to the oven.

Cranberry Tarts with acorn cutouts

I poked little holes in the tops of the acorns to give them a more acorny look. My sis thought it was cute :)  I'm not sure how people make nice clean looking tarts that don't bubble up and over. These ones weren't overly full and they sank down quite a bit once I brought them out of the oven. Guess I'll have to google that..

Cranberry Tarts out of the oven

But messy or not, they are yummy. They are sweet and tart...and sticky! Sure, it's sad when a few tarts stick together, but there is a way to fix it...put them in your belly so no one sees them!

Cranberry Tarts
Culinary Arts Institute Encyclopedic Cookbook - 1950 (pg 572)

Cranberry Tarts for Thanksgiving

INGREDIENTS
  • 2 cups sugar
  • 1 cup water
  • 4 cups cranberries
  • 2 Tbsp cornstarch
  • 1/4 tsp salt
  • 3 Tbsp butter, melted
  • 2 egg yolks, beaten


DIRECTIONS
  1. Cook sugar and 3/4 cup water until sugar is dissolved.
  2. Add cranberries and cook until they stop popping.
  3. Combine cornstarch, remaining water, salt, butter, and egg yolks and add a small amount of cranberries. 
  4. Mix thoroughly, add to remaining cranberries and cook until thickened and clear. 
  5. Pour into pastry shell, cover with meringue and proceed as directed.

Or in my case, pour into a bunch of tart shells.

The recipe for butter pecan tarts says to bake at 325 F for 20 - 25 minute, so that's what I did. 

Thursday, September 18, 2014

Fudge Four O'Clocks with Nutella Frosting

Sorry!

I've been slacking a bit. Back from visiting family and then back to work.  I pulled out the blanket I'm crocheting and tried to learn a few new stitches. I admit, I've been obsessed with crafting lately, it's creative like cooking and baking, but without the calories! Lets not talk about the 5 new quilts I've planned on making...and I've never quilted before!  Should be fun...but on to the baking...Fudge Four O'Clocks, it sounds like something Audrey Hepburn would have in Breakfast at Tiffany's.

Fudge Four O'Clock with Nutella Frosting

I was going to make Brownies from the Culinary Arts Institute Encyclopedic Cook Book, but the recipe for the Brownies is almost the same as the one for Fudge Four O'Clocks, and well, the Four O'Clocks have frosting!. I could also argue that the deciding factor was the 1950's picture...and the fact that I had a jar of Nutella in my cupboard just waiting for something chocolatey to be put upon :)

Fudge Four O'Clocks spread with fluffy frosting and crowned with nuts.

The recipe is quite simple with not a lot of ingredients, which I love. I think improvements on this recipe would be with the type of chocolate one uses. I just used some no name semi-sweet chocolate chunks that I had, nothing special, but it was still yummy. So better chocolate would make this even more wonderful!

Once you've gathered together your ingredients and have melted the chocolate, pour it over the shortening.

Chocolate and shortenings

And stir until blended well. It wasn't blended smoothly, most likely because the chocolate was only moderately warm, so I heated it for a few seconds in the microwave. Viola!

chocolate and shortening melted

Beat the eggs until yellow and thick and then gradually add in the sugar.  Pour the chocolate mixture in with the eggs and sugar along with a bit of the flour.

chocolate, shortening, sugar, and eggs

Add the flour and milk to the batter, and once mixed well, stir in the nuts.

Pour the batter into two 8X8 inch pans that are greased and lined with waxed paper.   Oh...the batter seems very runny. I'm not sure if all brownie recipes are like that since I don't make a lot of them.

Well...I remember my mom using waxed paper all the time for things like this. Birthday cakes were amazing things way back then. Sure they were lined with waxed paper to bake, but...BUT!!...they also had pennies, nickels, dimes, and the luckiest of quarters inside and all of them were wrapped in waxed paper and baked inside the cake. Each slice was a surprise to see what money you might find! I love those days, no one was worried you might accidentally choke on a dime...as kids, we knew what was in there. Ahh, the good old days of being able to eat dirt!  Haha, I digress... I didn't have waxed paper so I used parchment paper instead.

Fudge Four O'Clocks fresh from the oven

When I first took them from the oven they seemed a bit gooey...more gooey than a brownie hot from the oven should be, so I baked it another 10 minutes.

The frosting I used is from Remodelaholic's website and it's so yummy. It came out a bit thick, so I added a tiny bit of milk and then tried to spread it...oiy! It was like trying to spread fridge cold peanut butter and it was pulling up the fragile top of the brownies!  I added a bit more milk and thinned it up quite a bit more and spread it over the top of the thicker frosting to give it a cleaner look.  You can see it in the picture, it looks like there are 3 layers. But honestly, this is one accident I would do again! It was creamy and decadent!

I definitely recommend these!

Fudge Four O'Clocks with Nutella Frosting


Fudge Four O'Clocks
Culinary Arts Institute Encyclopedic Cookbook - 1950 (pg 743)

INGREDIENTS
  • 2 ounces chocolate, melted
  • 1/4 cup shortening
  • 3 eggs, beaten
  • 1 cup sugar
  • 1 cup cake flour
  • 1/2 tsp salt
  • 1 tsp baking powder
  • 1/2 cup milk
  • 1 cup nuts, chopped
DIRECTIONS
  1. Melt chocolate and pour over shortening. Mix well
  2. Beat eggs until thick and lemon colored.
  3. Add sugar gradually, beating well with each addition.
  4. Combine mixtures (chocolate/shortening and egg/sugar) and add a little of the flour.
  5. Sift rest of flour, salt, and baking powder together and add, alternatively with the milk.
  6. Add chopped nuts.
  7. Spread in 2 8X8 inch pans which have been greased and lined with waxed paper
  8. Bake in a slow oven (325 F)  20 minutes
  9. Cut into 32 bars 1X4 inches.

Nutella Frosting
(from Remodelaholic - click link above to visit!)

INGREDIENTS
  • 1 cup Nutella
  • 1 1/2 cup powdered sugar
  • one shake salt
  • splash of milk (if needed)
 
DIRECTIONS
  1. Beat the Nutella and butter together until smooth.  
  2. Add the sprinkle of salt and the first 1/2 cup of powdered sugar, beat until combined.  
  3. Continue to add the powdered sugar a 1/2 cup at a time, beating between additions, until creamy and smooth.  
  4. Add a small splash of milk if necessary.

Sunday, July 27, 2014

Birthday Dinner with the family: Potato Triumph

Cooking is like shopping. You get to a point where unless you LOVE (truly LOVE) something and there are no maybes or ifs (maybe it will look good with my green skirt or if I had red shoes to go with this.. hahah, or my if thought- if I lost 10 lbs!) then you buy it - or in the case of cooking - you'll make it again.

But really, there is no point in wasting the time or money on something you don't unconditionally love. (which really is the same for cooking and shopping) I hate throwing out good food that went bad because of a recipe!  This recipe didn't go bad, but I won't make it again.

Potato Triumph - it sounded like a winner to me!
Potato Triumph

It's from the Culinary Arts Institute Cookbook under the Boiled Potatoes section, which is good to know, since they don't suggest anything in the recipe about which potatoes to use or how they are cooked... so, I had some leeway on the type of potato.

To boil potatoes (as per the book):
In order to retain the fullest food value, cook potatoes in rapidly boiling water, with skins on or scraped off.  Use only enough water to cover.  If skins are to be removed, pare very thin and drop at once into boiling salted water.  Save the drained water in which pared potatoes have been cooked to make gravies, soups, or bread, as it is rich in minerals.
I chose about 25 baby potatoes and boiled them as directed in salted water. Then dumped all the wonderful Triumph ingredients in a pot and let it simmer until the butter had melted.

I didn't have any fresh parsley, so I used dry and I didn't have chives, so I used some sauteed shallots, (which I stole from the Rinktum Ditty). I don't think it affected the flavour at all...maybe it matters, but I don't think I have a refined enough palate for it to make a difference.
Potato Triumph

The flavour was just ok to me, I found the potatoes too oily and overall a bit bland.  Perhaps if I had made more potatoes since the sauce makes a lot then I could of tasted more flavour and less oil. It was definitely more than what I needed. I was feeding 4, not 14!

The kids seemed to like it ok enough, but perhaps they were being nice. I just didn't like it enough to make it a Keeper.


Potato Triumph
Culinary Arts Institute Cookbook - 1950 (pg 483)

INGREDIENTS
  • 1/4 cup melted butter
  • 2 tbsp olive oil
  • 1 1/2 tsp grated lemon rind
  • 1 tbsp chopped parsley
  • 1 tbsp chopped chives
  • 1/8 tsp nutmeg
  • 1/2 tsp salt
  • 1/8 tsp pepper
  • 3 tbsp lemon juice

DIRECTIONS
  1. Combine all ingredients
  2. Pour over potatoes and serve hot.


Thursday, July 24, 2014

Birthday Dinner with the family: Pineapple Nut Stuffing

This whole dinner thing was not living up to my expectations. Hahah, I had hoped for better than 1 good recipe out of the 5 old recipes I tried.

This stuffing could of been the second...it was so close, but I'm here to follow recipes and learn a few new things that I wouldn't have doing my own thing, but I knew...I really really 100% knew in my love of stuffing heart that there was not enough liquid in this stuffing to make it moist. I knew...just knew...and proved it!

Well, this is a very pretty looking stuffing, but the recipe is a bit dry, as you can guess from my previous comments :)  I will try this again, but right now my rule of thumb is that anything I cook or bake has to come from one of the old cookbooks it has to be a new-to-me old recipe. So, I won't get around to trying this again for quite a while.  (Things my mom specifically requests are the exception)
Pineapple Nut Stuffing

No where in the cook book  (granted I only looked in the Stuffing section...haha which makes perfect sense to me) could I find information on cooking stuffing outside of the inside of a turkey or chicken. Guess back in the day, you ate what could fit in the bird and to heck with the extra bits.  Since I was following the recipe exactly, I ignored my desire to add a lot more fluid and just went with the butter and eggs that the recipe called for. 

Normally, when I make extra stuffing, I put it in the pan, covered with tinfoil,  and cook it for about 30 - 40 mins. It always turns out great. For this, since I was using it in the Stuffed Crown Roast of Frankfurters, I cooked it covered about 15 minutes and then 'stuffed' it in the crown...which I then topped off with a TINY sprinkle of water...and tinfoil.  I really really hoped the bread cubes would soften, but there just wasn't enough liquid... I think I'm done talking about the liquid (or lack thereof) for now.

Even the ingredients look pretty!

I wasn't sure how much 1 canned pimiento was. I only had the option of a bottled diced pimiento, so I used a few tablespoons of it, drained.
Pineapple Nut Stuffing ingredients

Add the 1 1/2 tsp salt, 1 tsp paprika, and the dash of cayenne to the bread, pineapple, pimiento, celery, and walnut mixture.  I used yummy smoked paprika.
Pineapple Nut Stuffing - adding spices

Melt the butter and stir in the unbeaten eggs (to the butter) before adding it to the bread mix. Odd, not the way I would have done it, but that's what the cook book said to do.  It looks good though...but ...just butter and eggs!?

Maybe I should take a look at how they cook their birds, because maybe a lot of moisture comes from that....enough, enough, enough already...hahah, I know :)
Pineapple Nut Stuffing - adding eggs

I baked the stuffing for about 15 minutes at 350 F, covered in tinfoil.
pineapple nut stuffing - baked

Now you get to put the stuffing in something :)  I chose the Stuffed Crown Roast of Frankfurters. At this point I did SPRINKLE it with a TINY bit of water....less than a tablespoon. I couldn't help myself!
Pineapple Nut Stuffing in the Stuffed Crown Roast of Frankfurters

I then covered it with a hat of tinfoil and baked for another 15 - 20 (until the hotdogs were done).

Pineapple Nut Stuffing
Culinary Arts Institute Cook Book - 1950 (pg 448)

INGREDIENTS
  • 4 cups dry bread; 1/2" cubes
  • 3/4 cup finely chopped celery
  • 3/4 cup pineapple wedges
  • 1/2 cup walnut meats, finely chopped
  • 1 canned pimiento, chopped
  • Dash cayenne
  • 1 tsp paprika
  • 1 1/2 tsp salt
  • 1/4 cup butter
  • 2 eggs

DIRECTIONS
  1. Combine bread, celery, pineapple, walnut meats, pimiento, and seasonings
  2. Melt butter, remove from heat, stir in unbeaten eggs, and add to bread mixture.
  3. Toss lightly

Notes:

Use as stuffing for turkey, chicken, or duck.

Use chopped cooked bacon instead of nuts, reduce salt to 1/2 tsp and add grated onion or use red ir green pepper instead of pimiento.

Sunday, July 20, 2014

Birthday dinner with the family: Stuffed Crown Roast of Frankfurters with Pineapple and Nut Stuffing

Ok, perhaps serving this for dinner on my sisters birthday wasn't the best present she received, but it was interesting...kind of...maybe :) I do think my picture of the Crown is a wee bit more appetizing than the original, sorry...but those hotdogs/sausages just look nasty in black and white!

Hahah, the recipe states:  "A crown roast of wieners is an ideal solution for guest problems when the budget is low.I can pretty much guess the family is going to rethink coming over for dinner again :) So...yes, it is an ideal solution for guests problems!


The stuffed crown is fairly simple, and might go over well for kids at a party or BBQ, but really, not so much for adults.  The original recipe calls for sauerkraut, but since they also add other options you can use, I chose stuffing. I picked a Pineapple and Nut stuffing from the same book - Culinary Arts Institute Encyclopedic Cookbook - 1950.

Perhaps if I had chose sausages over beef wieners it might of been better too.  Ahh well, it's not about making the best food, but making what is in the cookbook :)  I'll keep telling myself that!

I cut the hotdogs in half since there was no way 4 of us would eat 20 or so hotdogs and figured it would be more stable that way too.

I carefully ran the thread through the bottom of the hotdogs and then another line through the top part and then pulled them all fairly tight in a row. Thread goes through hotdogs very easily, but they feel delicate, like the thread will tear through if you aren't careful.

It was easier to bundle them all up and then stand them upright before trying to stand them in a circle. The cut part of the hotdog definitely made them more stable for standing on end.  Building the crown was the best part of it,  truly an epic creation! ;)

Once they were all set in a circle, I tied the strings together to keep them a bit more in shape.

At this point, I carefully added the stuffing and then stretched out a piece of bacon so it would wrap around the entire crown roast.  It looks fairly impressive for just hotdogs and stuffing. I was a wee bit proud of that...but ... coming out of the oven a few of the hotdogs did split off the thread, so one side was sadly sagging.

I put a little tinfoil tent over the stuffing so it wouldn't dry out too much. It still ended up being dry, but I'm pretty sure that was the stuffing recipe's fault and not the cooking.

Overall, it tasted like hotdogs with dry stuffing with it. Nothing spectacular at all. Choosing a hotdog/sausage product that tastes good just baked in the oven would probably help this beauty improve in flavour too :)


As an extra, due to worry over people going hungry, I made a side dish of potatoes - Potato Triumph!

Sadly, I didn't get around to doing the baked banana's - the weather here has been hot! Having the oven on for the stuffing and Crown Roast was long enough. Instead I tossed a bunch of frozen bananas in a food processor and whipped them up. YUM! Light and airy :)


Stuffed Crown Roast of Frankfurters
Culinary Arts Institute Encyclopedic Cookbook 1950 (pg 387)

INGREDIENTS
  • 20 Frankfurters
  • 2 cups cooked Sauerkraut
DIRECTIONS
  1. Arrange frankfurters side by side, with curved side up.
  2. Using large needle and string, sew through all the frankfurters 1/2 inch from the bottom and 1/2 inch from the top.
  3. Tie ends of the top string together, bringing first and last frankfurter of the row together.
  4. Repeat with bottom row.
  5. Stand frankfurters on end to form a crown. (Concave side should be out)
  6. Fill center of crown with sauerkraut.
  7. Bake filled crown in moderate oven (375 F) about 20 minutes. 
Serves 10

Fill crown with stuffing, creamed cabbage, creamed cauliflower or Potato Balls instead of sauerkraut.

Wednesday, July 16, 2014

Birthday dinner with the family: Appetizer: Rinktum Ditty

With a name like Rinktum Ditty, I had to try it.

A search of the word origin doesn't bring up anything conclusive, but it appears to be a common phrase in certain areas. From the following forum, the most common explanation was from Texas and they all had the same idea of what the meaning of Rinktum was.
If you get a haircut, you better say "Rinktums" or "no rinctums, no returns" before someone notices :) Otherwise...someone else could rub the back of your head with their knuckles (to the point of pain).

Makes me think none too fondly of noogies from my childhood!

Other usages from other places:
  • a gadget or simple but useful machine or tool. Aka a thingie-ma-bob
  • can be used like 'rinky-dink' - something cheaply made
  • can be used like 'gong-show' - a complete disorganized mess of people
  • Slang form for calling someone an A-hole
  • A dish consisting of cheese, tomatoes, onion, egg, and pepper, on toast

Most of the reviews I've seen on the web are favourable, but I admit that some of the images are less than appealing. The less appealing ones look like a very orange-red cheese melted over toast, the others look more like a tapenade. I'm guessing this is due to how fine the onions and tomatoes are chopped, as well as the colour of the cheese used.  Well...mine falls in to the less appealing looking category :) To me it looks a bit like ...umm ...barf ...BUT, I was actually impressed that it tastes better than it looks, and everyone had second helpings of it, so, that in my opinion means I would make it again - perhaps not for guests (because of how it looks), but for family.
RInktum Ditty

The recipe is in The American Woman's Cook Book and The Culinary Arts Encyclopedic Cook Book - both edited by Ruth Berolzheimer (Director, Culinary Arts Institute).  The only difference is that in the AW Cook Book it calls for 1/2 lb of grated cheese, whereas the CAE states 1/2 lb American Cheese grated.  I'm not American - I'm a proud Canadian, so I don't know what American Cheese is...except to guess it comes from Jersey cows  ;)

No Name Nacho Cheese
I chose to use grated nacho cheese and measured it out on a scale. (8 oz = 1/2 lb = about 2 cups of grated cheese).

I set the cheese aside while I cooked the onions up in butter and cooked the tomatoes.

I wasn't sure how to just make '2 cups of cooked tomatoes', so I threw about 2.5 cups of chopped tomatoes in a pot and let them simmer until mushy.

I added the spices and onions to the tomatoes and then stirred in the cheese, stirring constantly until melted, then added in the egg - which I don't think was needed. It was odd, and I was worried that it would cook when I stirred it in, but I guess the little ditty was cool enough that it didn't. It seemed a bit liquidy when putting it on the toast, but it didn't run off to much.

For the toast, I melted butter and brushed it on both sides of some sour dough bread slices, that I then popped in the oven and baked at 350 F until somewhat brown - flipping once. (haha, I needed the oven for the Stuffed Crown Roast of Frankfurters, so I didn't want to lose the 'preheating' by changing the temperature)

It makes quite a bit too. I'd say at least 3 cups worth. As an appetizer, we only used about 1 cup of it.


Rinktum Ditty
American Woman's Cook Book - 1948 (pg 378)
Culinary Arts Institute Encyclopedic Cookbook - 1950  (pg

INGREDIENTS
  • 1 small onion, chopped finely
  • 1 tbsp butter
  • 2 cups cooked tomatoes
  • 1 tsp salt
  • 1/4 tsp pepper
  • 2 tsp sugar
  • 1/2 lb cheese, grated
  • 1 egg beaten


DIRECTIONS
  1. Cook onion in butter until tender
  2. Add tomatoes, salt, pepper, and sugar and heat
  3. Add cheese and cook until melted, stirring constantly.
  4. Add egg slowly, stirring constantly, and cook 1 minute longer
  5. Serve on buttered toast.

Note: Serves 4 (4 hungry people eating 3/4 of a cup of it each!)