|
| Purity on the left, Five Roses on the right |
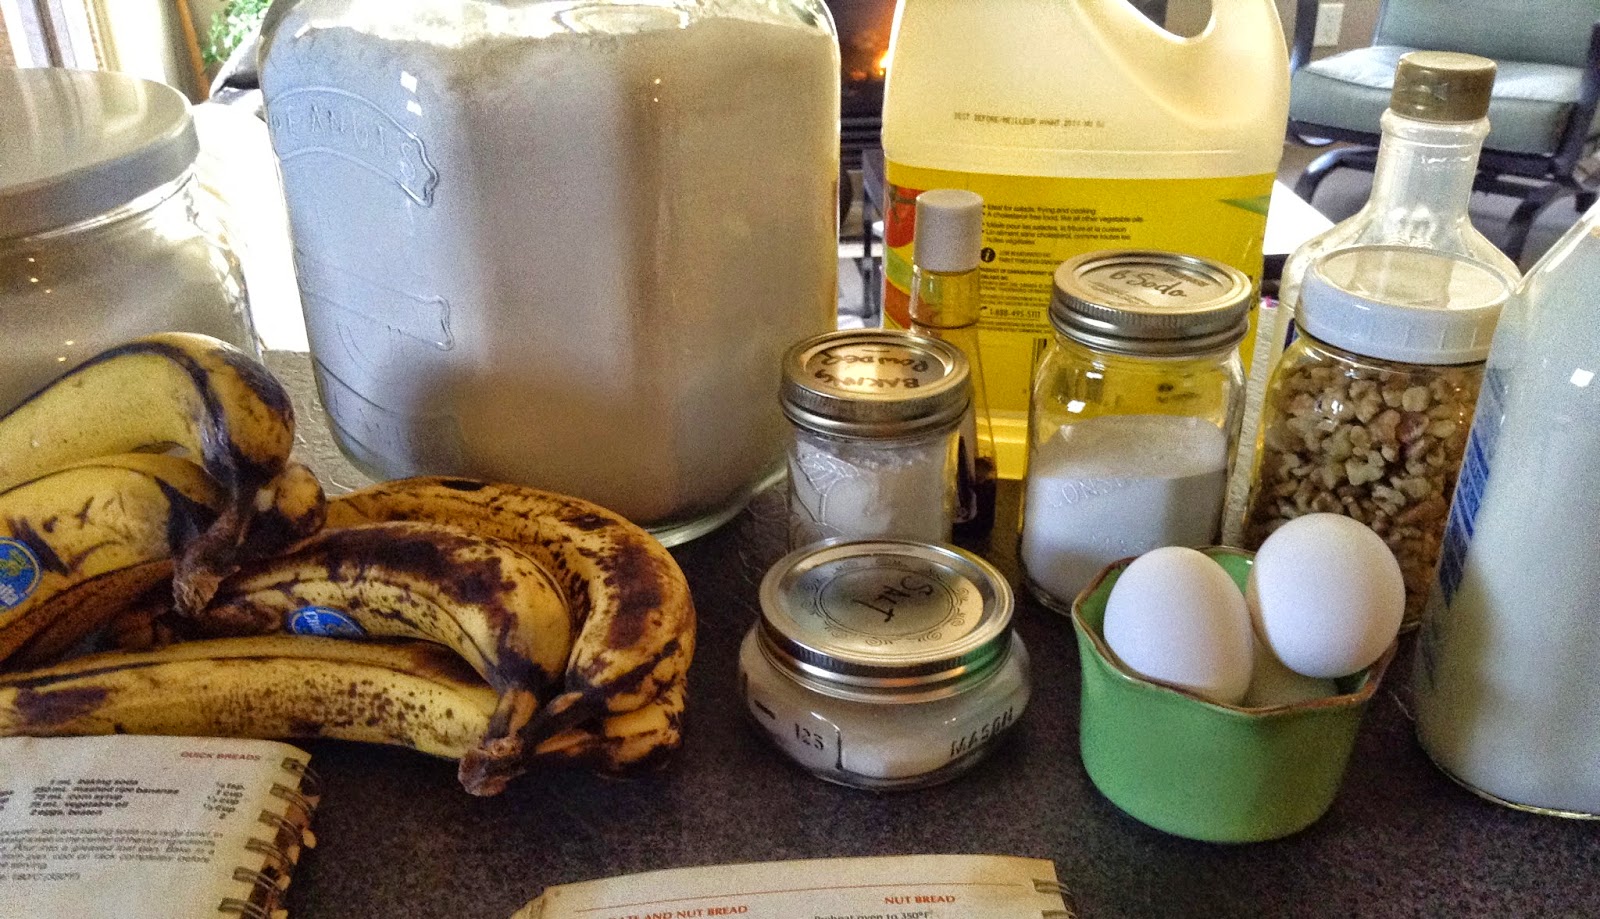
I had a bunch of ripe bananas, more than enough for just one loaf. I have a go to recipe, but this is about the cookbooks, so..which one to make? Why not a loaf from each book, right? Right!
I decided to make them both at the same time, so I kept everything divided left and right so I wouldnt mix anything up! haha, it could easily happen, I don't know how many times I've recounted cups of flour when making bread because I wasn't paying attention.
I gathered up all the ingredients and then got started. The only real difference in the recipes are the amounts of flour, bananas, etc.
I wont bore you with the step by step of each. The actual steps for making them were pretty much identical. Put all the dry together. Mix all the wet with the mashed bananas and then mix those together and put in oven.
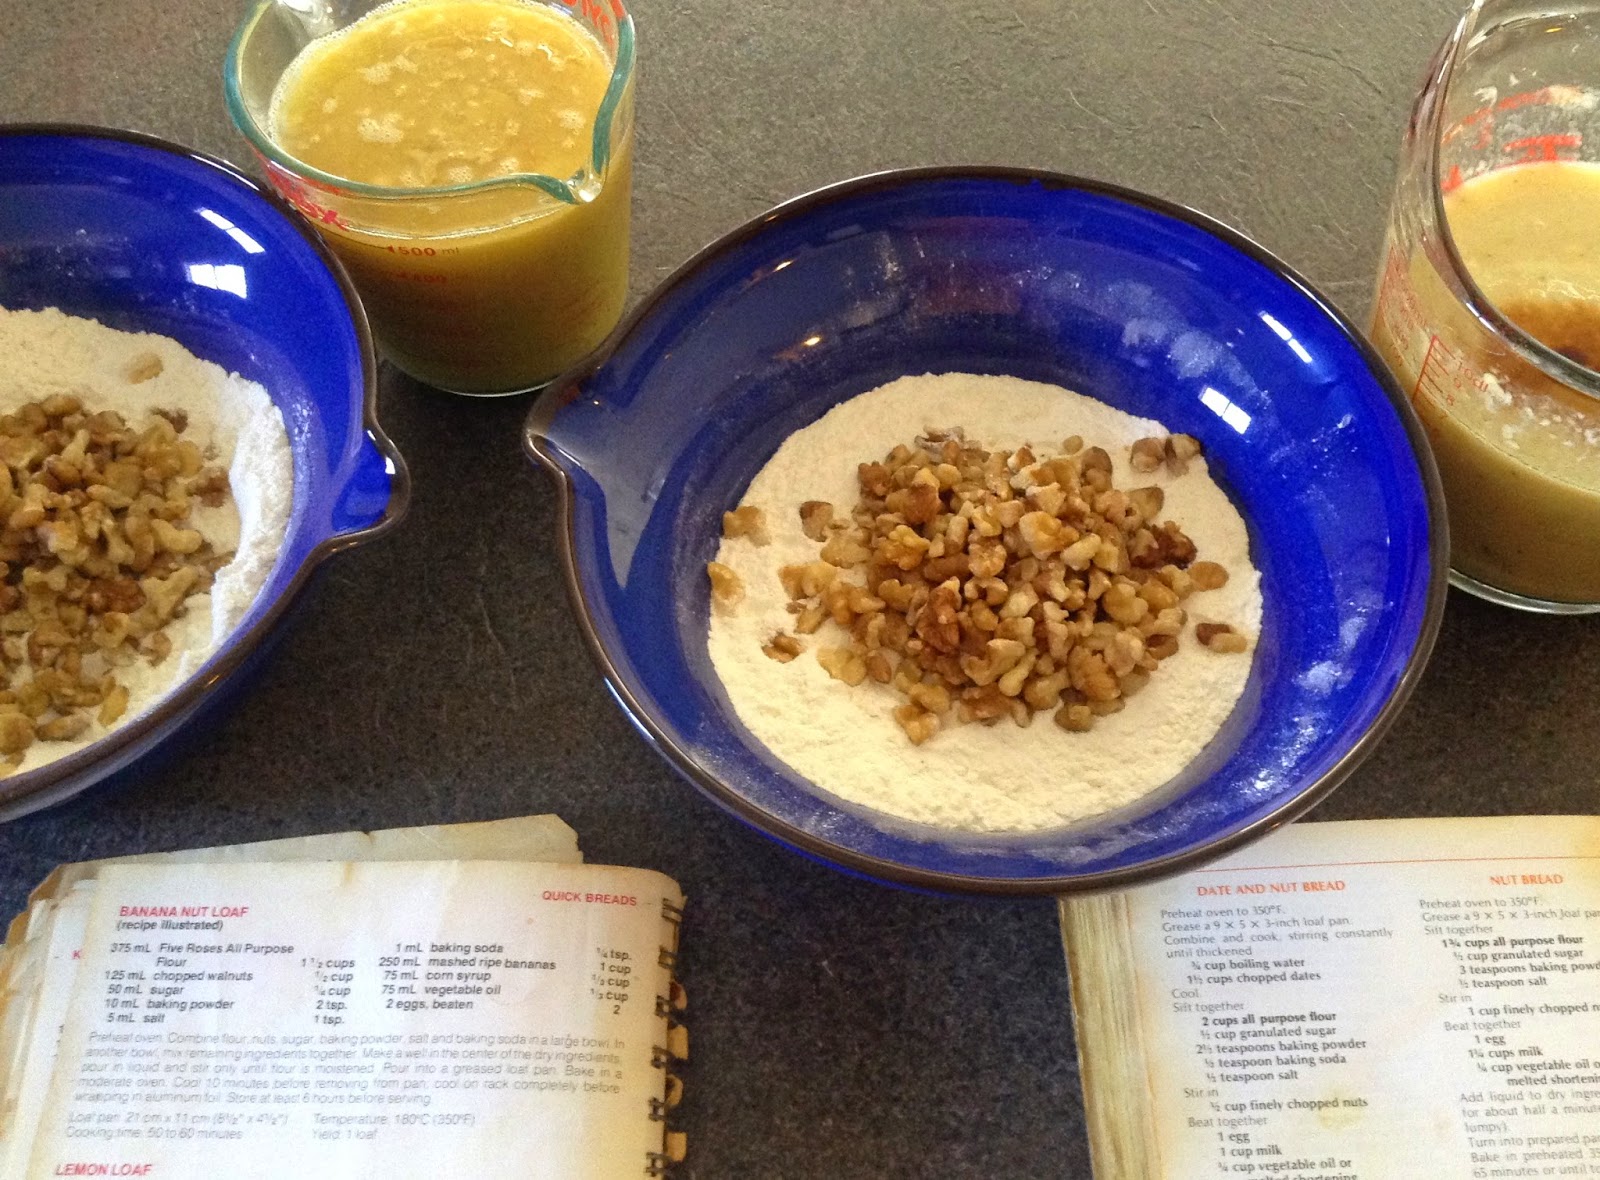
The Purity Banana bread has more flour, more bananas, more baking powder etc. And this can be seen in the batter - it's more frothy and gassy looking....

while baking; you can really see the height of the loafs...
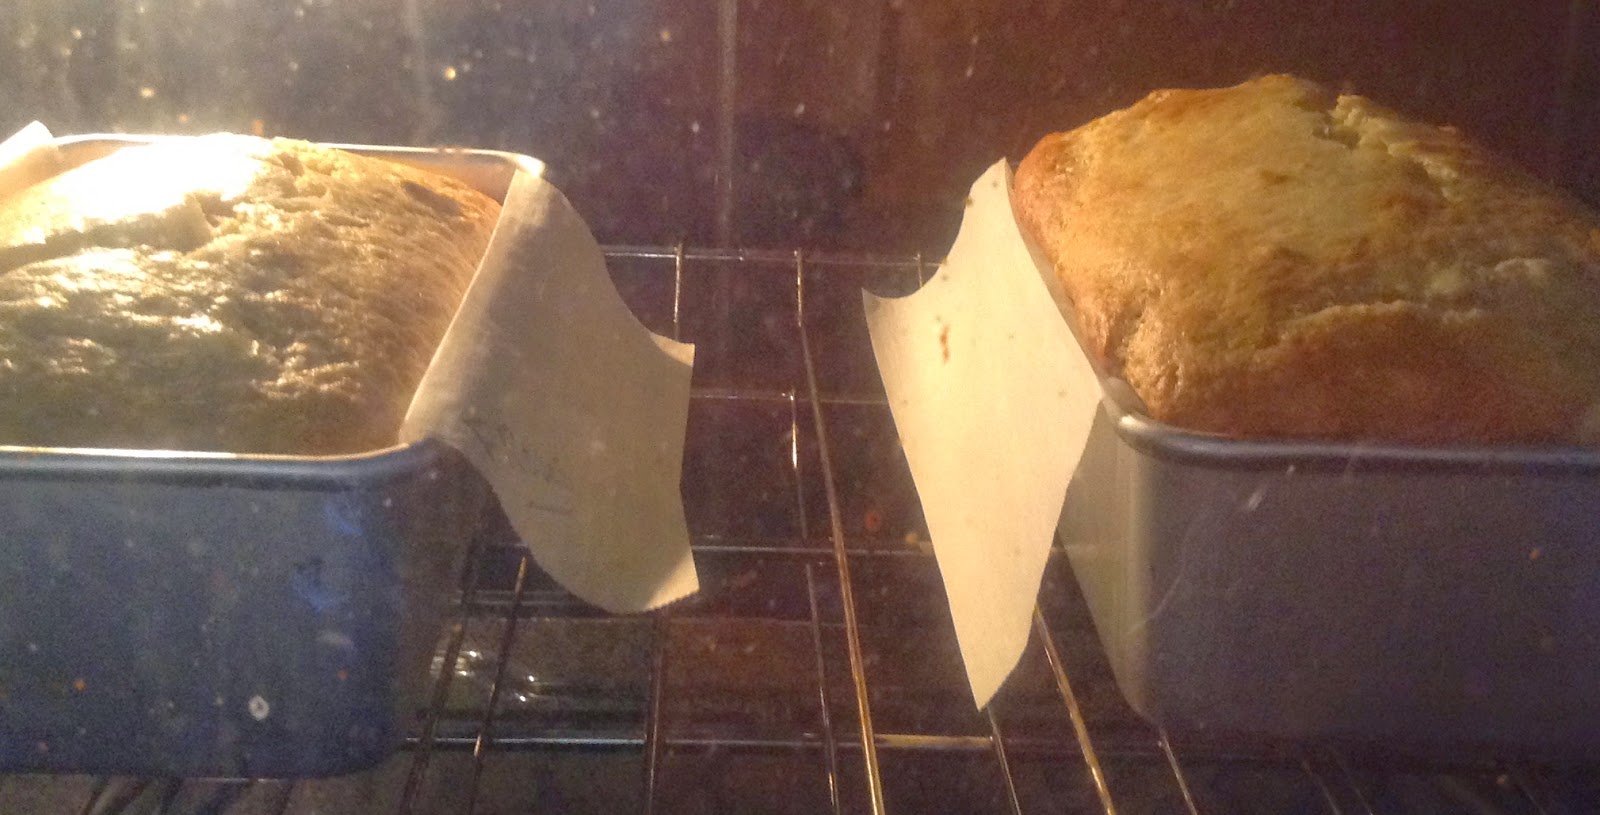 |
| Five Roses on the left, Purity on the right |
and when cooling and getting ready for my tummy....
 |
| Purity on the left, Five Roses on the right |
I figured the crust of the Five Roses would be darker, since it took a few more minutes baking before the toothpick inserted came out clean, but I really didn't think there would be such a difference on the inside.
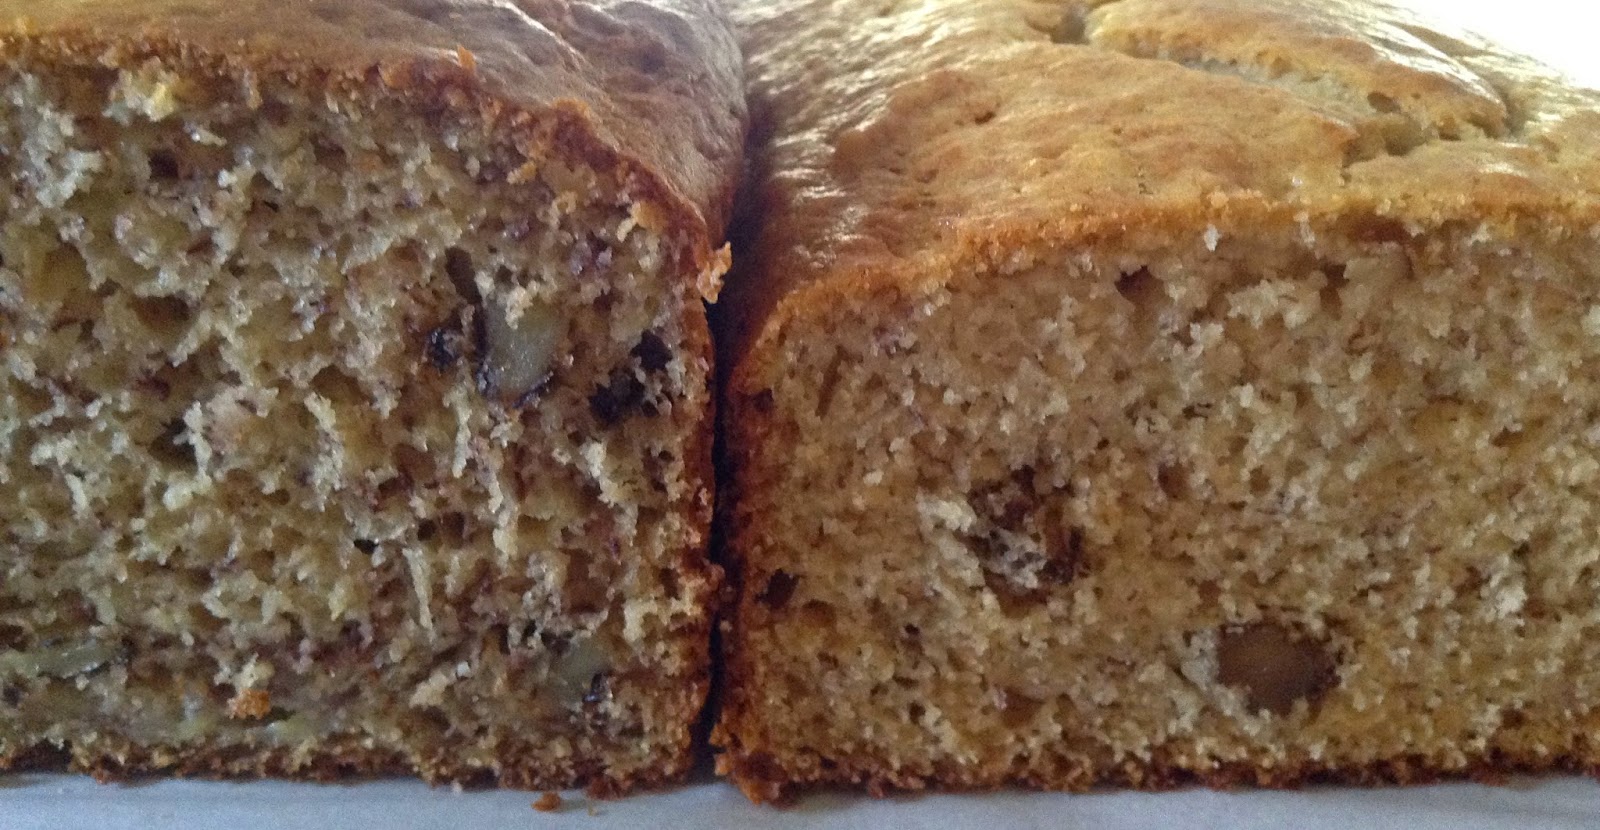 |
| Purity on the left, Five Roses on the right |
The Purity loaf is a lot darker than the Five Roses loaf.
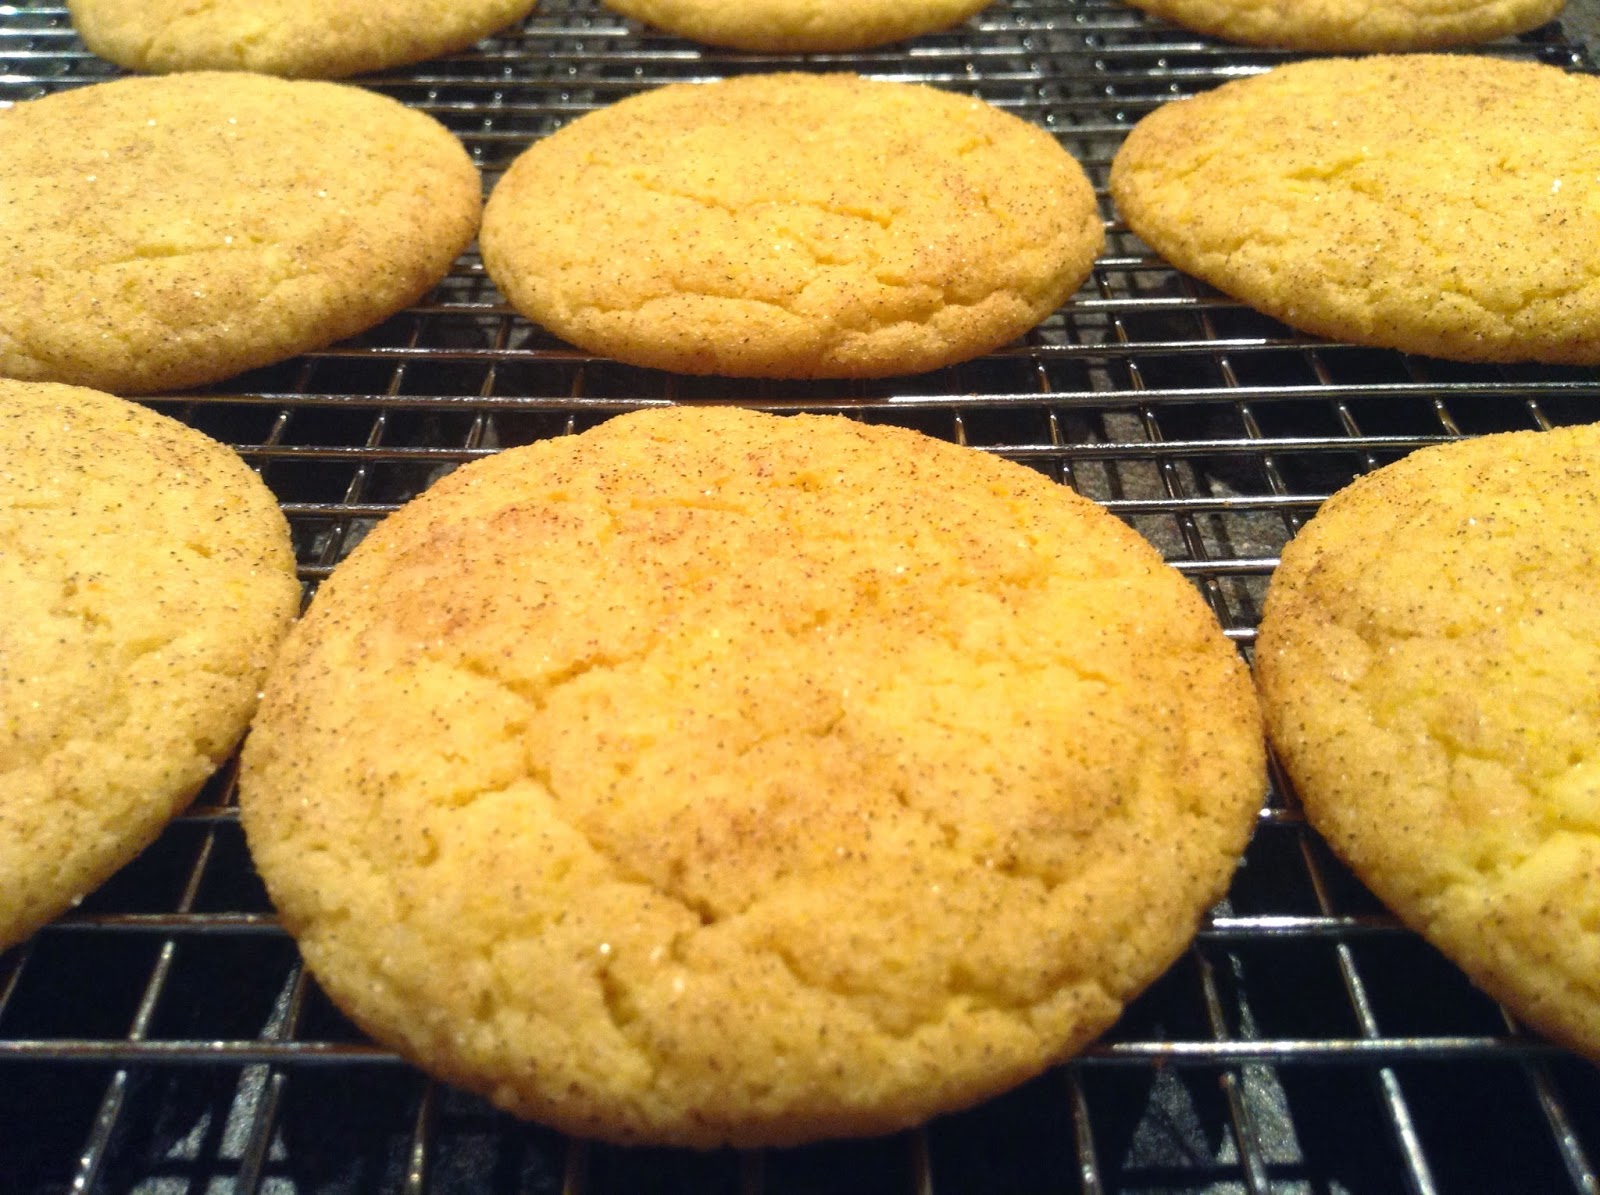
The big question...taste. That's really all that matters in the end. Well, these are both good breads, not great, but good. I think perhaps adding nutmeg or cinnamon would help too. Don't get me wrong, they were good enough that I shared them, but I won't make them again.
For me, they just don't seem banana-eee enough. I think though, If I had to choose, I would go with the Five Roses loaf since I prefer the denser texture. The difference between the two breads for banana flavour really isn't a big enough difference for it to matter to me.
| Five Roses | Purity | |
|---|---|---|
| TASTE | 60% banana flavour | 65% banana flavour |
| TEXTURE | Denser, sturdier, my preference | Moister - could become gummy if undercooked |
| CRUST | Ok, as expected | More flavourful, better crunch |
I still have half a loaf in my freezer, which I think I'll take with me when I go visit family in April. Other wise it will just stare guiltily at me every single time I open the door of the fridge. Every single time...calling out to me...Eat Me....
 |
| FIVE ROSES BANANA BREAD |
 |
| PURITY BANANA BREAD |