Thursday, September 25, 2014

Moms Swirl Squares

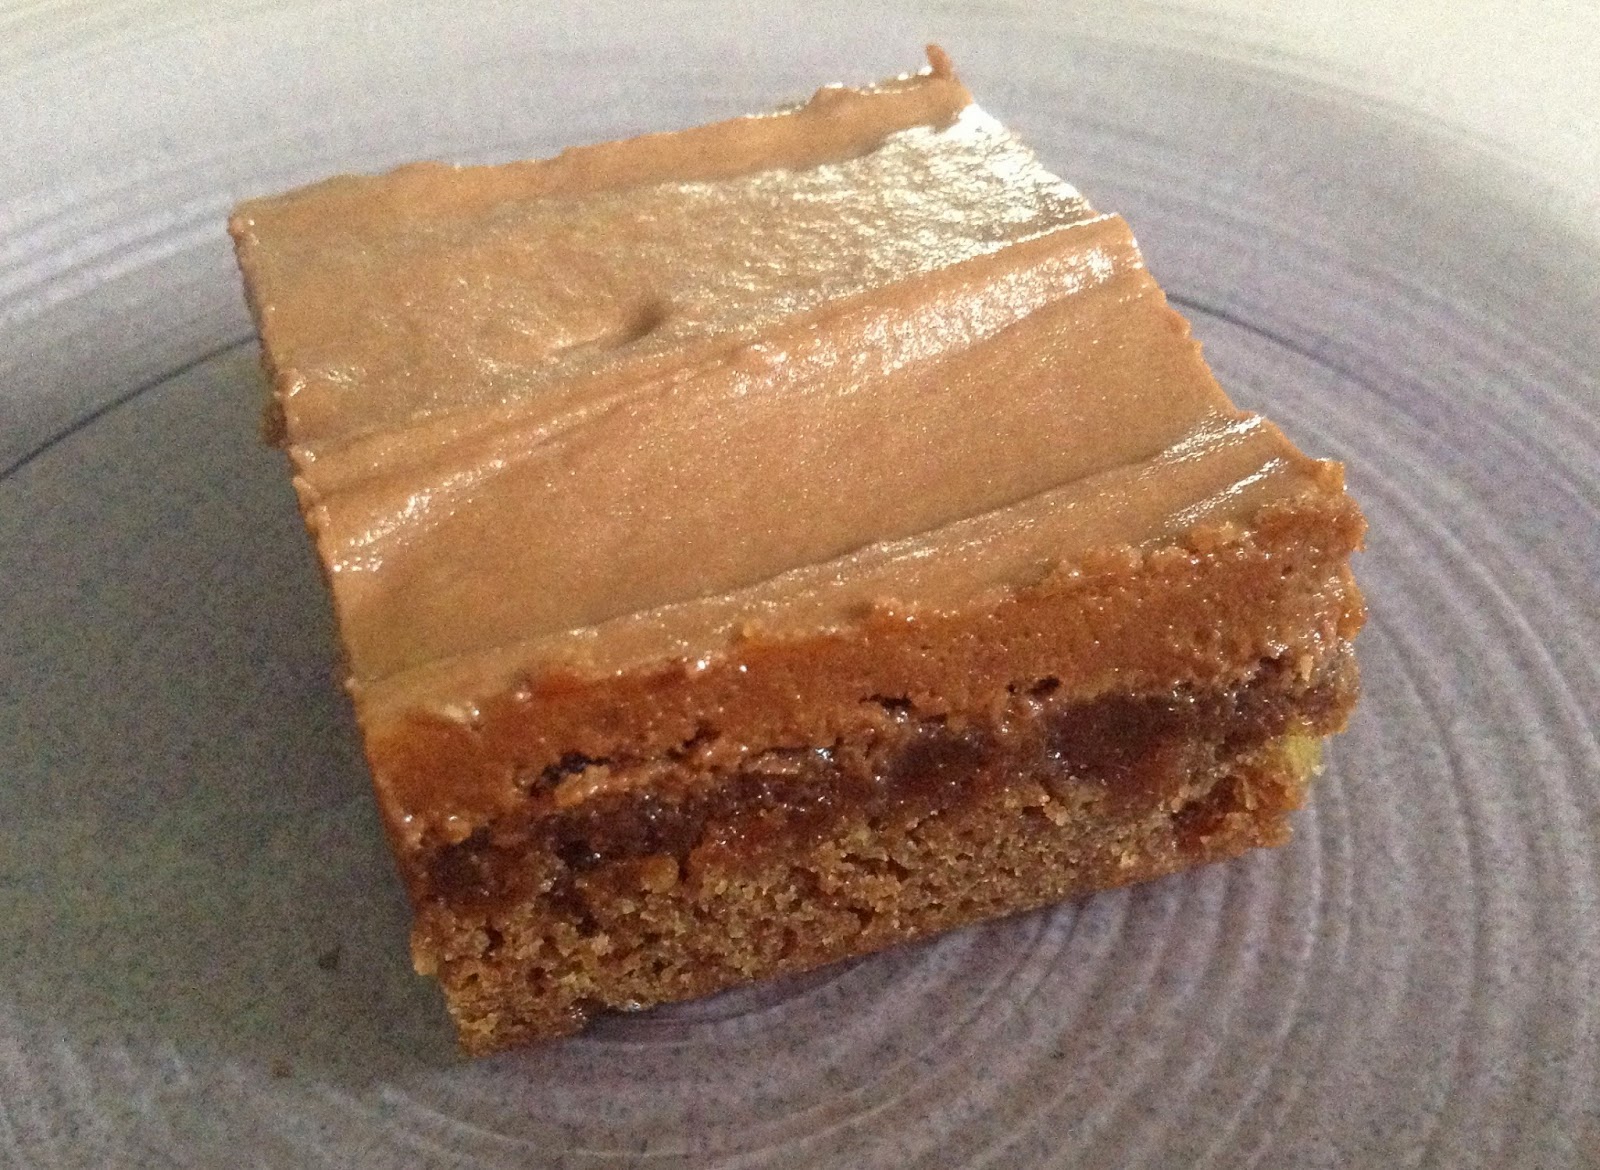
I'm not sure if I've ever had these before, I mean I think I have, but I don't think I've had this particular recipe or even had Swirl Squares that my mom might have made, but... she has it handwritten down in her scribbler, so it was worth trying :)

Swirl Square

Going in to making these, I had no clue what they would turn out like. But after seeing them out of the oven, these are chocolate chip cookies baked in a pan ...and a lot easier to make!

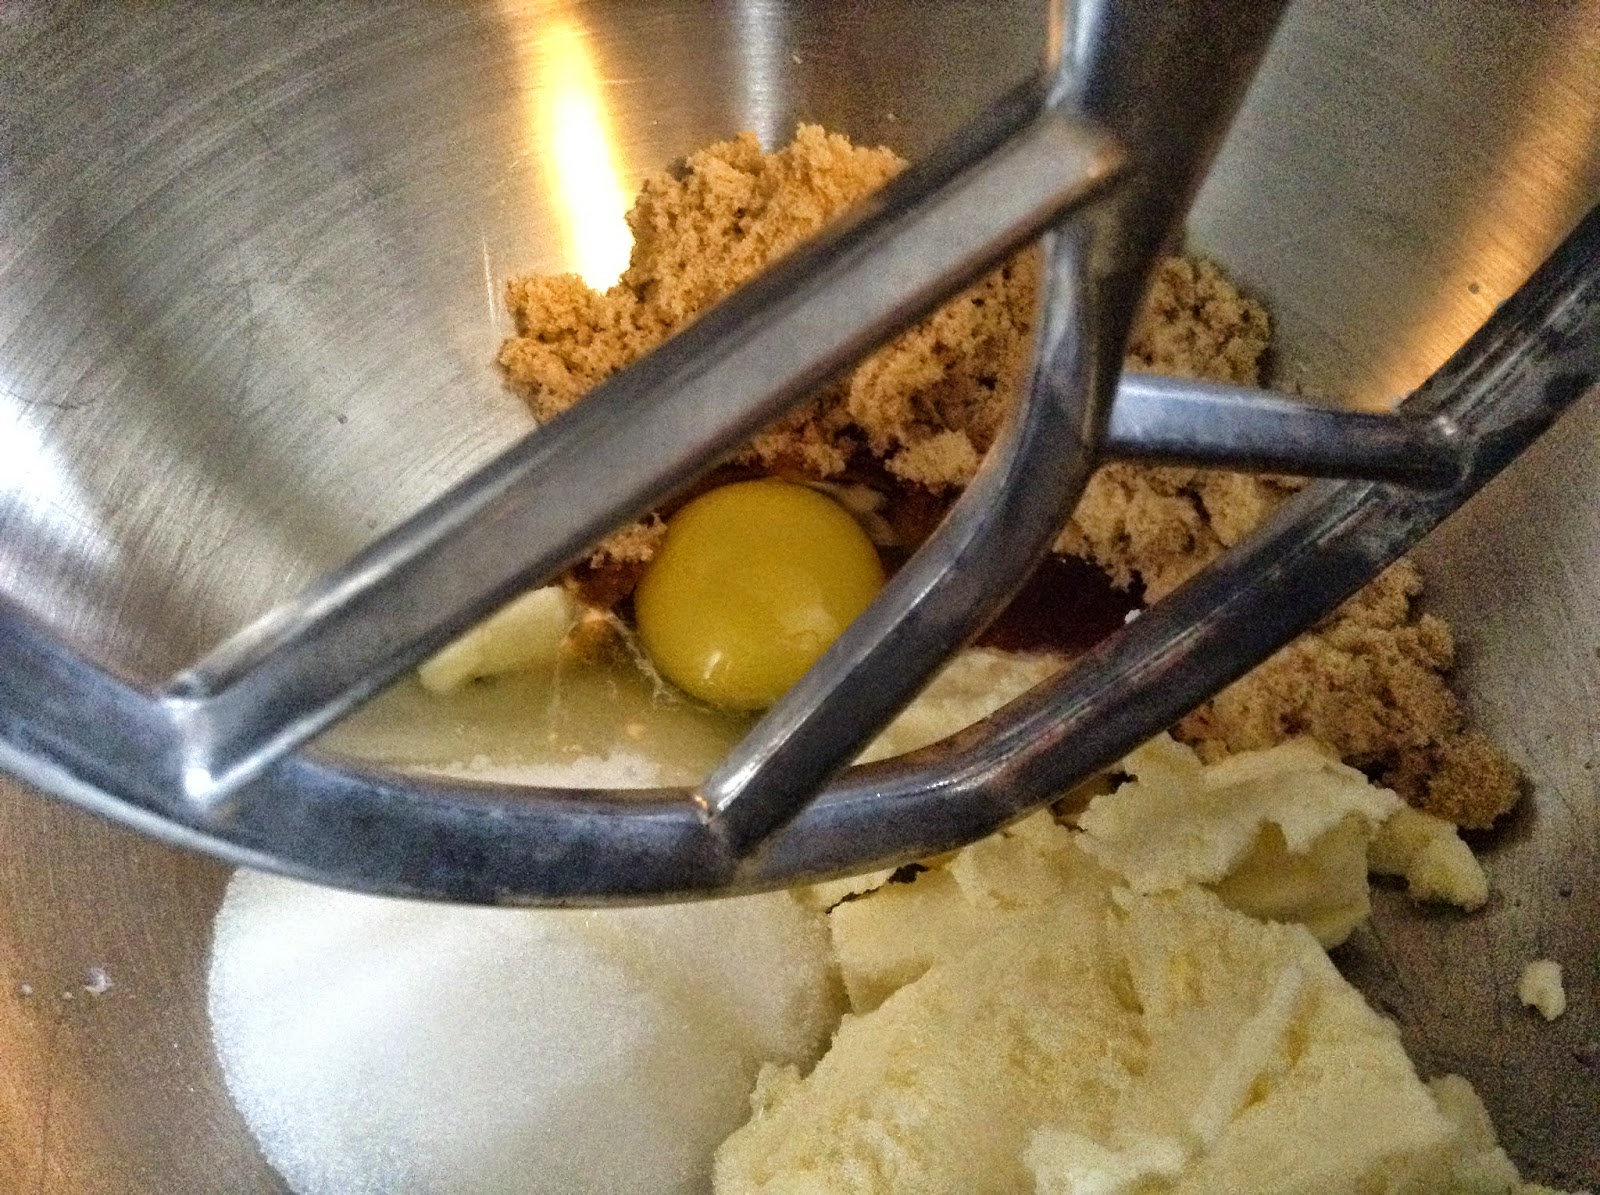
I added a 1/2 cup white sugar, 1/2 cup brown sugar, 1 egg, 1/2 tsp vanilla, and 1/2 cup of butter to the mixer and let it go while I got the flour, baking soda, and salt ready.

Once the sugar, butter, and egg mixture was mixed well, I stirred in the flour mixture and then the nuts. I was expecting a batter, but it was really thick. I was really thinking I did something wrong. I checked online for other recipes to see if I was missing a liquid, but I wasn't.  So don't be surprised when it's like a cookie dough!


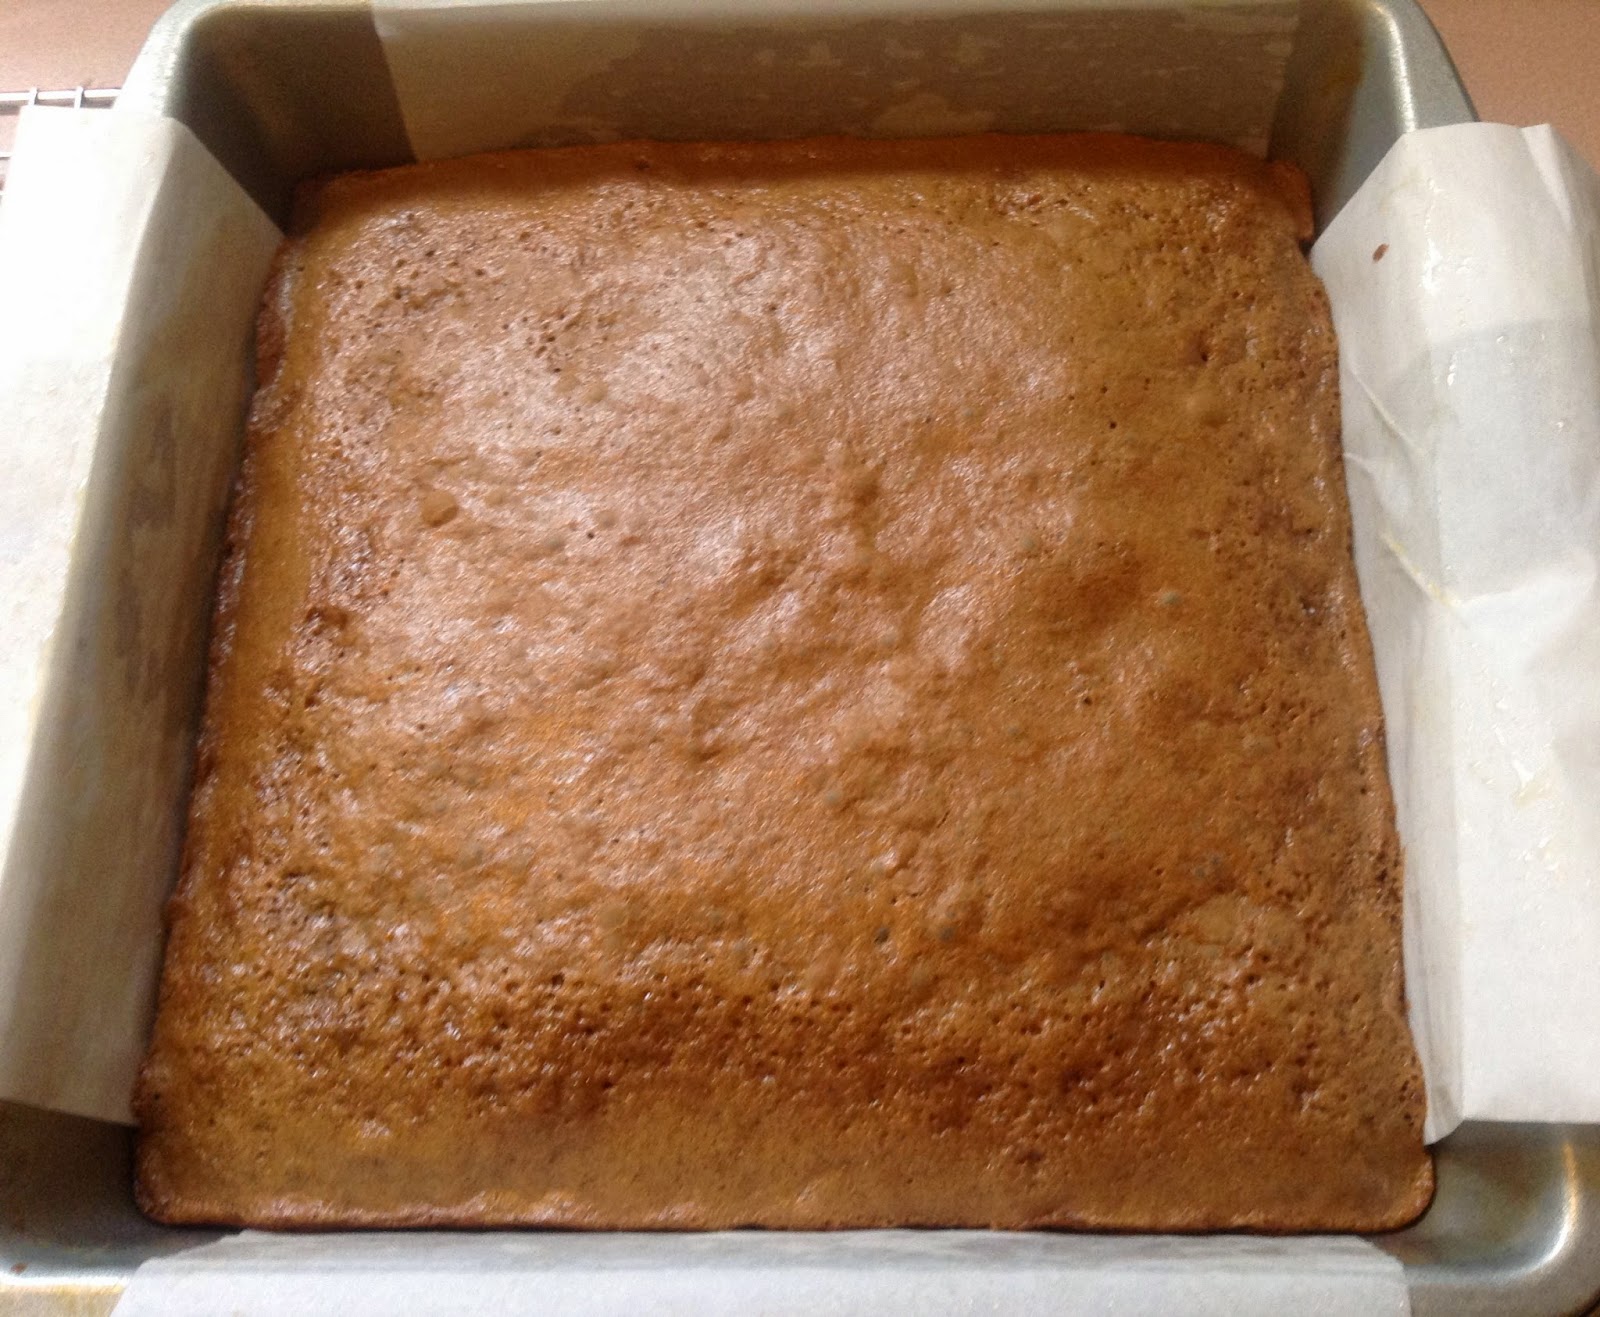
I pressed it down in to a greased baking pan and dropped the square baking chunks that I had leftover on to the top.  The recipe says to bake for 1 -2 minutes to melt them, but I went for 4 minutes before taking them out of the oven.
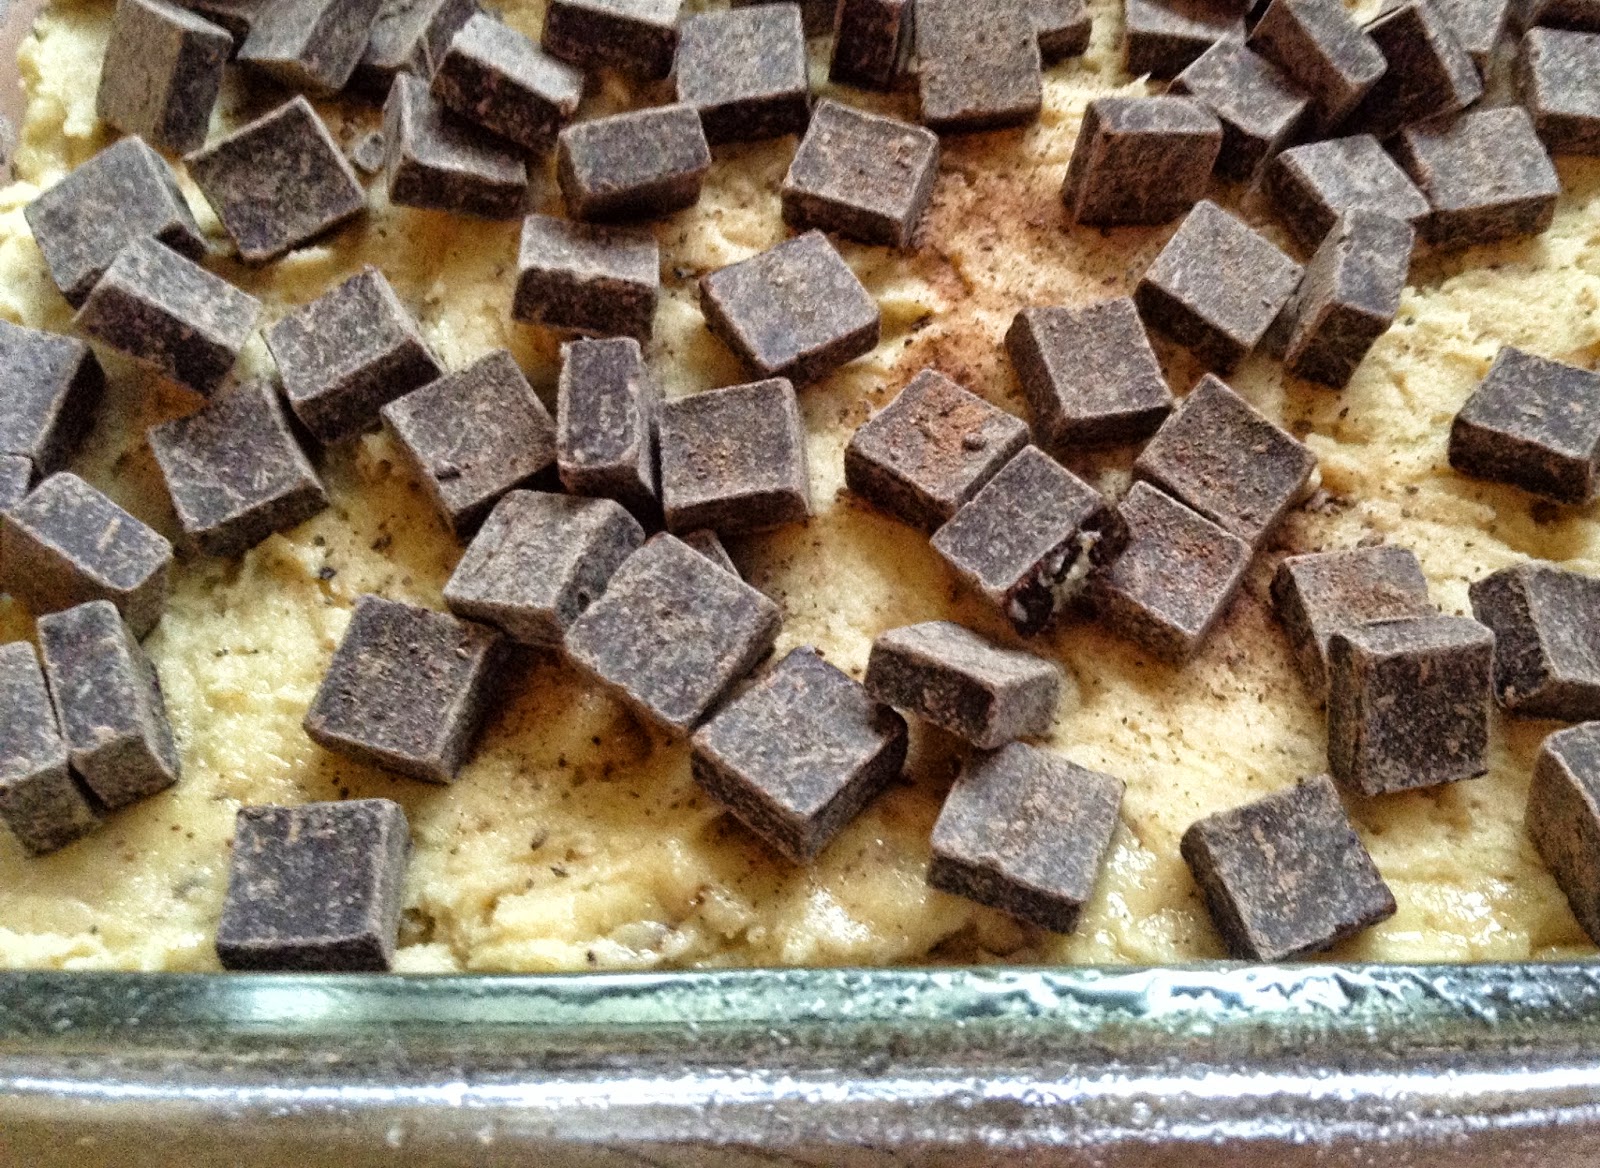

Even at 4 minutes they weren't completely melted, but I did my swirling with the knife anyways. I have to say I was a bit concerned with the thickness of the dough and swirling the chocolate through it. I really felt like it would stay all mangled looking and not soften or even out!
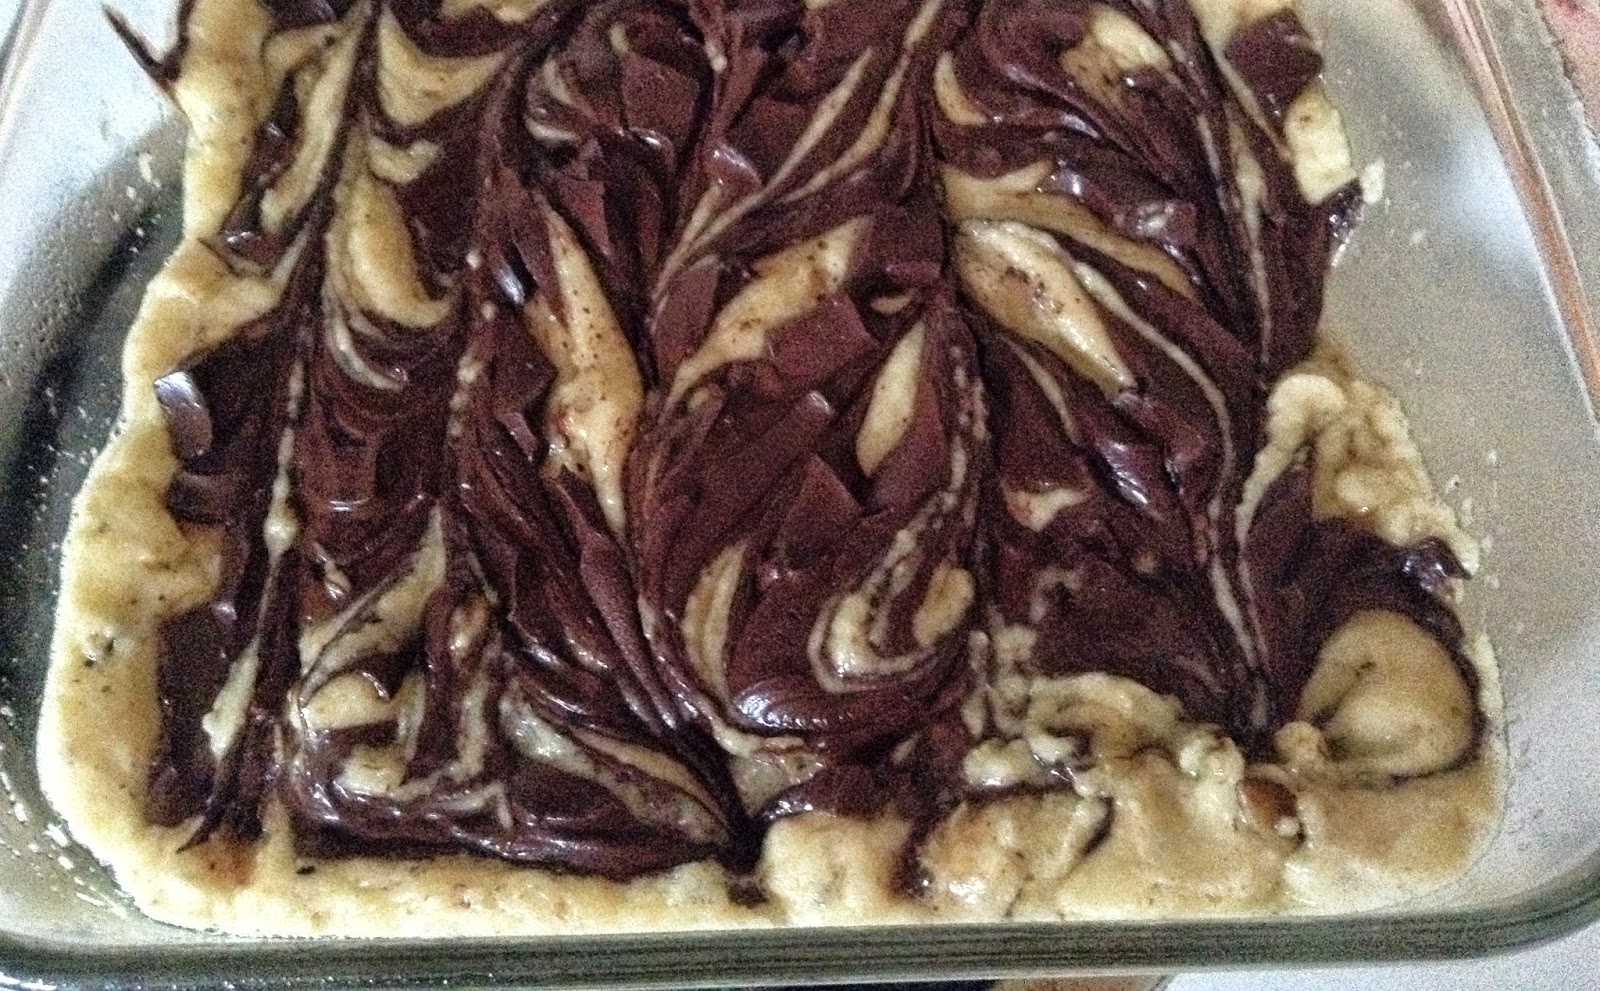

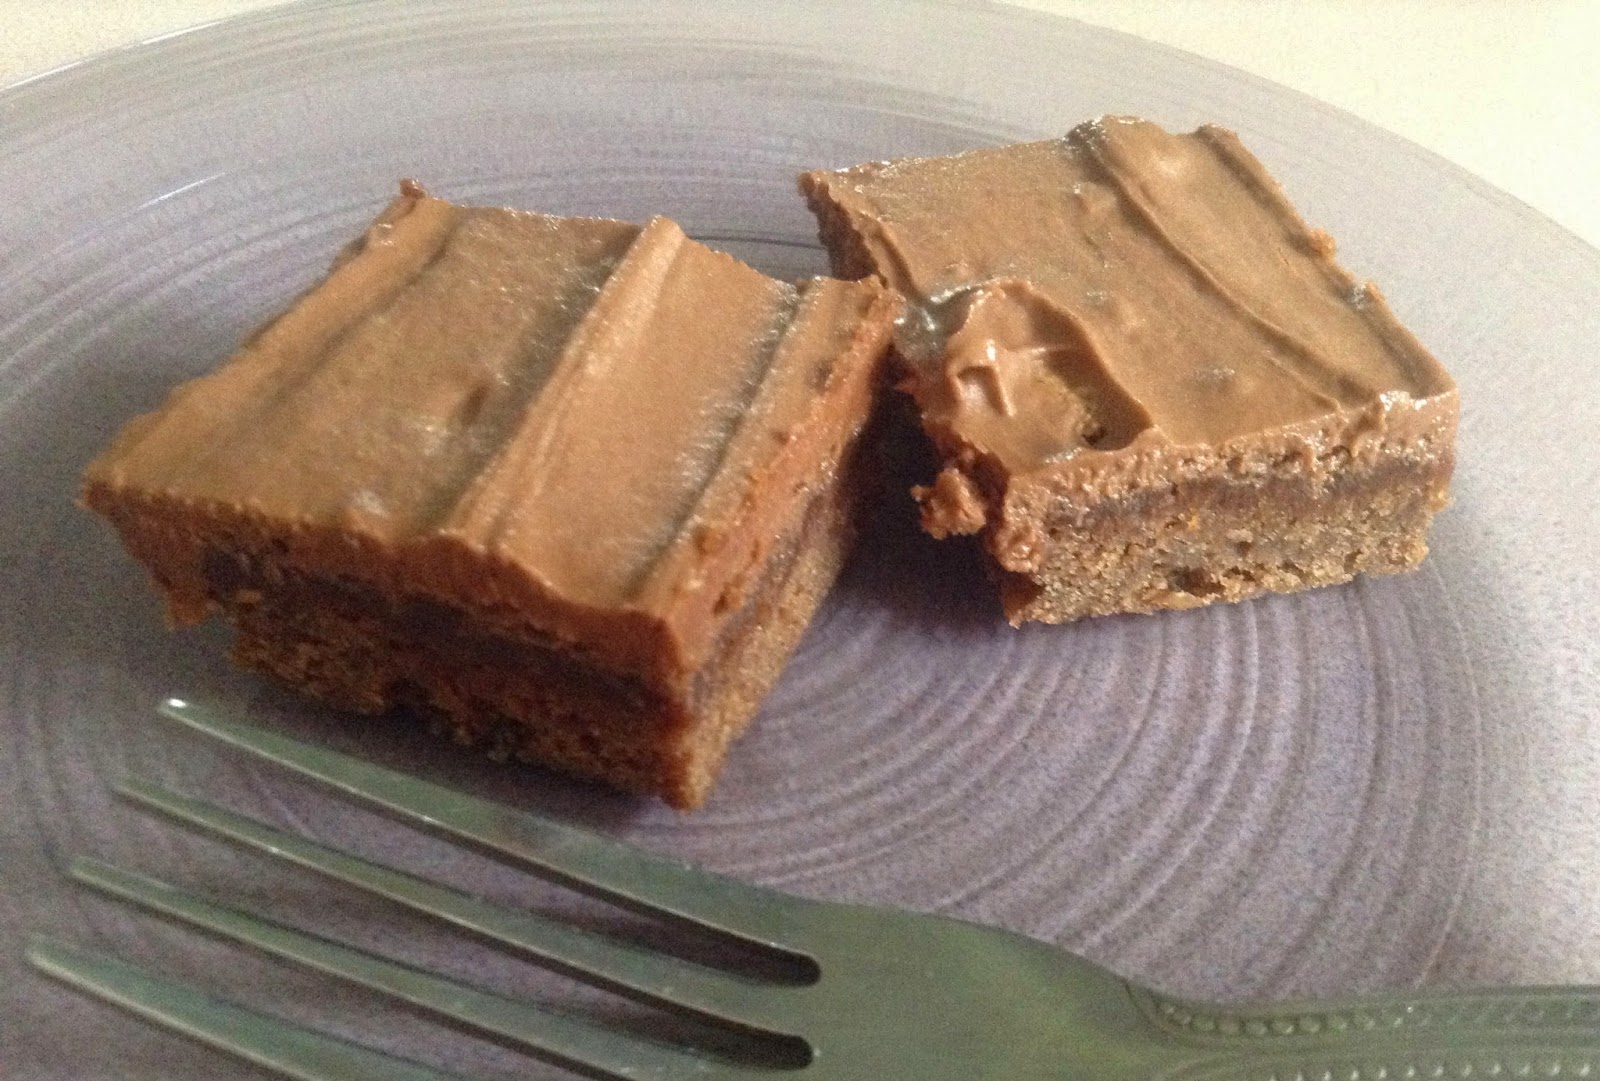
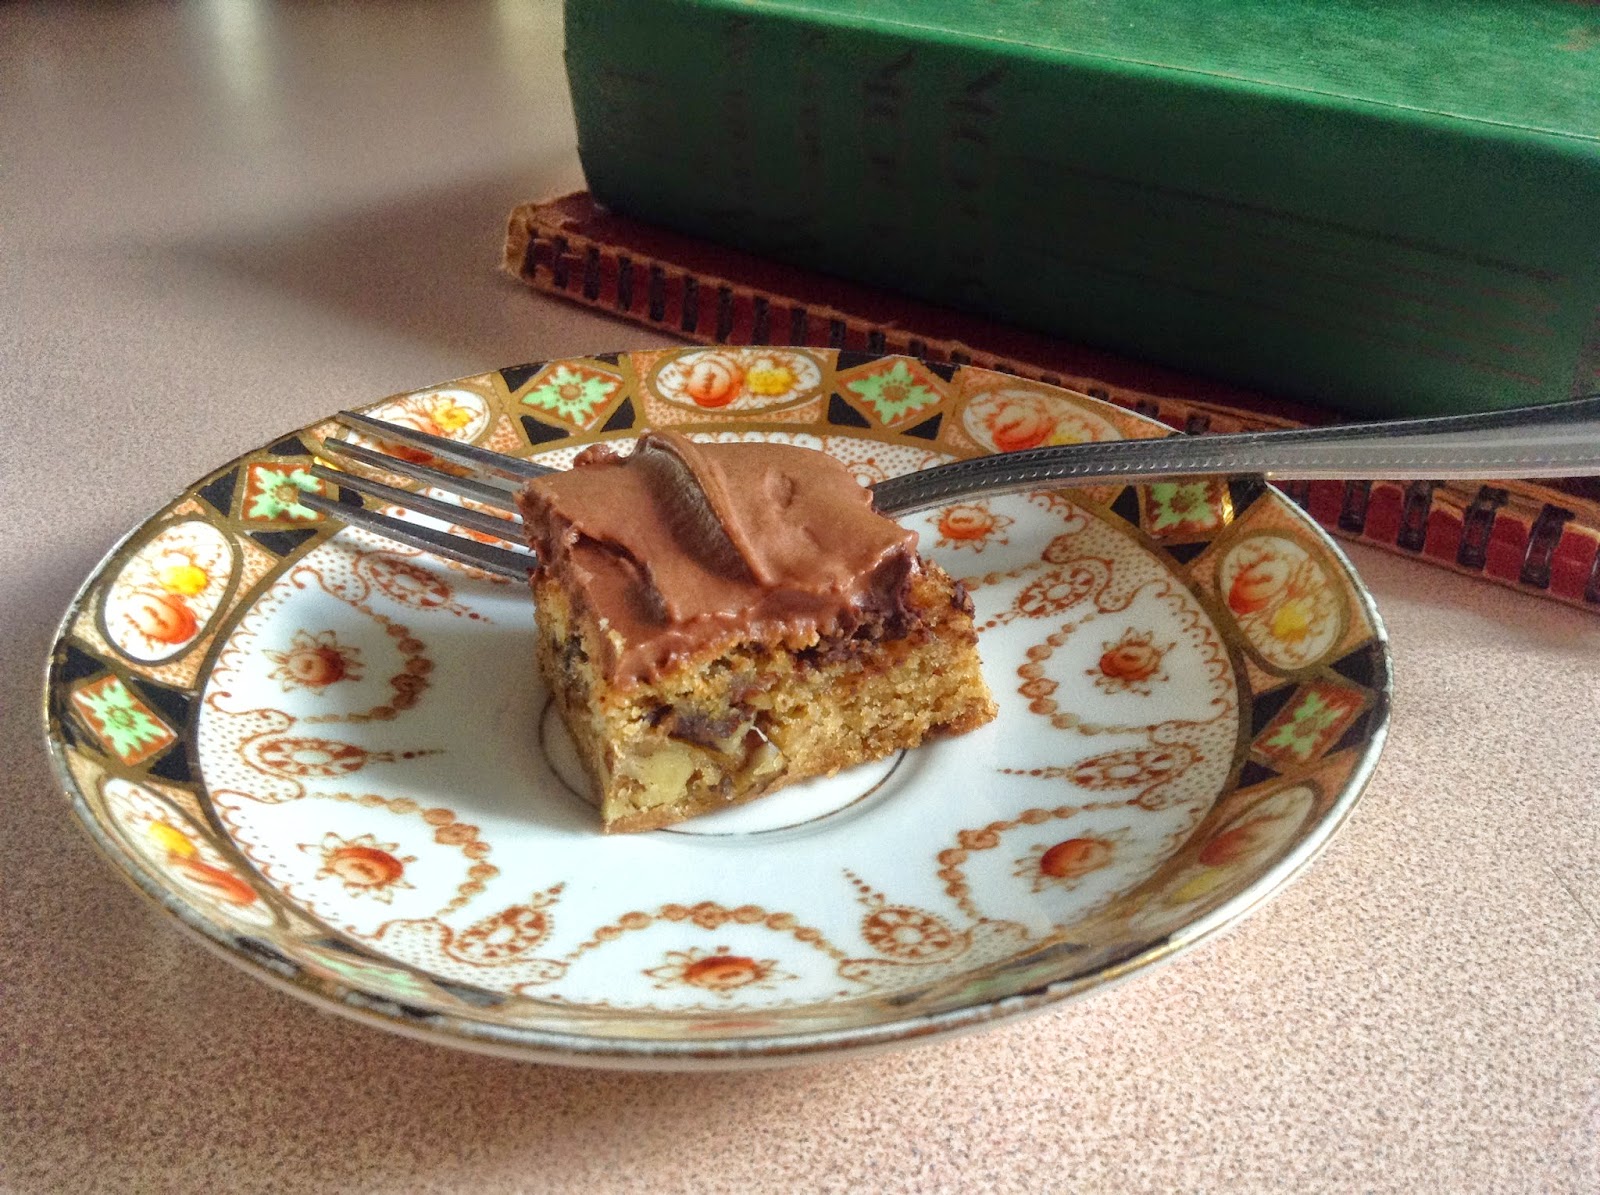
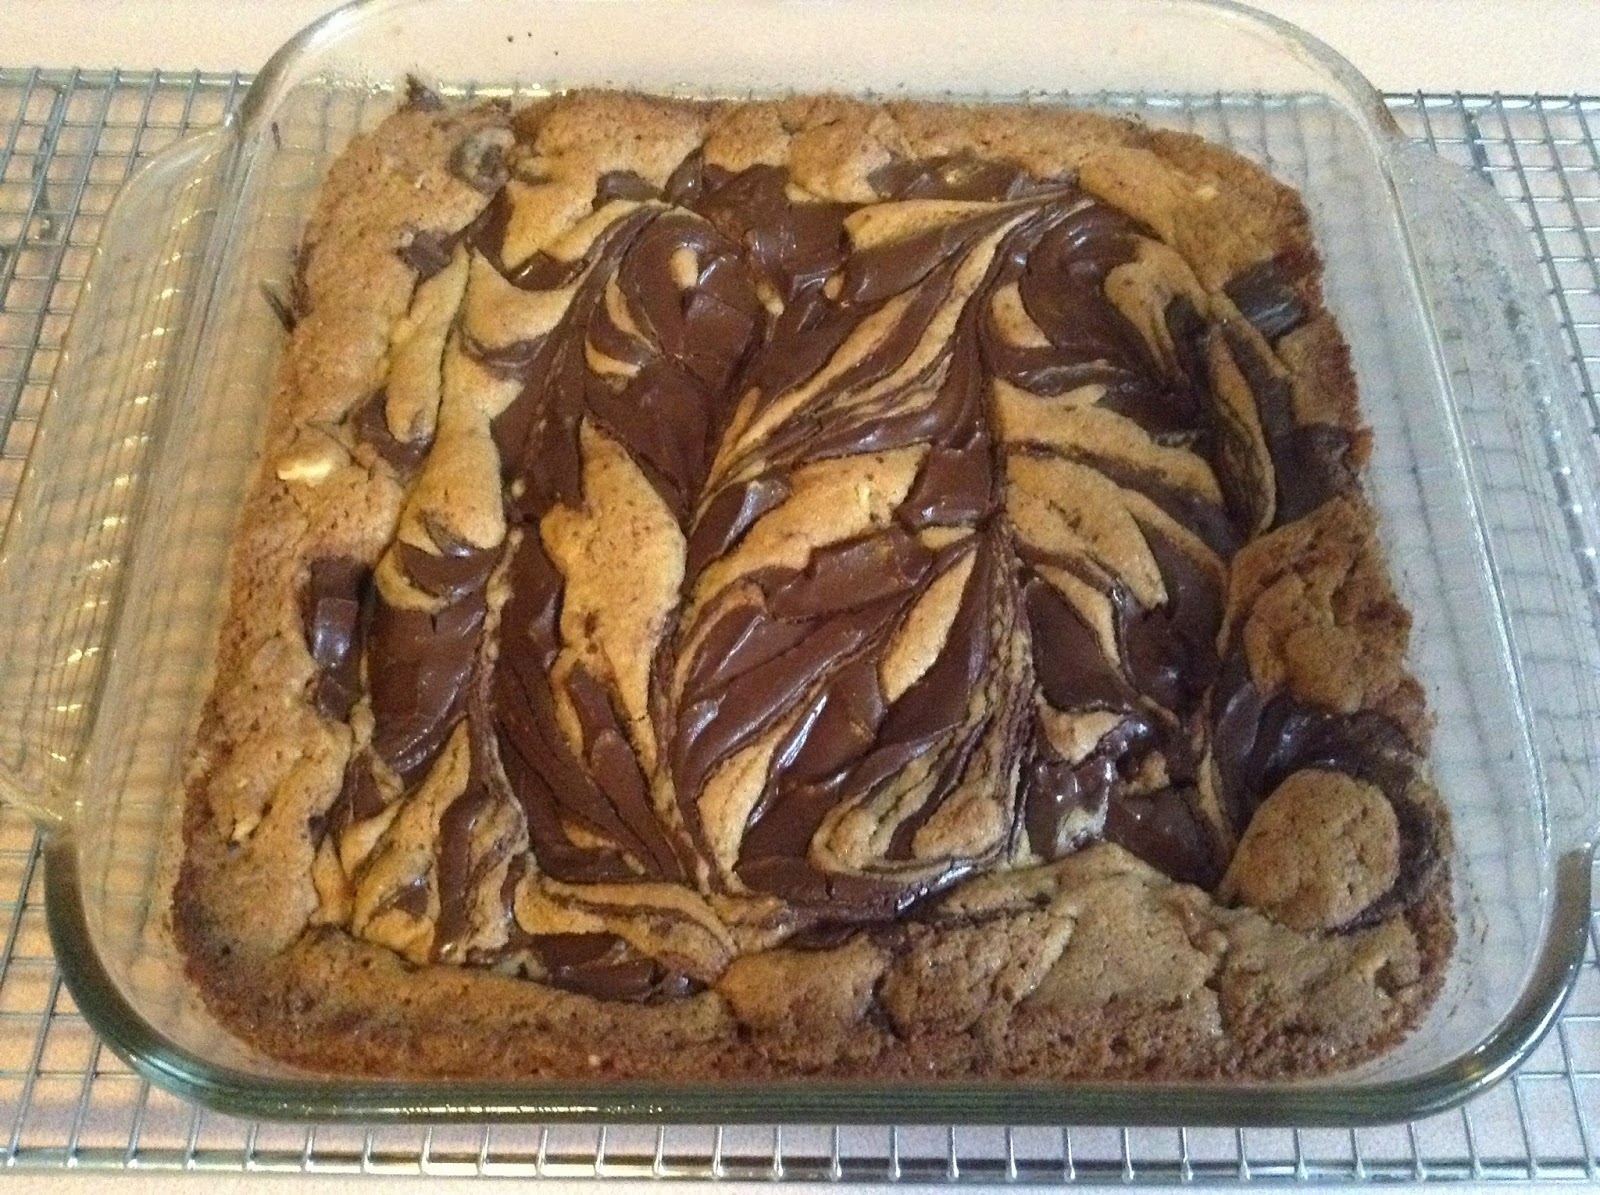
I was happy when it came out of the oven looking half decent! But would it be dry and crunchy like toast or grainy or or or... my experience with marbled or swirled desserts has been mostly limited to cake or cheesecake, so it was a pleasant surprise to find out it was basically a giant square cookie.

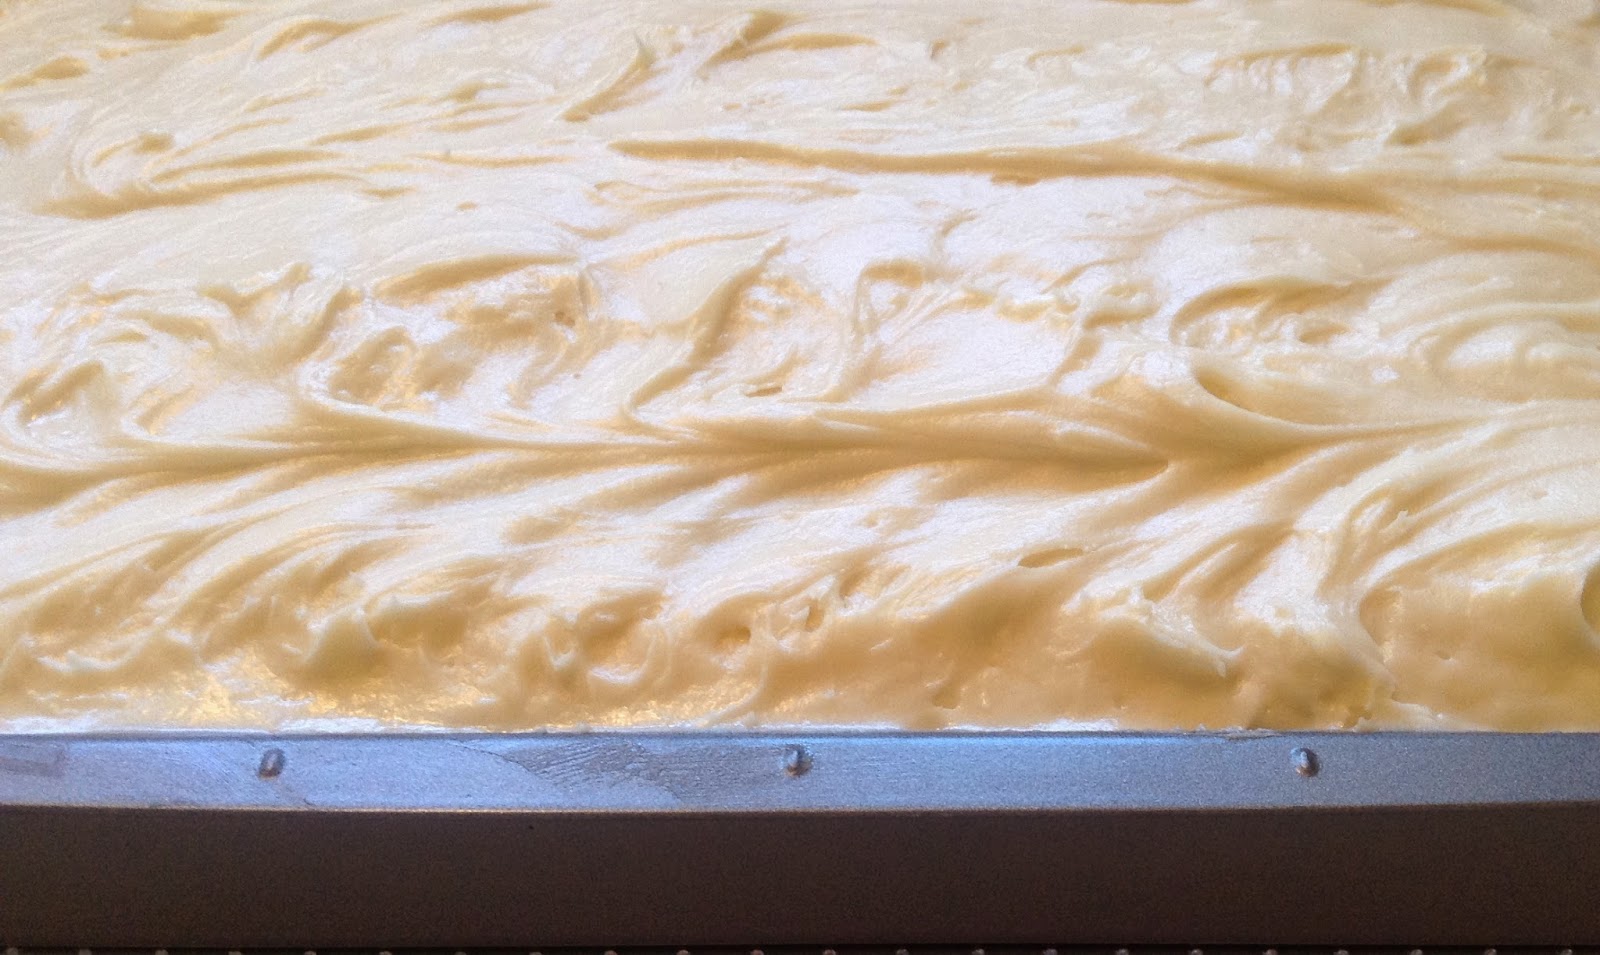
I had frozen the leftover Nutella Frosting that I used on the Fudge Four O'Clocks, so after a bit of defrosting, I used it on the Swirl Squares.  YUM!

Notes on the recipe:

My mom's recipe has a bit of a glitch in it. She's got an additional measure that isn't tied to anything.

3/4 cup   1/2 cup brown sugar 1/2 cup white sugar

But, it seems like her recipe is half of a Five Roses recipe, somewhat. The Five roses calls for 1 cup brown sugar CHECK! 1/2 cup of white sugar...WAIT! That doesn't add up, but if I cut it in half it's 1/4 cup and if I add it to the half of brown sugar then it equals the 3/4 cup...hrmm..what to do?... I really do think this is the Five Roses recipe from online.

I decided on the 1/2 cup brown and 1/2 cup white. It doesn't seem overly sweet to me, but try it out for yourself :)

Swirl Squares
The recipe and instructions are how she wrote it out.
 
INGREDIENTS
  • 1/2 cup margarine
  • 3/4 cup   1/2 cup brown sugar 1/2 cup white sugar
  • 1/2 tsp vanilla
  • 1 egg
  • 1 1/8 cup flour
  • 1/2 tsp baking soda
  • 1/2 tsp salt
  • 1/2 cup chopped walnuts
  • 1 cup semi-sweet chocolate chips

DIRECTIONS
  1. In a large bowl measure butter, sugar, vanilla, and egg. 
  2. Beat until blended
  3. Stir in flour, soda, salt, and nuts
  4. Spread in a 9X9 inch greased pan
  5. Sprinkle chocolate chips evenly over the top
  6. Bake 375 F for 1 - 2 minutes until chocolate chips are soft enough to marble.
  7. Run knife through batter
  8. Bake 20 minutes more.

Thursday, September 18, 2014

Fudge Four O'Clocks with Nutella Frosting

Sorry!

I've been slacking a bit. Back from visiting family and then back to work.  I pulled out the blanket I'm crocheting and tried to learn a few new stitches. I admit, I've been obsessed with crafting lately, it's creative like cooking and baking, but without the calories! Lets not talk about the 5 new quilts I've planned on making...and I've never quilted before!  Should be fun...but on to the baking...Fudge Four O'Clocks, it sounds like something Audrey Hepburn would have in Breakfast at Tiffany's.

Fudge Four O'Clock with Nutella Frosting

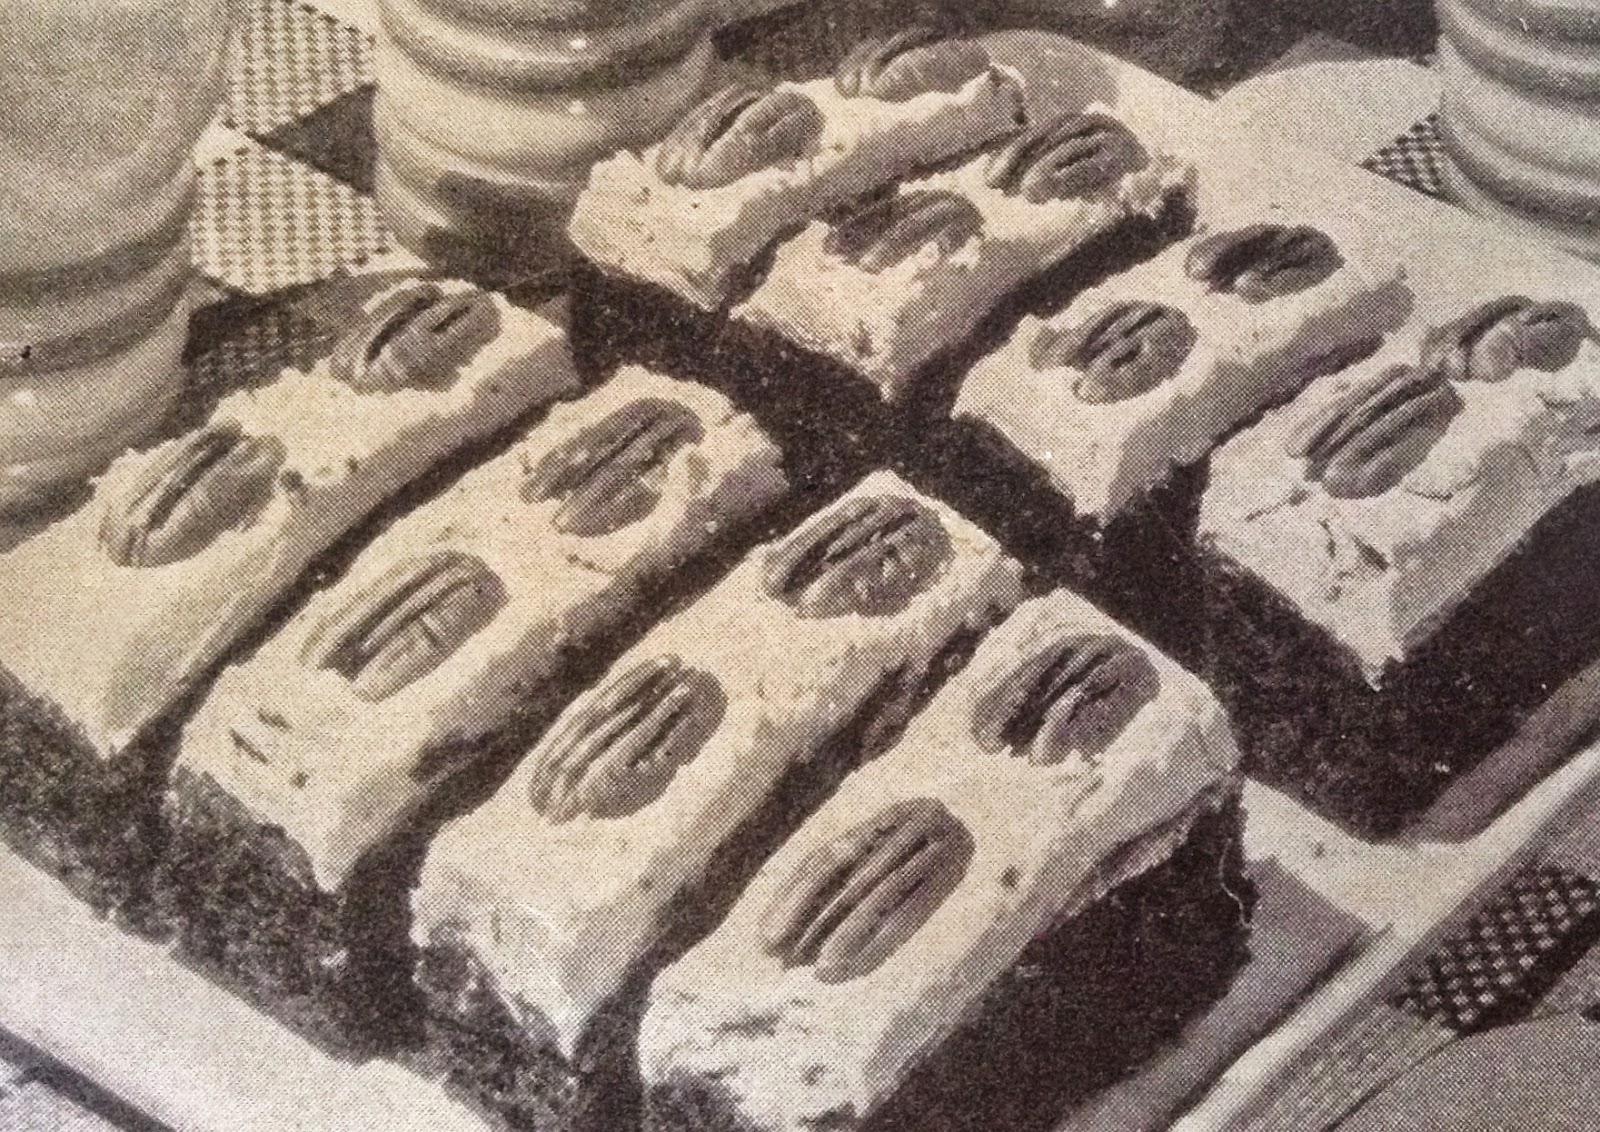
I was going to make Brownies from the Culinary Arts Institute Encyclopedic Cook Book, but the recipe for the Brownies is almost the same as the one for Fudge Four O'Clocks, and well, the Four O'Clocks have frosting!. I could also argue that the deciding factor was the 1950's picture...and the fact that I had a jar of Nutella in my cupboard just waiting for something chocolatey to be put upon :)

Fudge Four O'Clocks spread with fluffy frosting and crowned with nuts.

The recipe is quite simple with not a lot of ingredients, which I love. I think improvements on this recipe would be with the type of chocolate one uses. I just used some no name semi-sweet chocolate chunks that I had, nothing special, but it was still yummy. So better chocolate would make this even more wonderful!

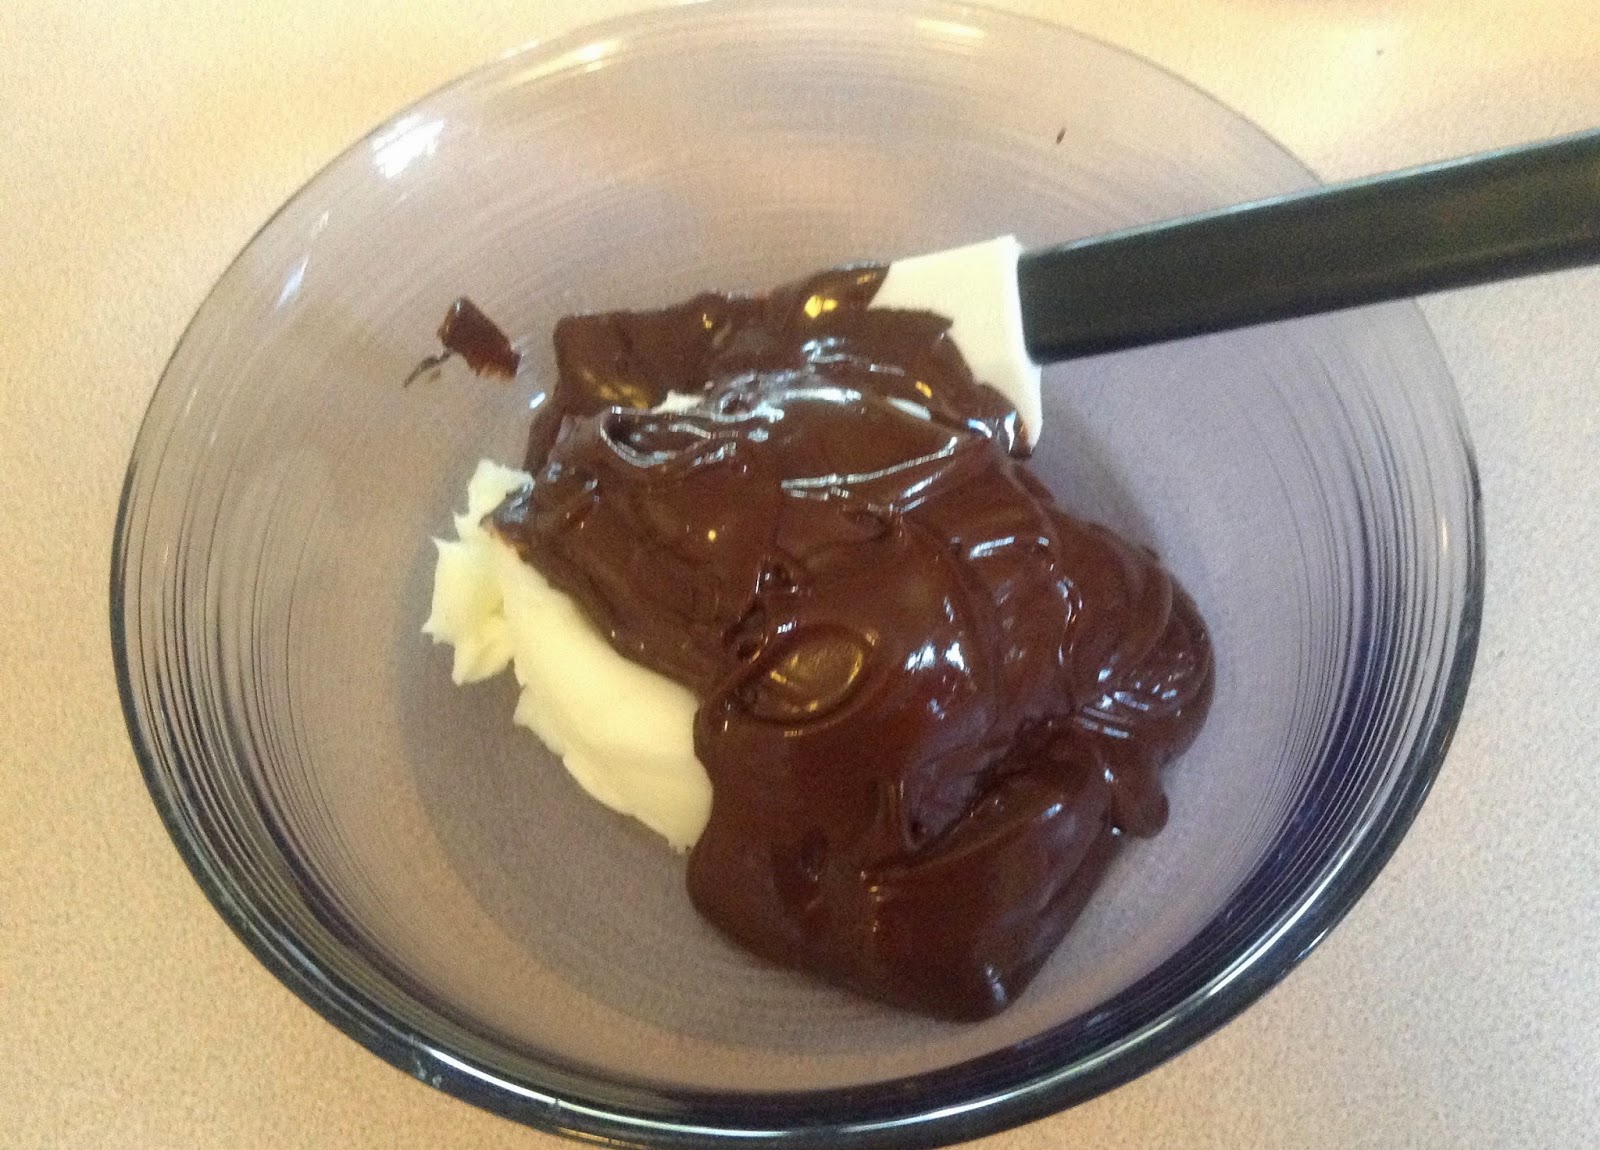
Once you've gathered together your ingredients and have melted the chocolate, pour it over the shortening.

Chocolate and shortenings

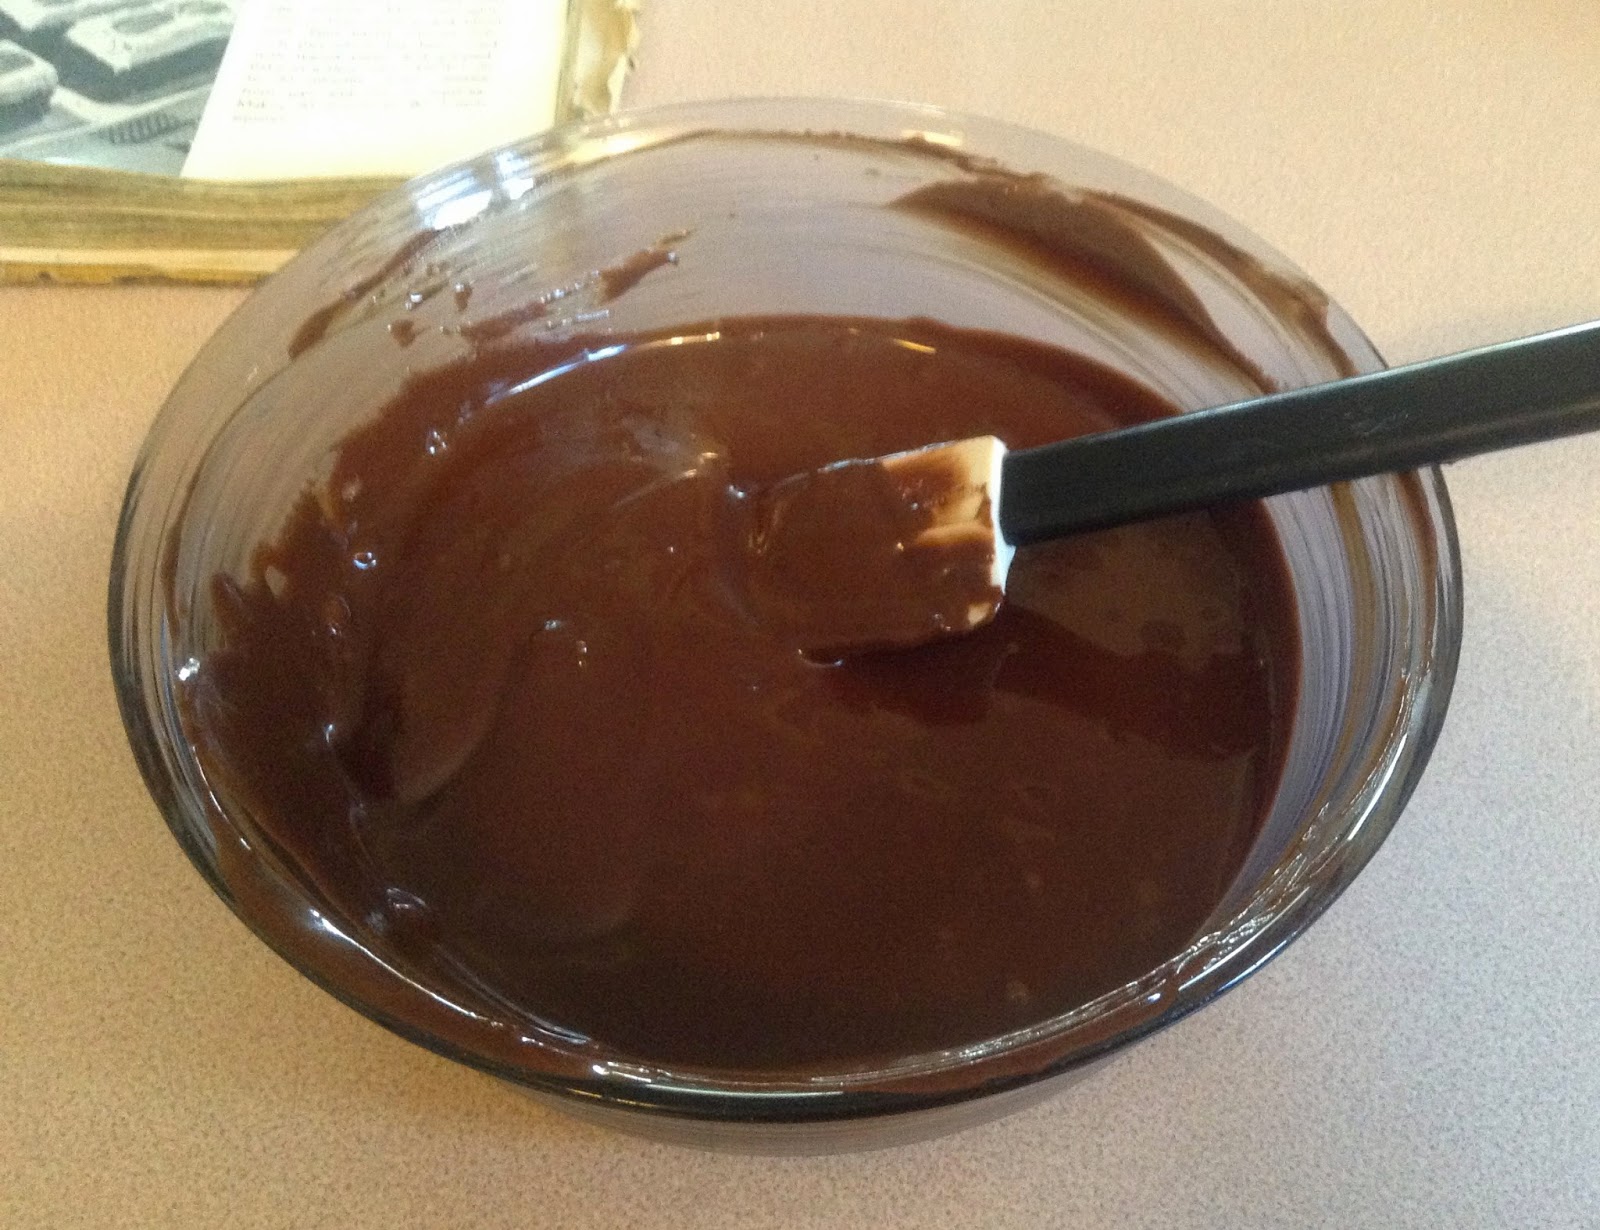
And stir until blended well. It wasn't blended smoothly, most likely because the chocolate was only moderately warm, so I heated it for a few seconds in the microwave. Viola!

chocolate and shortening melted

Beat the eggs until yellow and thick and then gradually add in the sugar.  Pour the chocolate mixture in with the eggs and sugar along with a bit of the flour.

chocolate, shortening, sugar, and eggs

Add the flour and milk to the batter, and once mixed well, stir in the nuts.

Pour the batter into two 8X8 inch pans that are greased and lined with waxed paper.   Oh...the batter seems very runny. I'm not sure if all brownie recipes are like that since I don't make a lot of them.

Well...I remember my mom using waxed paper all the time for things like this. Birthday cakes were amazing things way back then. Sure they were lined with waxed paper to bake, but...BUT!!...they also had pennies, nickels, dimes, and the luckiest of quarters inside and all of them were wrapped in waxed paper and baked inside the cake. Each slice was a surprise to see what money you might find! I love those days, no one was worried you might accidentally choke on a dime...as kids, we knew what was in there. Ahh, the good old days of being able to eat dirt!  Haha, I digress... I didn't have waxed paper so I used parchment paper instead.

Fudge Four O'Clocks fresh from the oven

When I first took them from the oven they seemed a bit gooey...more gooey than a brownie hot from the oven should be, so I baked it another 10 minutes.

The frosting I used is from Remodelaholic's website and it's so yummy. It came out a bit thick, so I added a tiny bit of milk and then tried to spread it...oiy! It was like trying to spread fridge cold peanut butter and it was pulling up the fragile top of the brownies!  I added a bit more milk and thinned it up quite a bit more and spread it over the top of the thicker frosting to give it a cleaner look.  You can see it in the picture, it looks like there are 3 layers. But honestly, this is one accident I would do again! It was creamy and decadent!

I definitely recommend these!

Fudge Four O'Clocks with Nutella Frosting


Fudge Four O'Clocks
Culinary Arts Institute Encyclopedic Cookbook - 1950 (pg 743)

INGREDIENTS
  • 2 ounces chocolate, melted
  • 1/4 cup shortening
  • 3 eggs, beaten
  • 1 cup sugar
  • 1 cup cake flour
  • 1/2 tsp salt
  • 1 tsp baking powder
  • 1/2 cup milk
  • 1 cup nuts, chopped
DIRECTIONS
  1. Melt chocolate and pour over shortening. Mix well
  2. Beat eggs until thick and lemon colored.
  3. Add sugar gradually, beating well with each addition.
  4. Combine mixtures (chocolate/shortening and egg/sugar) and add a little of the flour.
  5. Sift rest of flour, salt, and baking powder together and add, alternatively with the milk.
  6. Add chopped nuts.
  7. Spread in 2 8X8 inch pans which have been greased and lined with waxed paper
  8. Bake in a slow oven (325 F)  20 minutes
  9. Cut into 32 bars 1X4 inches.

Nutella Frosting
(from Remodelaholic - click link above to visit!)

INGREDIENTS
  • 1 cup Nutella
  • 1 1/2 cup powdered sugar
  • one shake salt
  • splash of milk (if needed)
 
DIRECTIONS
  1. Beat the Nutella and butter together until smooth.  
  2. Add the sprinkle of salt and the first 1/2 cup of powdered sugar, beat until combined.  
  3. Continue to add the powdered sugar a 1/2 cup at a time, beating between additions, until creamy and smooth.  
  4. Add a small splash of milk if necessary.

Tuesday, September 9, 2014

Home Again Home Again Jiggity Jig!

Back home again after visiting the family. It was a great vacation. I spent time visiting friends and family....and a LOT of cooking and baking.  Sadly, the drive back through the parks was almost as miserable weather wise as going there, but I snapped a picture anyways :)

While visiting, I made all my goto's, Peanut Butter cookies, Ginger cookies, Iced pumpkin cookies, Nanaimo bars (Nanaimo is a city in British Columbia), and more of the yummiest Carrot cake ever that I made 2 weeks ago. Half I left for my daughter and the other half I froze for a friend of mine.

I also did a lot of cooking (homemade Pizza, Spaghetti and Meatballs, Shepherds pie ...well Cottage pie actually since it was made with hamburger, and Chicken Pot Pie). I think I gained 10 lbs!  but that is ok, my friend and I are going to be accountable to each other for losing weight...or at least behaving :)

While I was in the big city of Prince George (75,000 people), I stopped in at a used book store called The Final Chapter. It's a great store and the gentleman who works there (owner?) is very friendly and helpful. I highly recommend checking it out if you are looking for something to read. Downtown is somewhat ugly and in need of some tender loving care, but hopefully that will change soon, but unless folks go shopping down there - it won't revitalize...ok, enough about inner-city politics. The kids each picked out a book for themselves - Percy Jackson and a Halo novel, respectively, while I found myself a nice very well preserved copy of a 1950 shortening recipe booklet by Jewel Shortening. I've never even heard of them, but they are Canadian. The recipes listed sound delicious and I want to make everything!  Yay Canada!

I love these brand cook books. The recipes all seem tried, tested,  and published proudly by the company. The recipes were meant to represent the company and promote brand loyalty, they wouldn't fill it with recipes that did not do the company proud,  unlike a lot of cookbooks nowadays where it seems like they dumped in a bunch of untested recipes just to fill the books and make sales.

I think the older Purity, Five Roses, and Robin Hood cookbooks I have try their best to have great recipes, where as the Culinary Arts and American Woman's cookbook have some questionable recipes, but I think the objective of those 2 books are to be encyclopedic in nature and cover everything they possibly can.  That being said, up next are Brownies from The Culinary Arts Institute Cook Book from the 1950's.

Cya then!


Saturday, August 30, 2014

Rustic Apple Pie

It's been a busy few days. I decided to hop in my truck and drive 8 hours to visit family and friends. The drive through the mountains would of been beautiful, but it was a rainy day and the clouds/fog pretty much covered all the views.  Wasn't worth stopping to take pictures, blek! :(. Hopefully the drive back will be spectacular! I'll let you know next week. :)

So, realizing that I haven't made anything for over a week, I let my granddaughter decide what to make. Haha, yes, I had the foresight to pack a few of the cookbooks with me :) She chose apple pie since they had a whole bunch of crab apples, but they didn't have shortening. So...off to the store ...

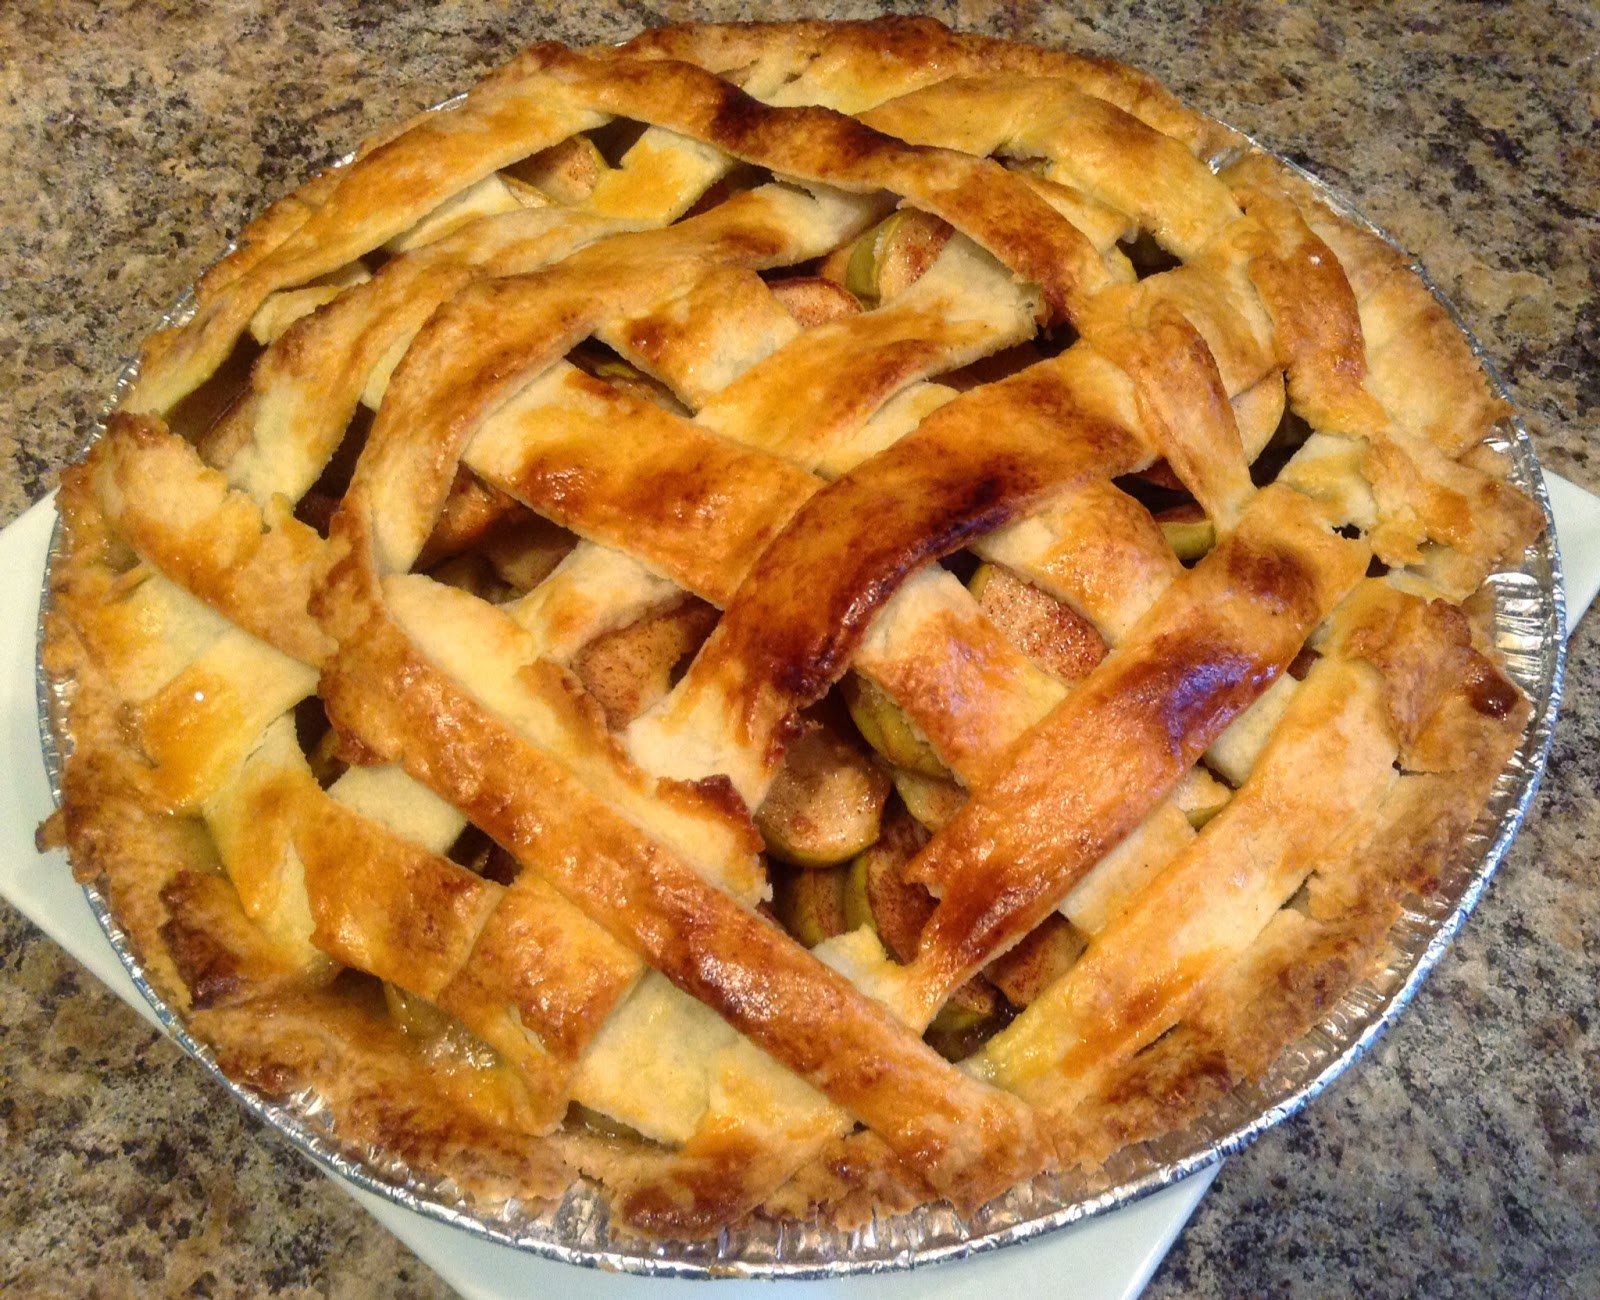
The kids helped me make the pie and it wasn't until it was finished that I remembered I should be taking pictures...ahh, well...I did get a picture of the finished pie...so that is something!  I call it 'Rustic Apple Pie' - even with the mixed up weave of the pastry strips, it still turned out pretty enough to make the kids proud :)  And it tasted great too - thankfully, since I got a bit worried that the crab apples might be a bit too tart!

Apple Pie

I followed the instructions as posted, except I found there really wasn't enough liquid in the pastry to have it hold together so I added probably about 2 more teaspoons of water, and it was VERY thin when rolling out, but that was me....I should of paid more attention, I don't think the recipe for SWEET PASTRY was meant to be for a double crust, so after separating the dough into two balls,  I cut the second ball in to strips to cover the top.  

Everyone liked the pie and it was simple enough to make, and I think fairly foolproof.  So for that reason I would probably make it again (but double the sweet pastry recipe for a bottom and top crust).

Sweet Pastry 
Rich and sweet for fancy tarts
Robin Hood Flour Cook Book - 1947  (pg 90)

INGREDIENTS
  • 1 cup sifted Robin Hood Flour
  • 1/8 tsp salt
  • 1 tbsp granulated sugar
  • 3 tbsp butter
  • 3 tbsp shortening
  • 1 egg yolk
  • 2 tsp lemon juice
  • 1 tsp cold water

DIRECTIONS
  1. Sift together flour and salt into mixing bowl.
  2. Add sugar and mix well.
  3. Cut butter and shortening into small pieces and add to flour mixture.
  4. Blend together thoroughly, using pastry blender (or two knives, cutting in with scissor-like motion). Butter and shortening should be well blended into mixture.
  5. Beat egg yolk slightly.
  6. Add lemon juice and water.
  7. Add a little at a time to the flour mixture, blending in lightly with a fork.
  8. When adding liquid, drop it here and there over the mixture so it will be better distributed. Mixture will be crumbly.
  9. Turn out on to lightly floured bakeboard or pastry cloth and press together into ball.
  10. Knead for 15 seconds (turn dough over 4 or 5 times)

Apple Pie 
First choice - with all the family 
Robin Hood Flour Cook Book -  1947 (pg 95)

INGREDIENTS

(For Eight-inch Pie)
  • 4 1/2 cups thinly sliced apples
  • 1/2 to 3/4  cup sugar
  • 3/4 tsp cinnamon
  • 2 tsp butter

For Nine-inch Pie
  • 6 cups thinly sliced apples
  • 3/4 to 1 cup sugar
  • 1 tbsp butter
  • 1 tsp cinnamon

DIRECTIONS
  1. Prepare pasty as in General Directions for Two-Crust Pies (page 94)
  2. Wipe, quarter, core, peel, and slice apples, then measure
  3. Combine sugar and cinnamon (amount of sugar depends on tartness of apples)
  4. Arrange apple in layers in pastry-lined pie plate.
  5. Sprinkle each layer with sugar and cinnamon.
  6. Dot top layer with small pieces of butter.
  7. Cover with top crust
  8. Place pie on lowest rack in oven preheated to 450 F (very hot oven)
  9. Bake 10 minutes and then reduce oven temperature to 350 F (moderate oven) and bake for 30 - 35 minutes longer.
  10. Serve warm or cold.
Note: I didn't make the Two-Crust Pie Pastry, so I ignored Step 1 - General Directions for Two-Crust Pies (page 94) But I will post them at some point :)

Thursday, August 21, 2014

The best and yummiest Carrot Cake with Cream Cheese Frosting

I can't say I love Carrot Cake. In most cases I avoid it and choose something else. It's always hit and miss and I don't want to take the chance of biting in to gummy undercooked cake, slimy carrots, or shredded carrot bits that are just too long and stringy - the kind that you pull from the cake like hair stuck in a shower drain. Blek! I would rather gnaw my arm off, seriously! I have issues with finding any hair in my food! I became a vegetarian for a couple years because of hair and a Wendy's hamburger!...But that's a different story and not about this carrot cake.

Carrot Cake with Cream Cheese Icing

The carrot cake my sister (sis #2) makes is amazing. I'm not sure why, but it's very vanilla-ie, hahaha...it has a great vanilla flavour is what I'm trying to say :) or maybe it's just that the smell makes it seem like it has been infused with vanilla.  The cake has an amazing 'rightness' to it. The right taste, the right texture, the right smell, the right sweetness, and the right size of shredded carrots.  And whomever decided that cream cheese icing goes with Carrot Cake was a darn genius!

This time around, I figured I would make it myself, using the recipe my sister uses from the Five Roses Flour Cook Book and I wasn't disappointed, nope, not at all. The only thing better than this cake - is if she had made it for me :)

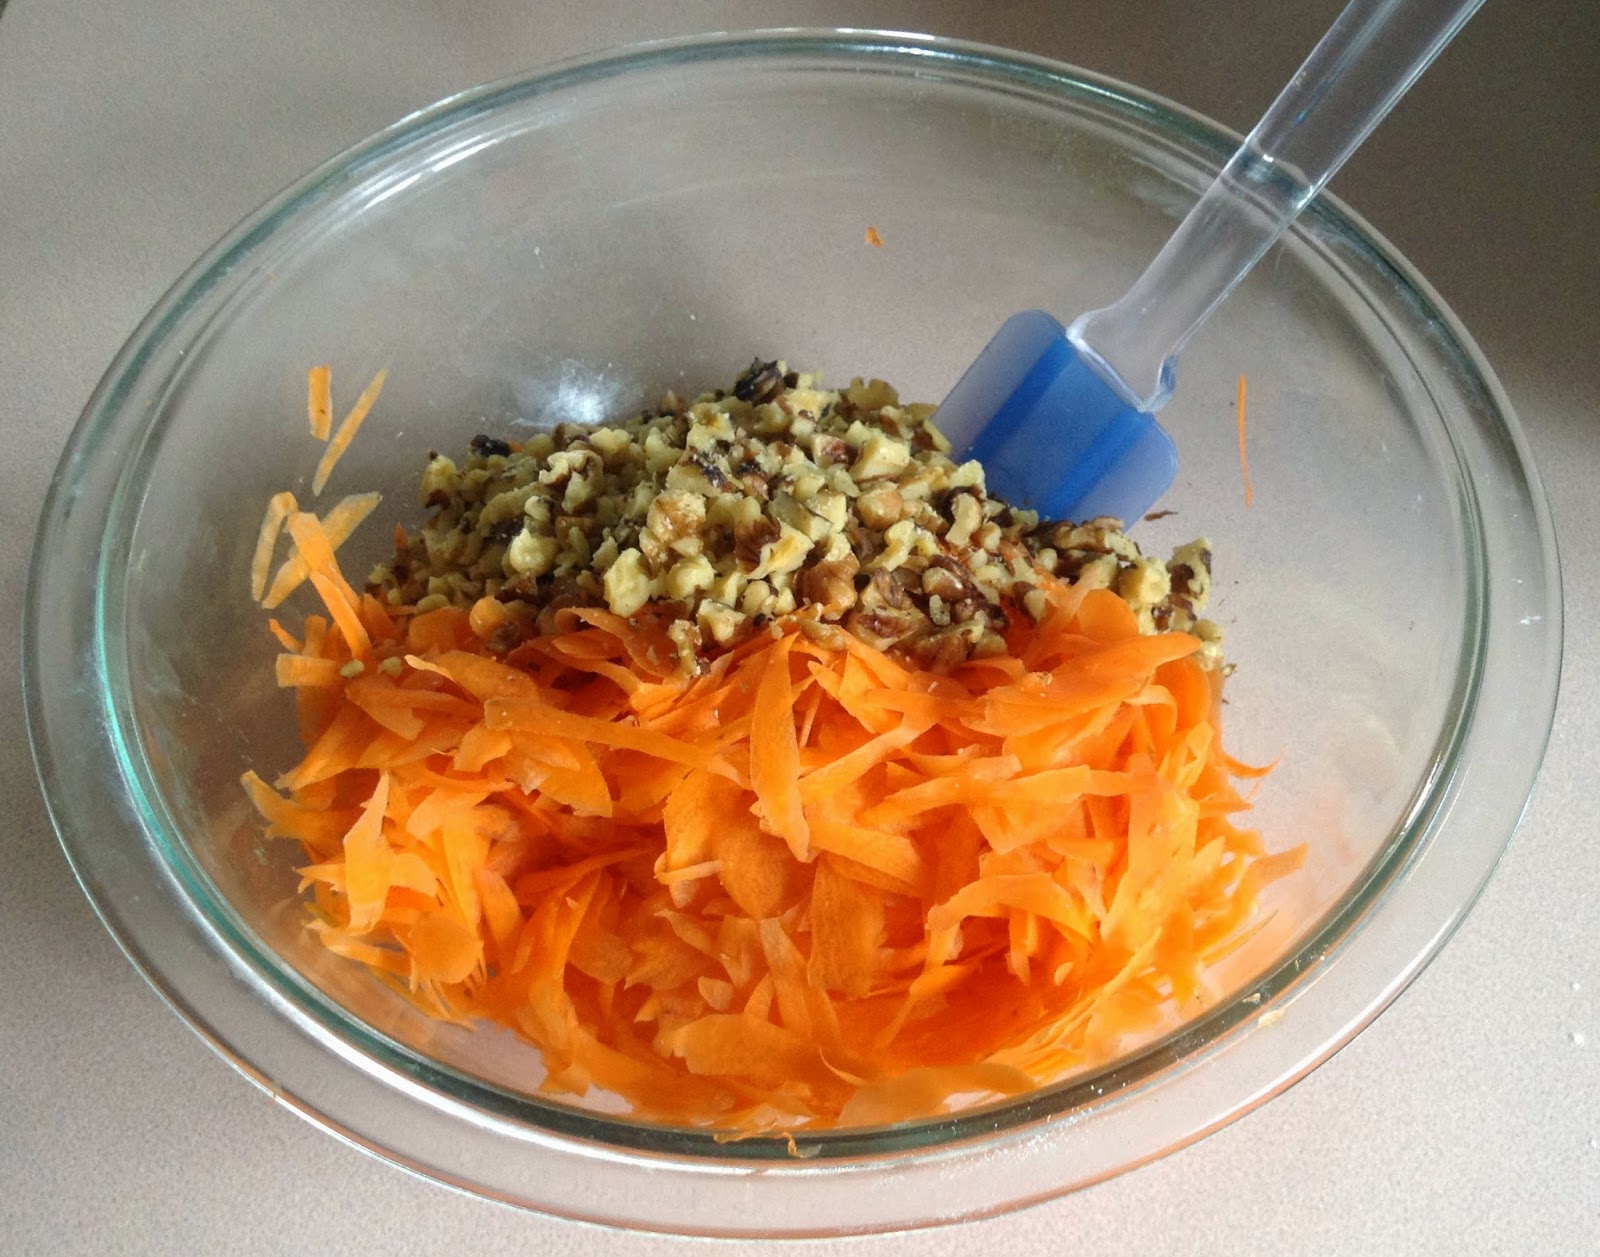
I started off by chopping the nuts (I used walnuts) and shredding the carrots. I just used a carrot peeler and did small strokes at the end of the carrot until the carrot was completely shredded and in the bowl. It took about 4 - 5 medium sized carrots to make 3 cups.

Shredded Carrots and Nuts

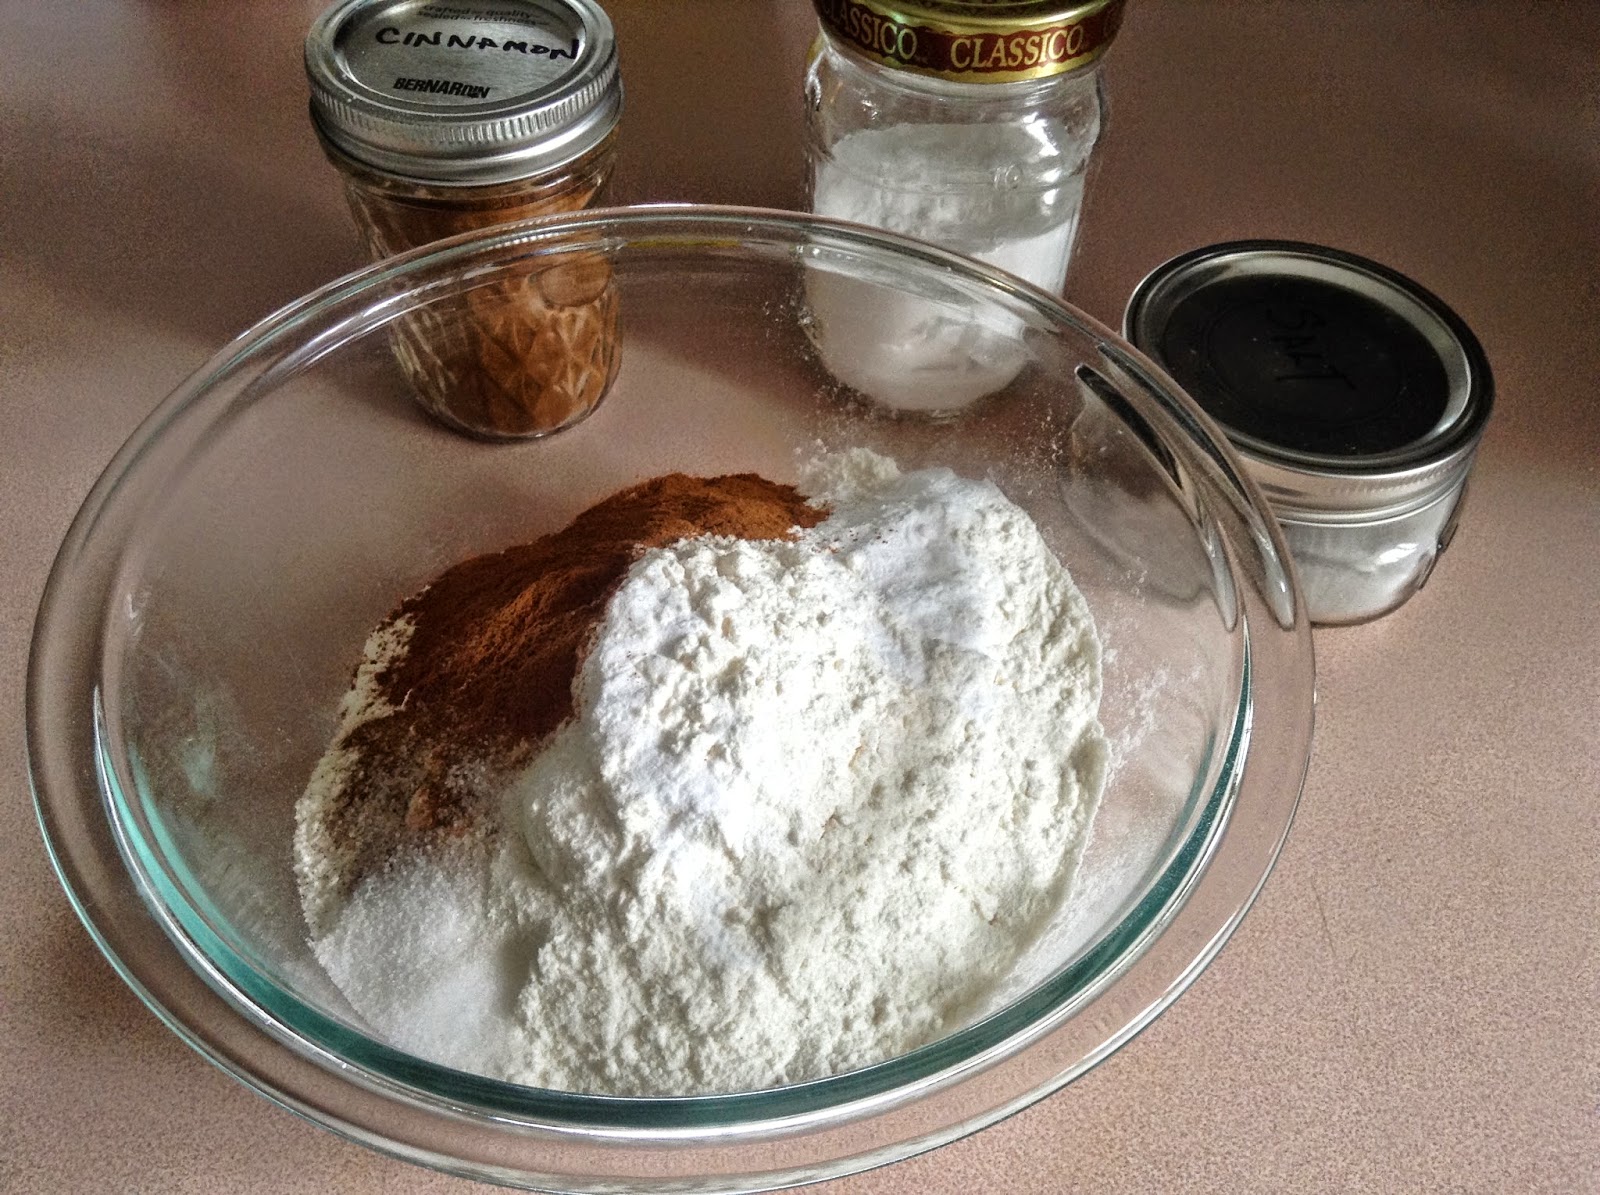
Once I had the carrots and nuts done, I dumped all the wet ingredients plus the sugar into the mixing bowl and turned it on. The recipe says to let it go for 5 minutes, so while that was spinning around, I got the dry ingredients ready and greased the 9 X 13 baking pan.

Carrot cake dry ingredients

Next up was to toss the carrots and nuts in with the wet ingredients and give it a whirl.  

Adding carrots and nuts to Carrot cake batter

Add the flour. I just dumped all of it in at once and gave it a quick mix.

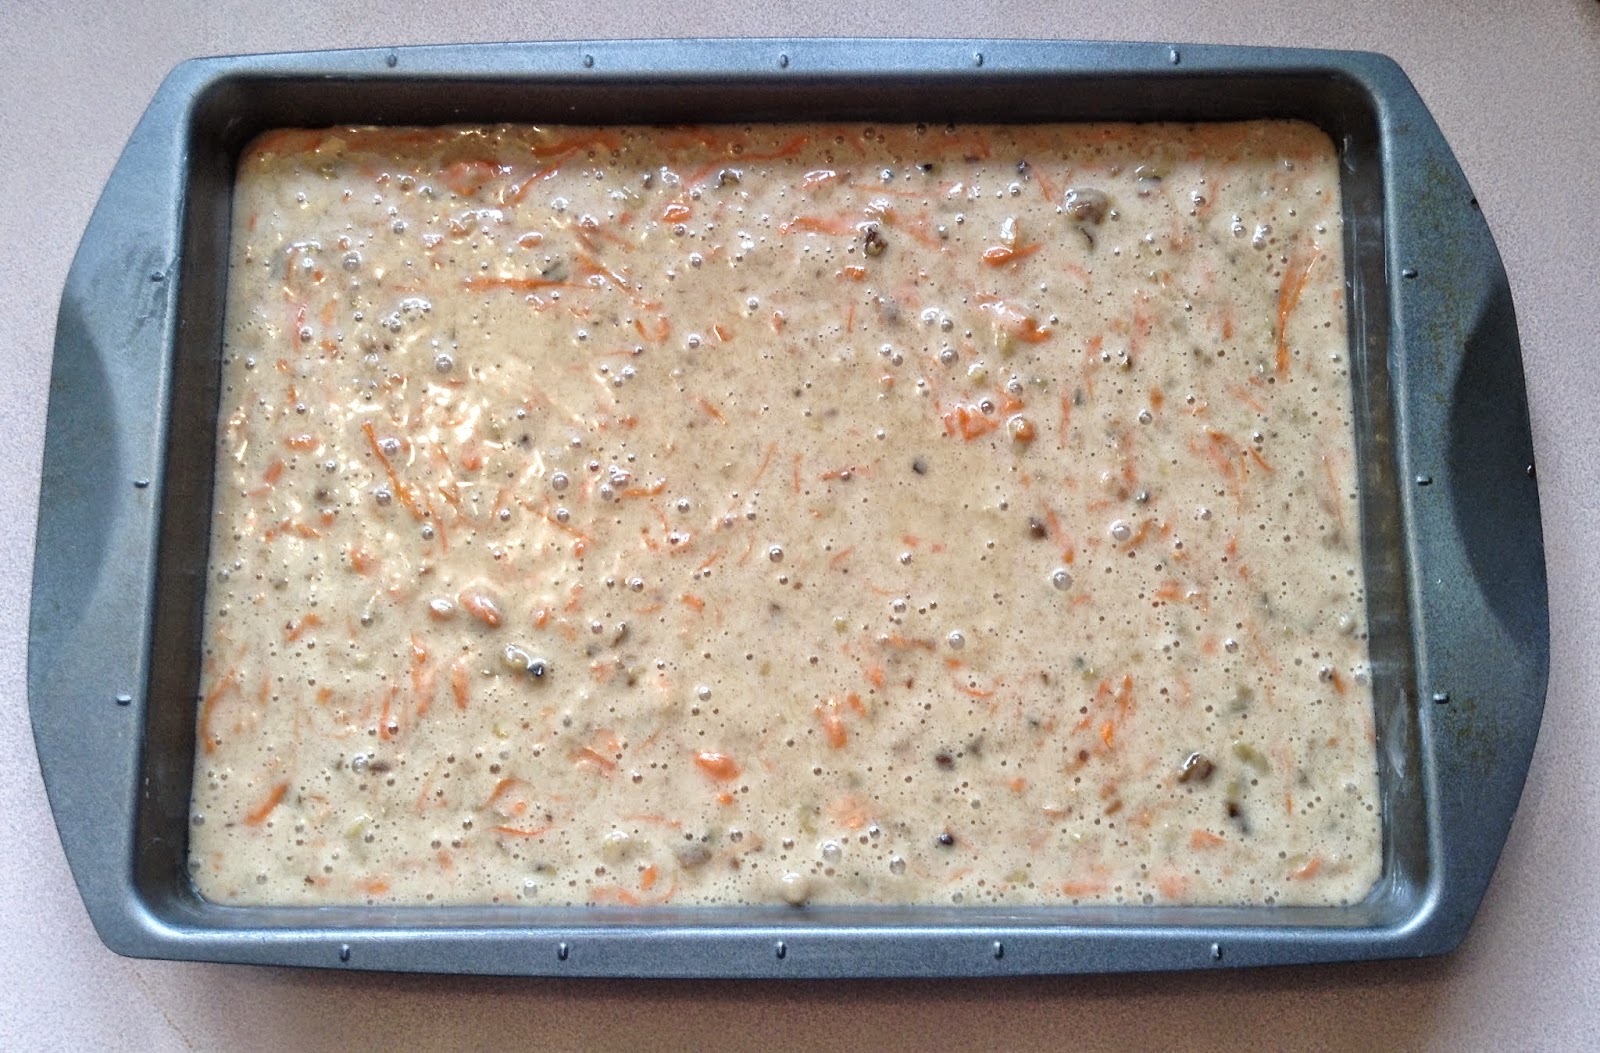
This seriously looks like barf and reminds me of the Rinktum Ditty I made. Pinky orange is NOT a good look for food. Hahah, are you sold on making this yet? Hair and Barf - what the heck will I say about food I hate??


So, take your yummy looking pinky orange mixture and dump it into a greased 9X13 pan. It really needs to be this big of a pan, or two 8X8's or something (24 muffins perhaps). It ends up making a lot of cake. I got 24 large 'forget about the diet' sized pieces out of this.


 Bake at 350 F for 55 - 60 minutes and then let cool on a rack.

While baking, throw your cream cheese ingredients into the blender and cream together.  I made a double batch because....
  1. a regular package of Philadelphia Cream Cheese is 8 oz, not 4, and what am I going to do with 1/2 a brick of cream cheese? I guess I could freeze it...nah...
  2. I think the cake is better with the double recipe. It's a nice yummy amount  - not too much...and definitely not too little :)
 Once the cake has nicely cooled, slather it with the cream cheese icing. YUM!

Carrot Cake with Cream Cheese Icing

Cut into the non diet friendly servings and enjoy!


Carrot Cake with Cream Cheese Icing
Five Roses Flour Cook Book - 1970? (pg 94)

INGREDIENTS
  • 2 1⁄2 cups Five Roses flour
  • 2 tsp baking soda
  • 2 tsp cinnamon
  • 1 tsp salt
  • 1 cup vegetable oil
  • 2 cup sugar
  • 4 eggs
  • 1 tsp vanilla
  • 3 cups finely grated carrots
  • 1 cup chopped nuts

DIRECTIONS
  1. Preheat oven
  2. Combine flour, baking soda, cinnamon, and salt together.
  3. In the large electric mixer bowl combine oil, sugar, eggs, and vanilla; beat until light, about 5 minutes.
  4. Blend in carrots and nuts.
  5. Blend in dry ingredients, 1/3 at a time.
  6. Pour batter into greased and floured pan
  7. Bake in a moderate oven until top springs back when lightly pressed with fingertips.
  8. Let cake stand in pan 10 minutes before removing. 
  9. Cool completely on rack.
  10. Frost with cream cheese frosting
Rectangular cake pan: 22 cm X 33 cm (9" X 13")
Temperature: 180 C (350 F)
Cooking Time: 55 to 60 minutes
Yield: 1 large cake

CREAM CHEESE ICING (single recipe as shown in book)
Five Roses Flour Cook Book - 1970? (pg 102 )

INGREDIENTS
  • 2 1⁄2 cups icing sugar
  • 1⁄2 cup butter (softened)
  • 1 – 4 oz pkg cream cheese
  • 1 tsp vanilla

DIRECTIONS
  1. Cream butter and cream cheese together
  2. Add in vanilla
  3. Beat in icing sugar
Yield: 500 mL (2 cups)

Monday, August 18, 2014

Blueberry Sally Lunn

I was reading through a local cook book 'From Our... Kitchen... to yours' by the The Atlantic Provinces Association of Northern B.C. and I stumbled across a recipe for Blueberry Sally Lunn submitted by Sandra Langille of Truro, N.S.

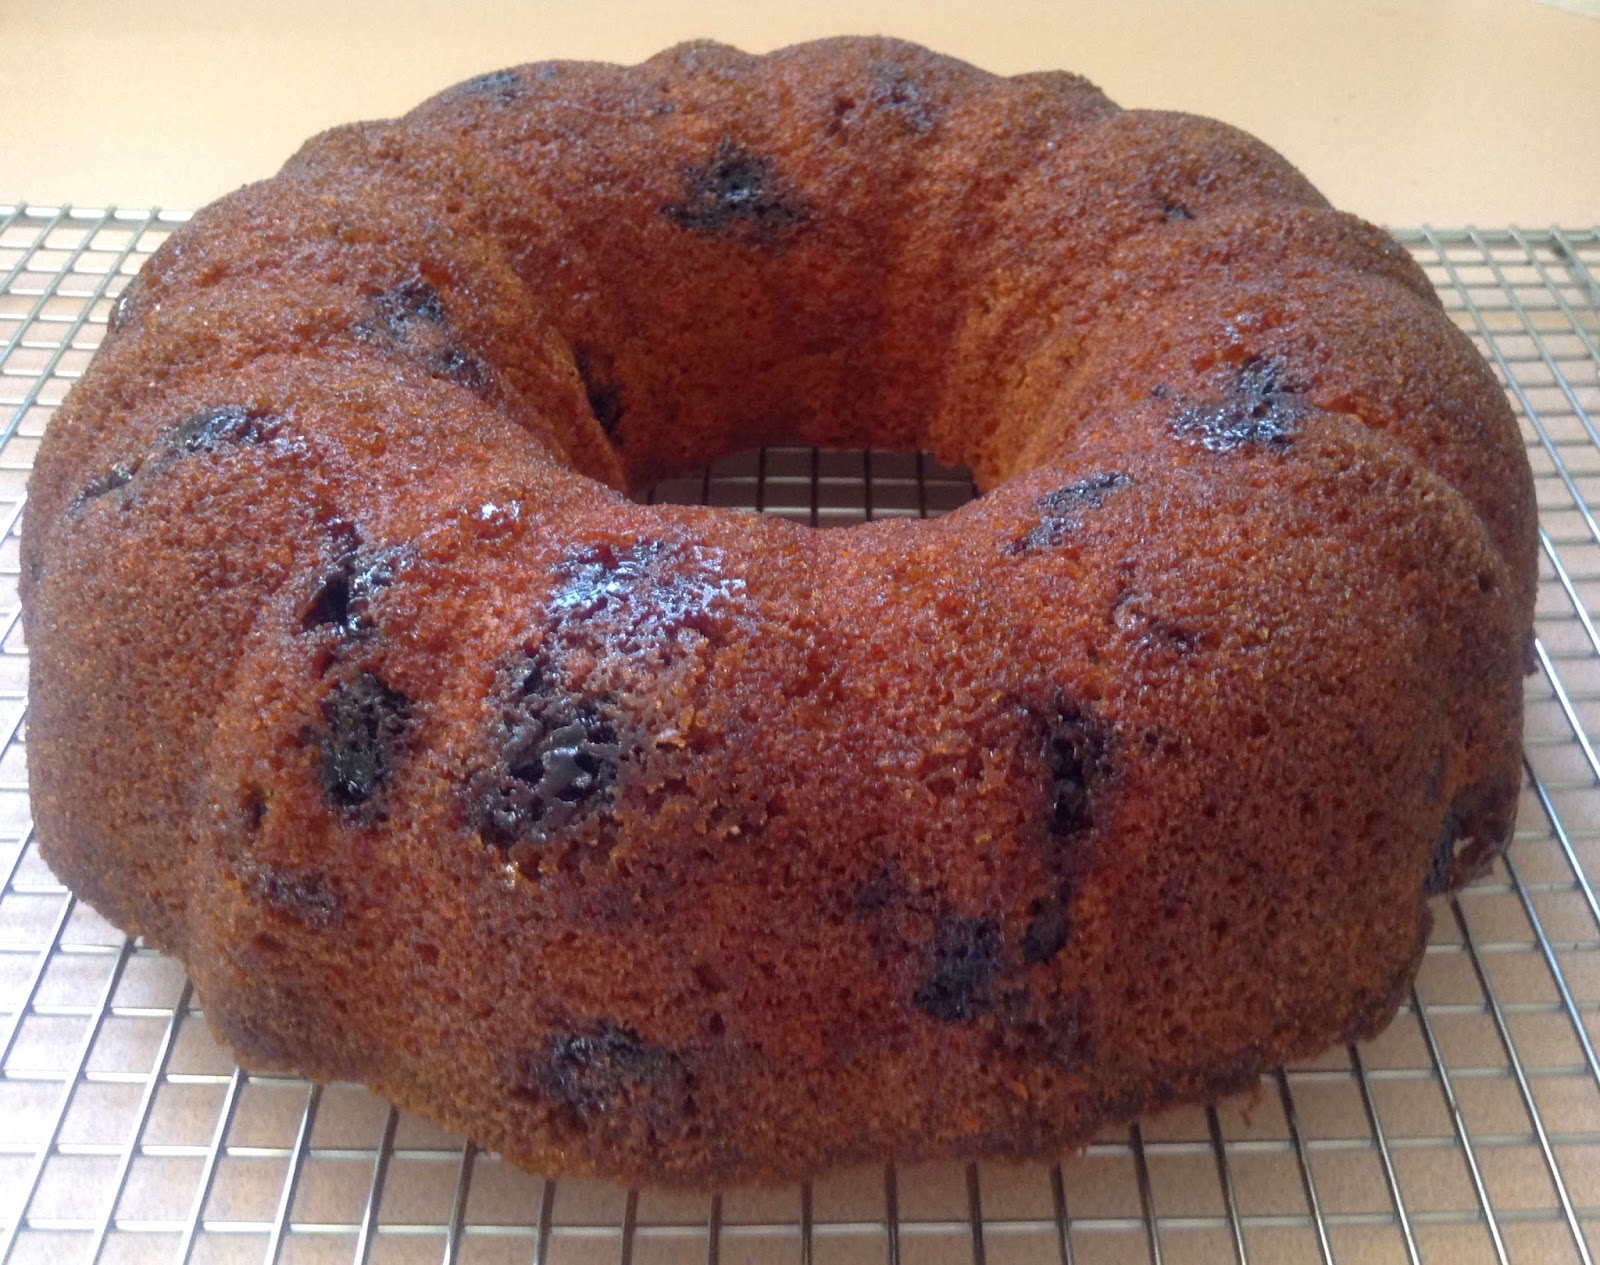
Blueberry Sally Lunn

The cook book reminds me of so many local association, school, knitting club cook books. All the recipes come with a name attached and there are a lot of filler recipes for having a happy home or finding the right husband. Maybe I should of read this book YEARS AGO :) haha!  These so-called recipes make me think of knitted tea cozies, tea stained tea cups, quilted blankets, ... and gasp!... nosey opinionated relatives that can and will explain to you exactly why you are not yet married and how you let a 'good one' get away.  Hopefully it reminds you of grandmas kitchen or the aged cross stitched 'Home Sweet Home' picture framed at Auntie Annie's house, but not me, sorry.. different upbringing I suppose :)

Recipe for a happy home  (submitted by Maisie)

PREHEAT HOME WITH LOVE TO THE Nth DEGREE

One carefully selected man.
One carefully selected woman.

To the man add the abilities to be a good provider ad give affections. Stir in stability, strength, decisiveness and leadership. Boil until all traces of condescension evaporate.

To the woman add the abilities to be a good homemaker and give encouragement. Stir in loyalty, tenderness, and creativity. Boil until all traces of nagging evaporate.

Carefully blend the two together. Grease immediately with maturity. Flour with common sense. Add heaping amounts of respect and honesty. Constantly add kindness and understanding. Drain off apartness but retain individuality. Whip in sense of humour. Grind in responsibility. Fold in patience mixed with insight. Stir in ability to sacrifice. Soften with trust. Cut out all traces of selfishness. For added richness blend in plans and dreams and season with children.
 
What I do know for sure about the book is that my mom would of either purchased it or received it as a gift when she used to live in northern BC over 30 yrs ago. What I don't know is when the book was published by Gateway Publishing Co. Ltd (Winnipeg, Canada).

Now, having already made two different Sally Lunns, how could I possibly pass up this one. It's similar to the recipe in the American Woman's cook book in that it doesn't require beating the egg whites to stiff peaks, thankfully! but that's about it - the ratios for the ingredients are completely different.

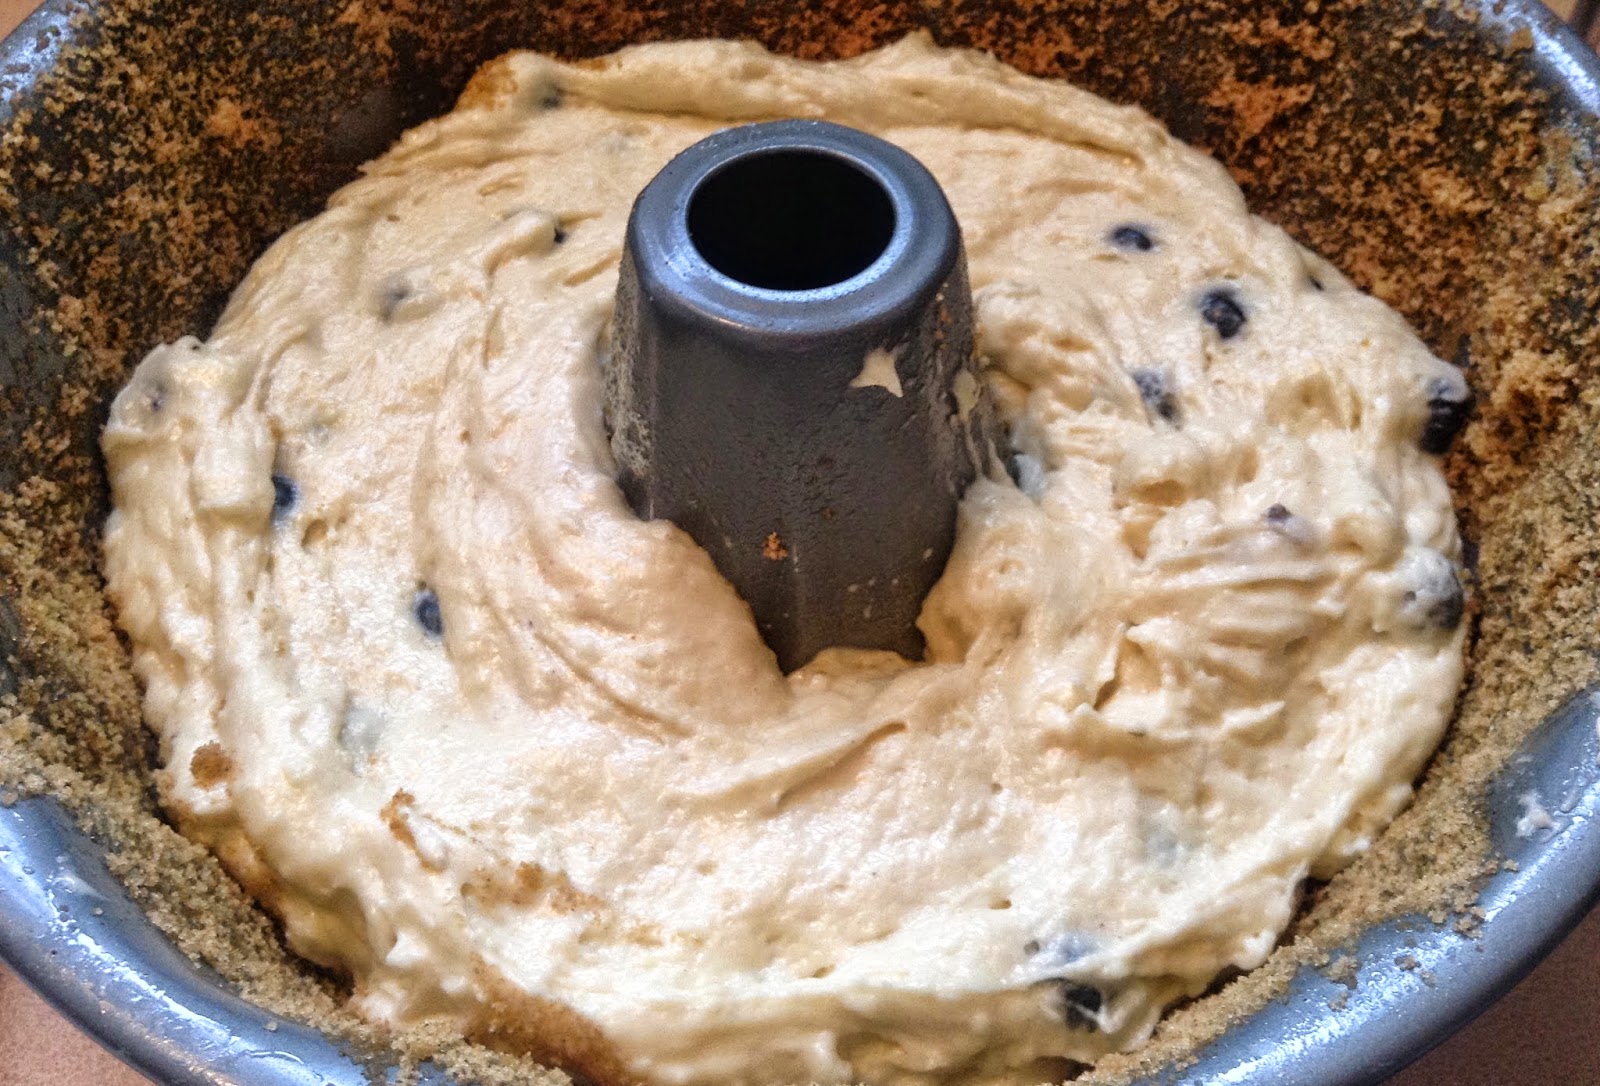
I made 2 changes in the recipe, mostly so that this recipe is baked the same as the other two Sallys. I used a bundt pan for it instead of the 9X9 mentioned in the recipe and, since bundt's get flipped out, I used the brown sugar and cinnamon mixture to dust the sides of the greased pan, like you would with flour.


Once dusted, I wiped off the unused brown sugar mixture so it wouldn't burn to the side of the pan and popped it in the oven.  I just used my finger, which seemed to work the best :)

It came out of the pan really easily once it was almost cooled, no doubt because the bundt pan is non stick and I also sprayed it with PAM before dusting with the brown sugar mix.

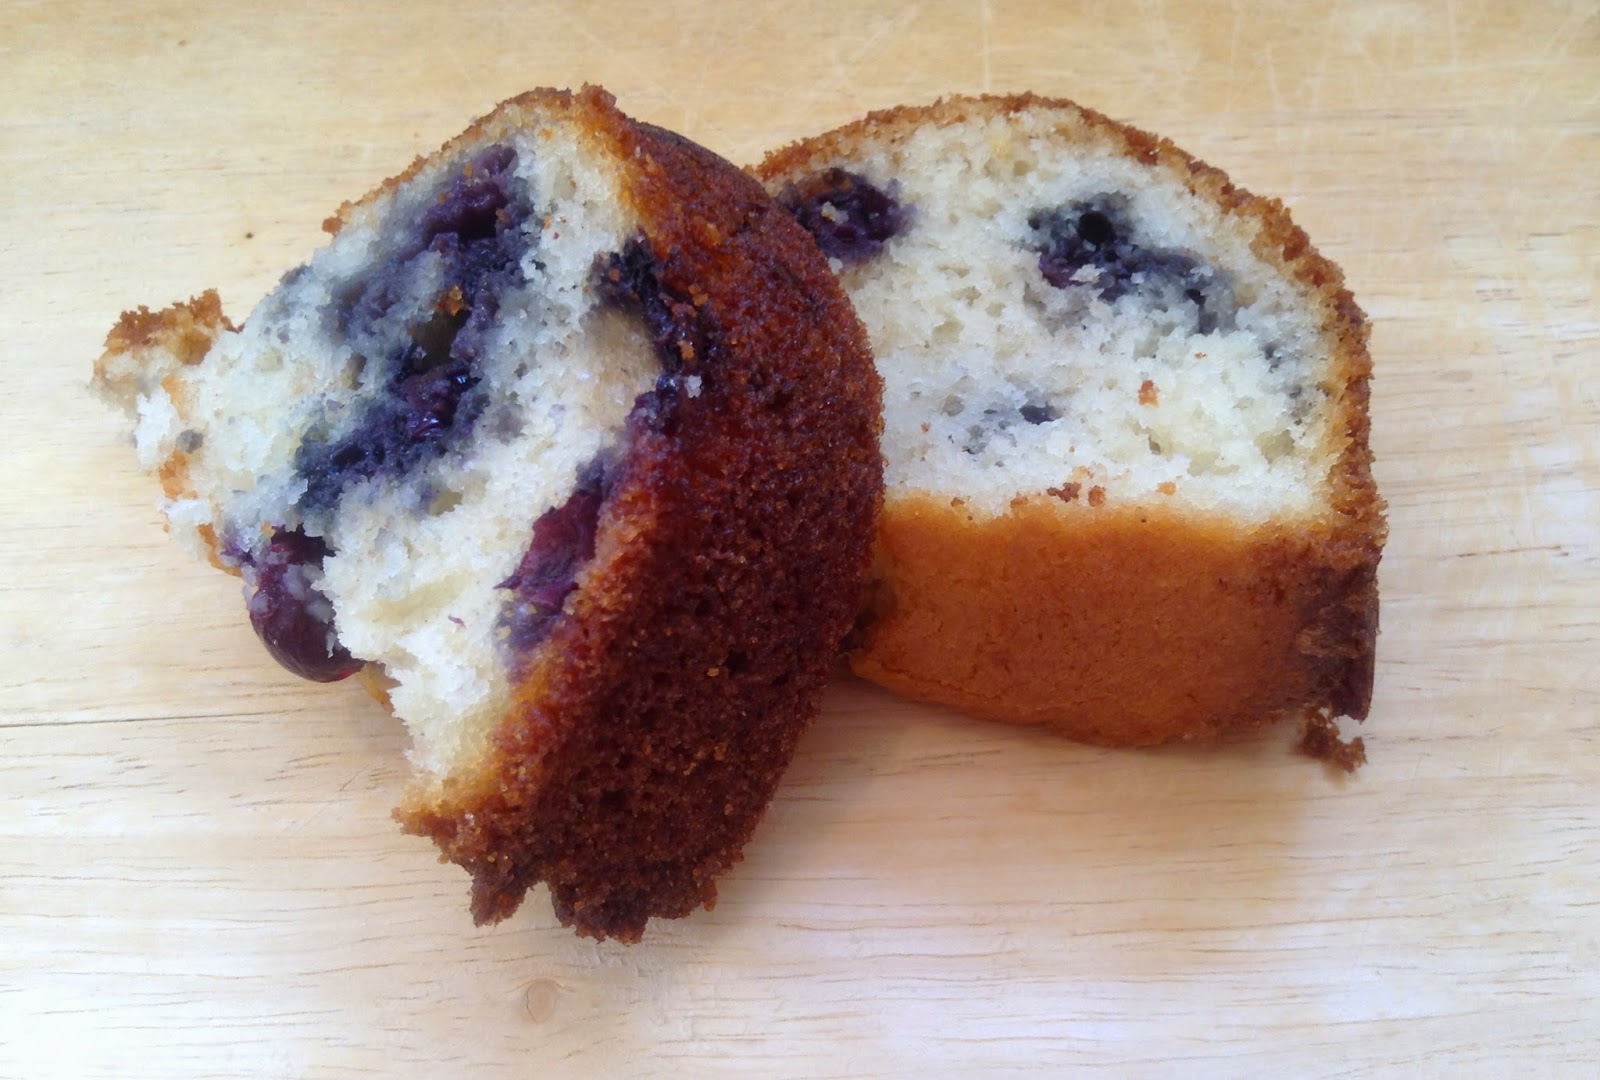
It's not a sweet cake, but the brown sugar and cinnamon coating gives it an extra bit of sweetness and a tiny bit of crunch, which I really like.  I think this really would be amazing served warm with ice cream. Yum!

Blueberry Sally Lunn
From Our... Kitchen... to yours - 1970's? (pg 28) 
Sandra Langille of Truro, N.S.  

INGREDIENTS
  • 1/2 cup shortening
  • 1/2 cup white sugar
  • 2 eggs
  • 1 3/4 cup flour
  • 3 tsp baking powder
  • 1/2 tsp salt
  • 1 cup milk
  • 2/3 cup blueberries
  • 1/4 cup brown sugar
  • 1/2 tsp cinnamon


DIRECTIONS
  1. Cream shortening and sugar, add eggs
  2. Add dry ingredients alternately with milk
  3. Fold in blueberries
  4. Pour into greased 9 X 9 inch pan
  5. Mix brown sugar and cinnamon and sprinkle on top
  6. Bake at 350 degrees for 1 hour
  7. Serve warm with whipped cream or ice cream

Thursday, August 14, 2014

Happy Day!

I think today is going to be great!

I don't have another recipe to post. Hey..I just did the tea biscuits! But, let me explain...

Good Thing #1 - I found a home for my baked goods.

Jack Cookies

When I was in Toronto, I would bake all the time and bring the goodies in to work for my coworkers. Now that I am in BC and telecommuting...wow that's the first time I've actually said that...usually I just say I work in Toronto.  What a great word that is, everything you need to know all rolled up in one little package...wait, haha, I digress! Now that I am telecommuting, I have no one really to give my baked goods to. I bring some to my mom, but she has favourites she wants me to make, so I don't get to do my own thing as much...but I've fixed that!

My dad lived and died in this area. While he was alive he worked for the same company for almost as long as I can remember.  His boss is a very nice man and while I haven't spoken to him often over the years, he still knows who I am (he knows my sister a lot better...but she has lived here off and on over the years), so... I went to see him.


I was nervous and after I left the hardware store, I wasn't sure I wanted to just pop in across the street. I had that queasy feeling in the pit of my stomach when I push myself to interact with people I don't know well or when I'm in a confrontational situation.  It all sounds easy and I know what I want to say beforehand, but it doesn't come out like that. Usually I sound like a babbling idiot. BUT...I did it. I had to, like jumping out of the white water rafting boat into the water...no regrets and what if's and might-have-beens.

We talked for a few minutes and did the normal "How are you" meeting things and then discussed a bit about Table Saws. And then I asked if he could help me with something...before he could get all wary (I would be - people who drop in only to ask for things SUCK) .. I asked him if I could drop off baking when I make it.  He smiled, I smiled, and the deal was struck! RELIEF! I still babbled, but I got the heck out of there while I still had some dignity :)  I kindly left a loaf of yummy Lemon Poppy Seed Pound Cake to truly seal the deal :) Yay! I win! Hahah.

Good Thing #2 -  I get my truck back today. It got a wee bit of scuff on the front bumper at the Uhual place in Toronto. It wasn't me! I know where the front bumper of my truck is. It was a guy who works there...I just didn't notice until I was halfway to BC...and really, it wasn't that bad, so it's not worth the fight.  So...back here...I have a friend close by that I've known for years...and he happens to be an auto-body painter with his own company. Yay! I left my truck with him on the weekend and it's ready today!  Yay!  I miss her :)

Good Thing #3 - My other sis (Sis #1) will be in town today, so I'll get to see her.  I saw her a few weeks ago when me and sis #2 went to visit her and pick up some furniture :) Yay!

Good Thing #4 - I'm going to buy a mitre saw (on sale). I will be able to cut wood in a straight line. Yay, Yay, and more Yay!!

What a great great day!  Hope you all are enjoying yours!

Whole Wheat Tea Biscuits

It's hard to beat tender, flaky biscuits for that melt-in-your-mouth goodness.

I was going to make the tea biscuits in the Purity cookbook, but then I came across the whole wheat recipe.

I'm pretty sure I loved the basic Tea Biscuit recipe in the Five Roses Flour cook book, so it seemed like the place to start. How do I know I loved it? Well, glad you asked! On one of the back pages of the book, I wrote ' Tea Biscuits pg 41'. And yup, it is my 30+ yr ago selfs' handwriting.

Tea biscuits are the ultimate in easy quick comfort food. They have been a wonderful breakfast, snack, and dinner food for me over the years. Yum!


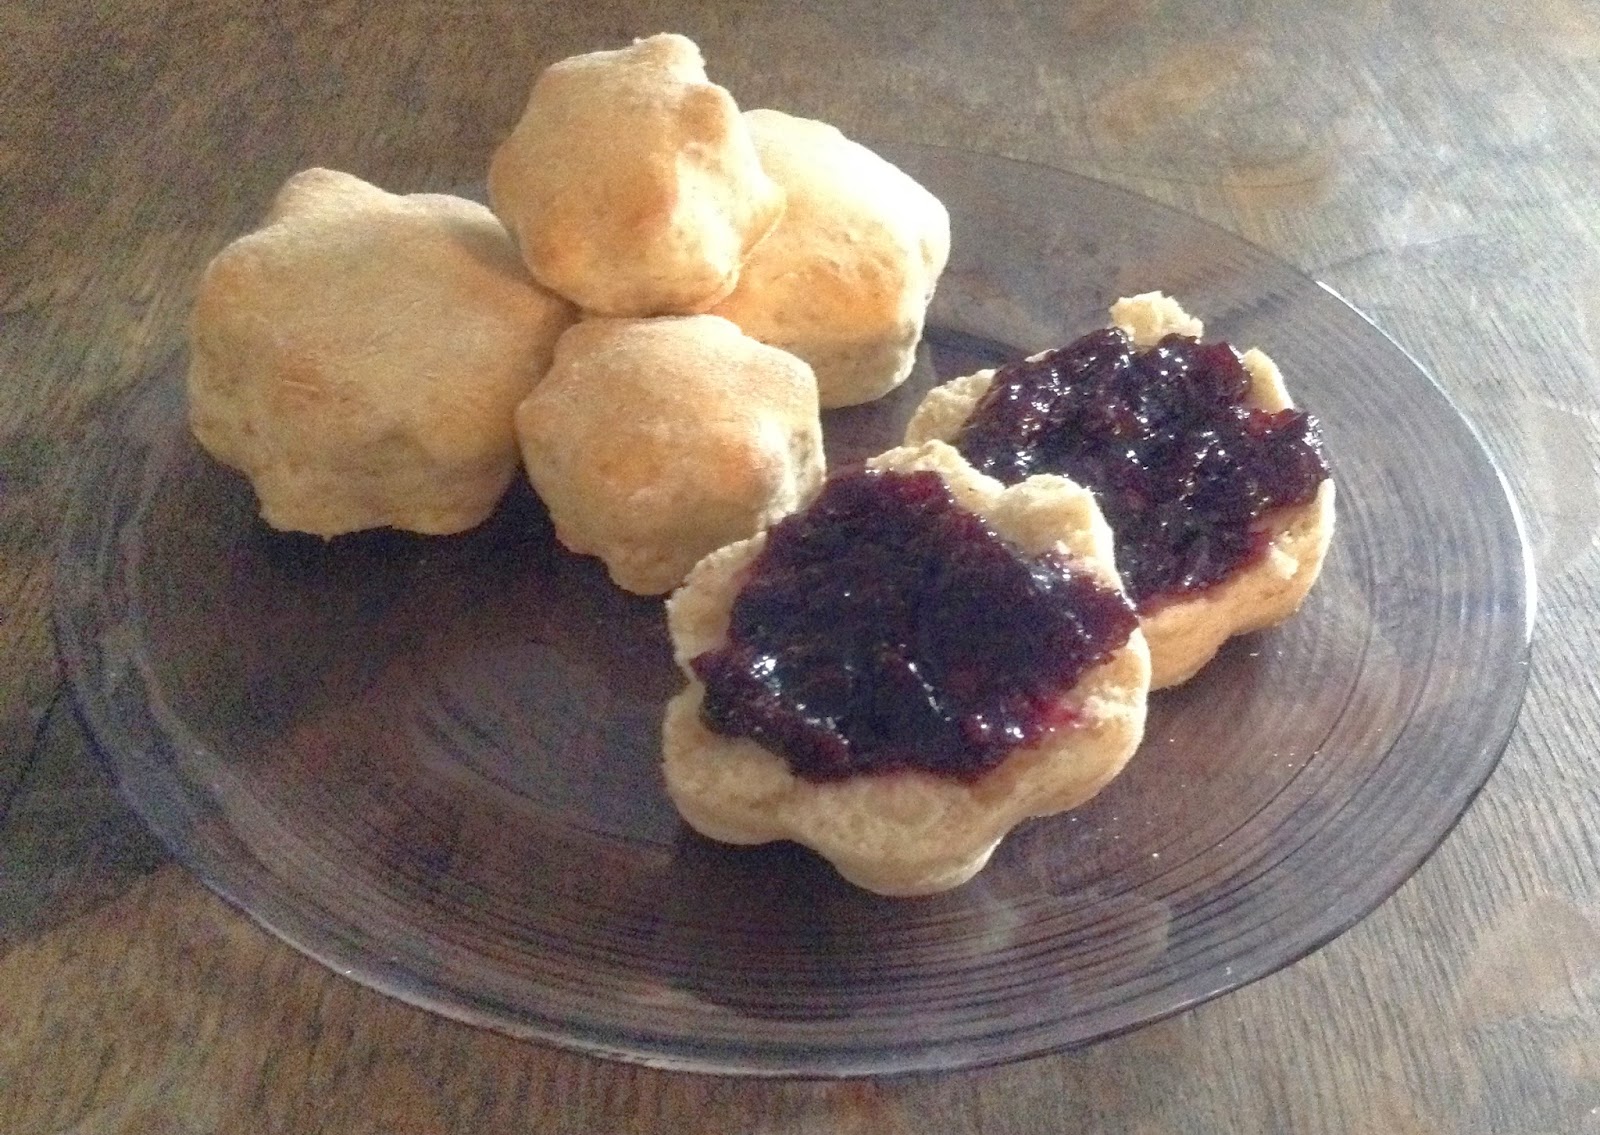
I've made my fair share of basic tea biscuits over my lifetime using whatever recipe I came across, but I don't often switch it up flour wise. Until now. Whole wheat tea biscuits just sound a bit healthier and less guilty feeling when smothered in homemade blueberry-cherry jam. I think this means I can have more than one!

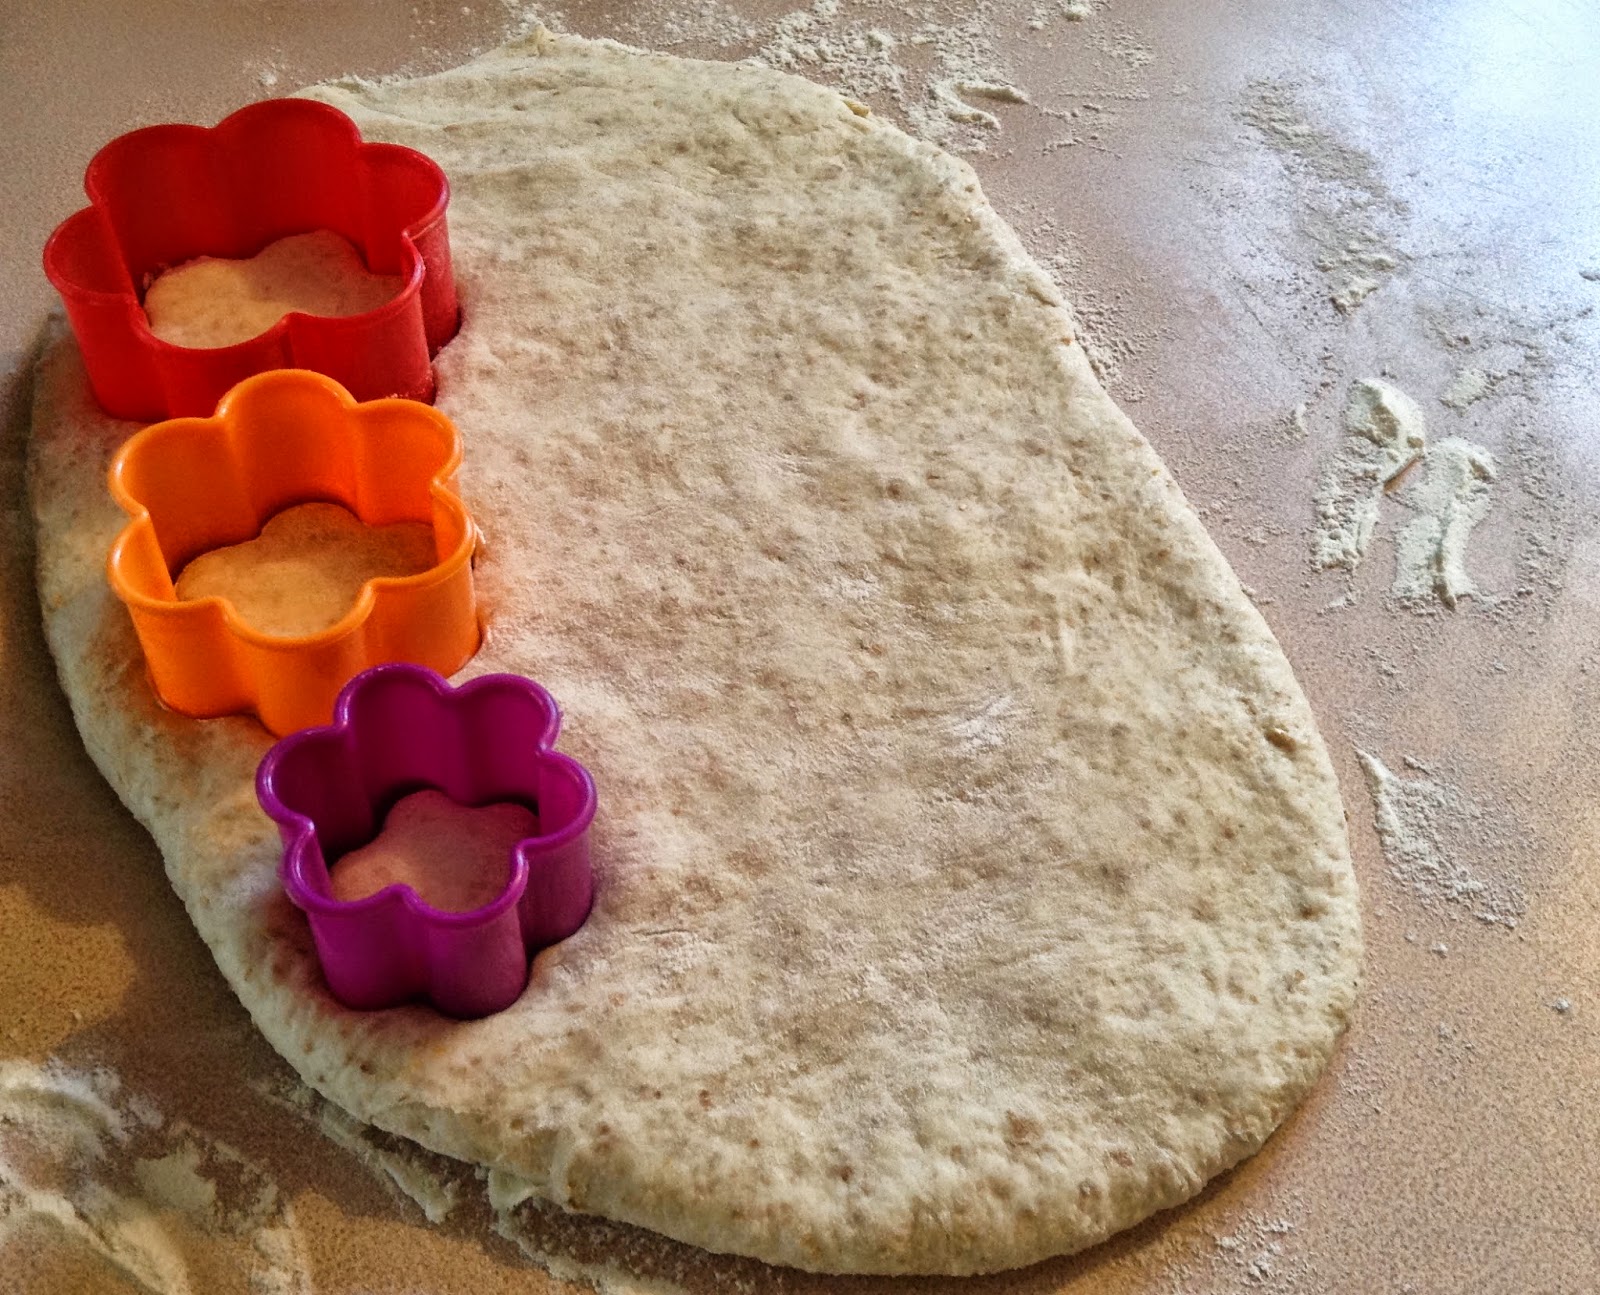
One of the great things about tea biscuits is that they can be made fancy using scalloped cutters, or utilitarian little squares cut from a patted down pile of dough, or cut into sticks - perfect for dipping in soups! It's all yummy in my tummy goodness :)

Whole wheat tea biscuits with flower cookie cutters

The texture of these biscuits are not quite the same as regular tea biscuits. They are a bit more dense feeling, but they were delicious with just the right amount of sweetness.

I would make these again, for sure :)

Tea Biscuits (basic)
Five Roses Flour Cook Book - 1970? (pg 41)

INGREDIENTS
  • 2 cups Five Roses All Purpose Flour
  • 4 tsp baking powder
  • 1 tsp salt
  • 1/4 cup shortening
  • 1 cup milk or light cream

Variation: Whole Wheat Tea Biscuits

Use only:
  • 1 cup Five Roses All Purpose Flour
  • 1 cup Five Roses Whole Wheat Flour
DIRECTIONS
  1. Preheat oven
  2. Combine flour, baking powder, and salt.
  3. Cut in shortening with two knives or a pastry blender until mixture is the consistency of coarse cornmeal.
  4. Make a well in the center of ingredients and add liquid all at once.
  5. Stir batter vigorously until it comes freely from the sides of the bowl.
  6. Turn dough onto lightly floured board and knead lightly for a few seconds.
  7. Roll or pat out to desired thickness*
  8. Cut dough with floured biscuit cutter and place on ungreased baking sheet.
  9. Bake in a hot oven.
  10. Serve immediately with butter and jam or marmalade.

*Thickness of dough: 1 cm (1/2")
Diameter of biscuit cutter: 5 cm (2")
Pan: cookie sheet
Temperature: 230 C (450 F)
Cooking Time: 12 - 15 minutes
Yield: 15 - 18 biscuits


Wednesday, August 13, 2014

A break in the weather

It's been 2 weeks since I've last made anything.  In my defense, it's summer, it's warm in the house, and it's HOT HOT HOT outside! Beautiful and amazing actually. My poor friends in Toronto have had mostly rainy cold weather lately, but for the last month it's been 30+ degrees here. Heck...one day it said 41!  40 Freakin 1 degrees! That is crazy talk! 

Since I haven't been baking or cooking, I figured I'd at least explain (in photos) how I've been spending my time.  I loooOOOOve the heat!
Columbia River
Fishing!
Fishing! I love fishing. It is one of the most relaxing things. I've mostly trolled from a boat, so it's a whole new experience casting from shore.

The Springs Golf Course
Golfing!
My sister and I took golf lessons (thanks Sis!), so we went golfing one evening. The mountain view is amazing. The pic above is a mid range OK view, there are so many even more beautiful views there.
The Old Coach Trail
Hiking!
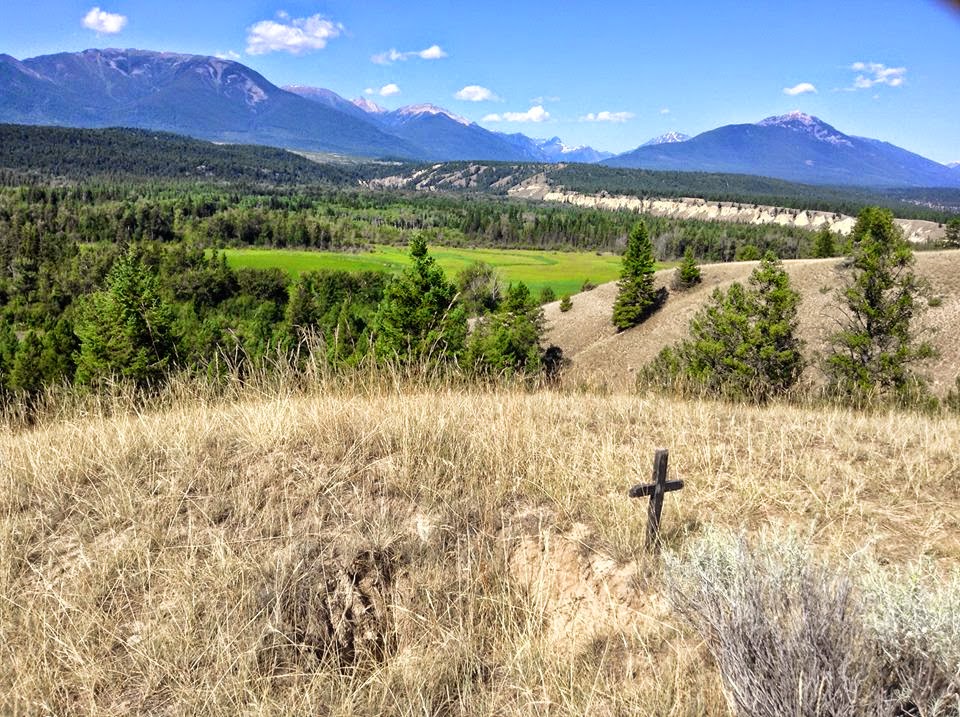
Hiking! There are a so many places to hike and every one of them has spectacular views.  It wasn't so odd coming across a cross, but...seeing an empty hole beside it was CREEPY!

Ana White Door Spice Rack
Building things!
I love the Ana White website. She has plans for everything from beginner to experienced.  My sister was in serious need of some extra cupboard space, so I decided to build the behind the door spice rack. I think it turned out great for the first time making anything.  Dowels....dowels look perfectly straight in the store...but not when used. That's what I've learned making this :)  Next up is the beer cooler outdoor table and the outdoor sofa.  Pssst, the behind the door spice rack is full now :)
Wet N Wild White Water Rafting on the Kicking Horse
Let's all stay in the boat!
White water rafting down the Kicking Horse.  We did the upper and lower canyon which went from easy to class IV rapids. It was so much fun!  In the picture above, I'm the the one sinking in to the water on the top right. It happens so fast over the rapids and you get splashed with so much cold water (3 degrees Celsius) that you have no time to worry.

Wet N Wild White Water Rafting on the Kicking Horse
White Water rafting!
I chose the seat in the front on the right (passenger side if you are driving a car in Canada!). It was the WETTEST spot to be. At first it felt a bit unstable and like I would fall out of the boat, but after a few rapids, I got my river legs :)

The scariest part of the day was jumping out of the boat (on purpose) to float down the rapids. Well..it's not floating, it's a no control fast trip through crashing waves. I was fine until I met up with our boat. The most claustrophobic scariest thing ever is the feeling of being pulled under the boat with the rapids crashing all over your head so you can't breathe!  But...having done it once badly...I want to try again!

The heat has caused a few forest fires both north and south of where I am, so the valley gets a bit smokey and looks hazy all the time, but it's still been a wonderful summer to be outside. I don't want to waste any of it - winter will be here soon enough.


I do have plans to do some baking - whole wheat tea biscuits from the Purity cookbook - but I need to make a run to the store to get some milk first :)

I hope everyone is enjoying their summer too :)


Friday, August 1, 2014

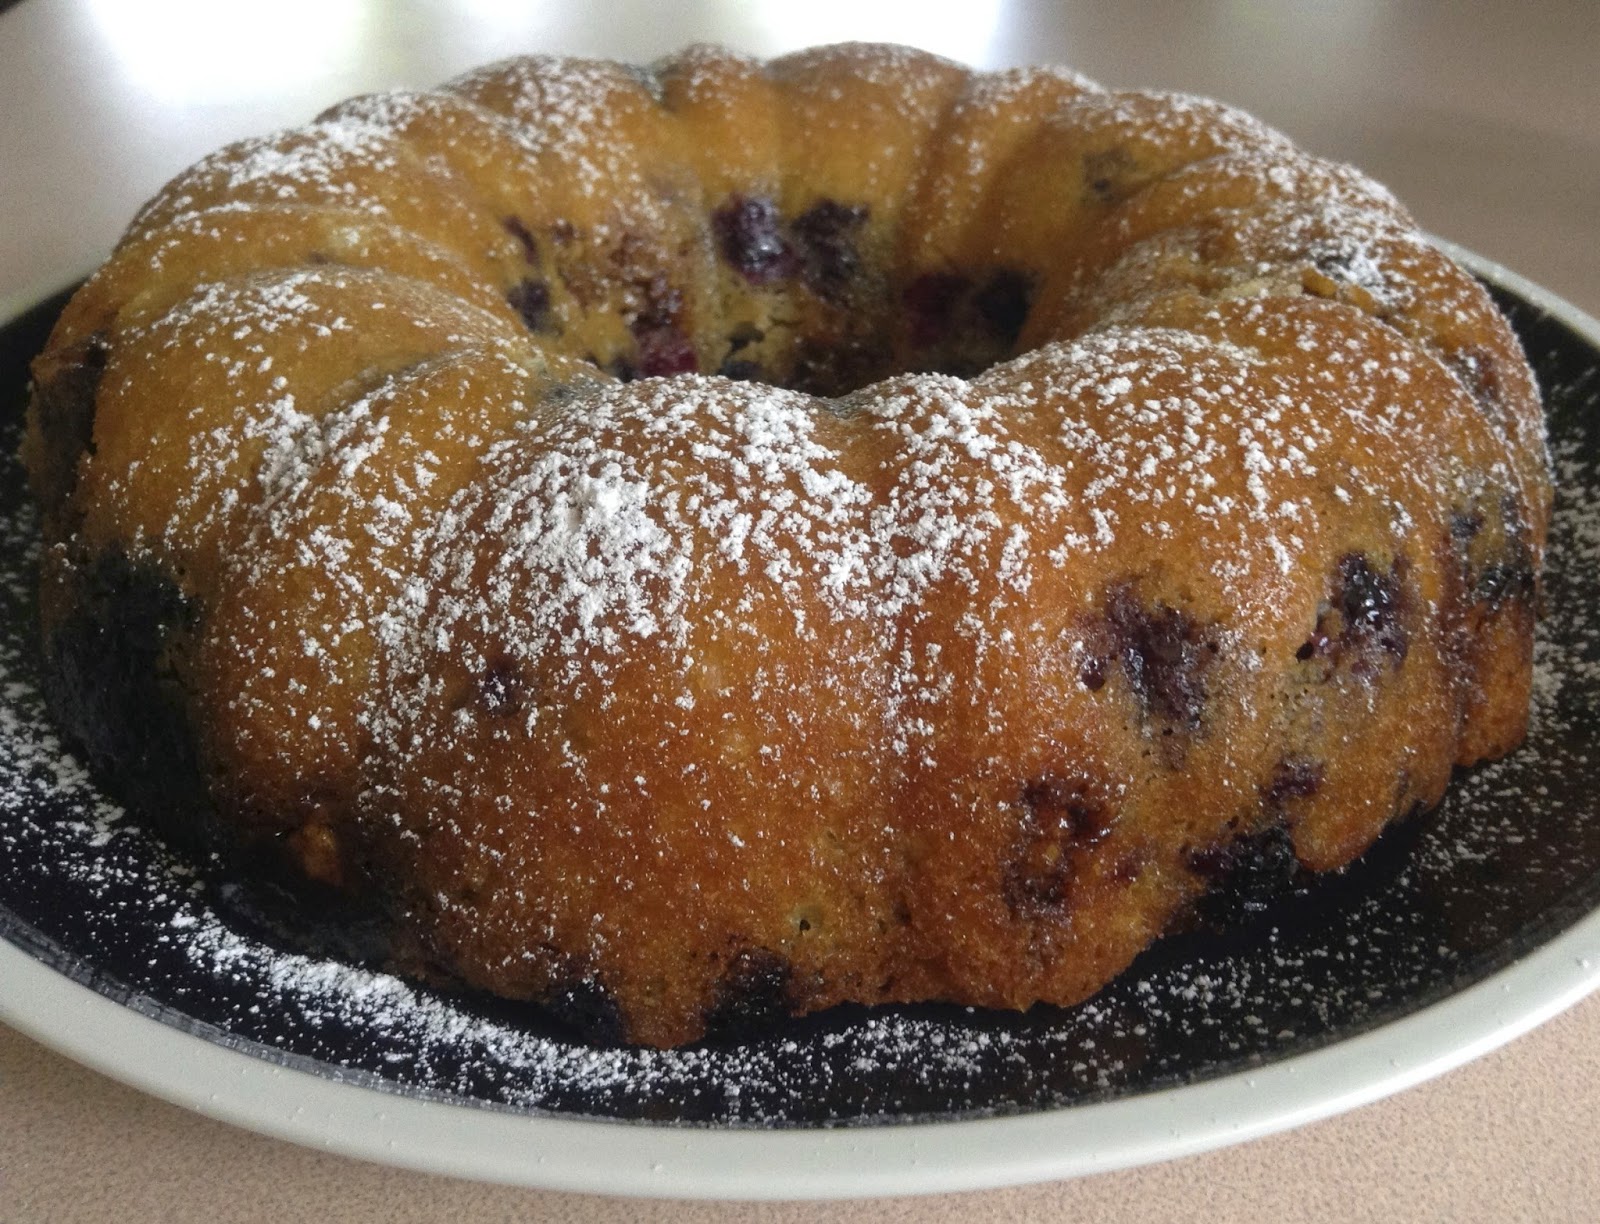
Nut Coffee Cake with Blueberries

There seems to be a lot of blueberries for sale, everywhere! And all at a fairly good price. Between me and my sister, I think we collected more than we really need, so besides freezing them,  I used about a pound to top up the amount of fruit I needed when making cherry jam... I guess it's Cherry Blueberry Jam now. I hope it tastes great!..hope hope and more hope.. even if it's not great, I hope at least edible and somewhat yummy! Jam is a funny thing, you can't really know for sure if it all worked until it's done..  *sigh*... ok..ok, less about jam and more other blueberry stuff! Although...runny jam is great on ice cream!

I love coffee cake, especially when having coffee. It seems like such a civilized thing to do. Like afternoon tea with dainty teacups. But coffee cake and coffee feels more rustic and down to earth. More like a friendly visit with girlfriends instead of a snooty affair. Apologies to afternoon tea drinking / cucumber sandwich eating folks :)

I took this one over to my mom....minus a TINY slice...Thankfully I had better self control than I did when I made the Sally Lunn!  It was yummy, although very cake like and not as dense as I envision coffee cake to be.
Nut Coffee Cake with Blueberries

I basically followed the recipe as is with the exception of 1 or 2 things.  Ok, 3 things if I'm being honest.

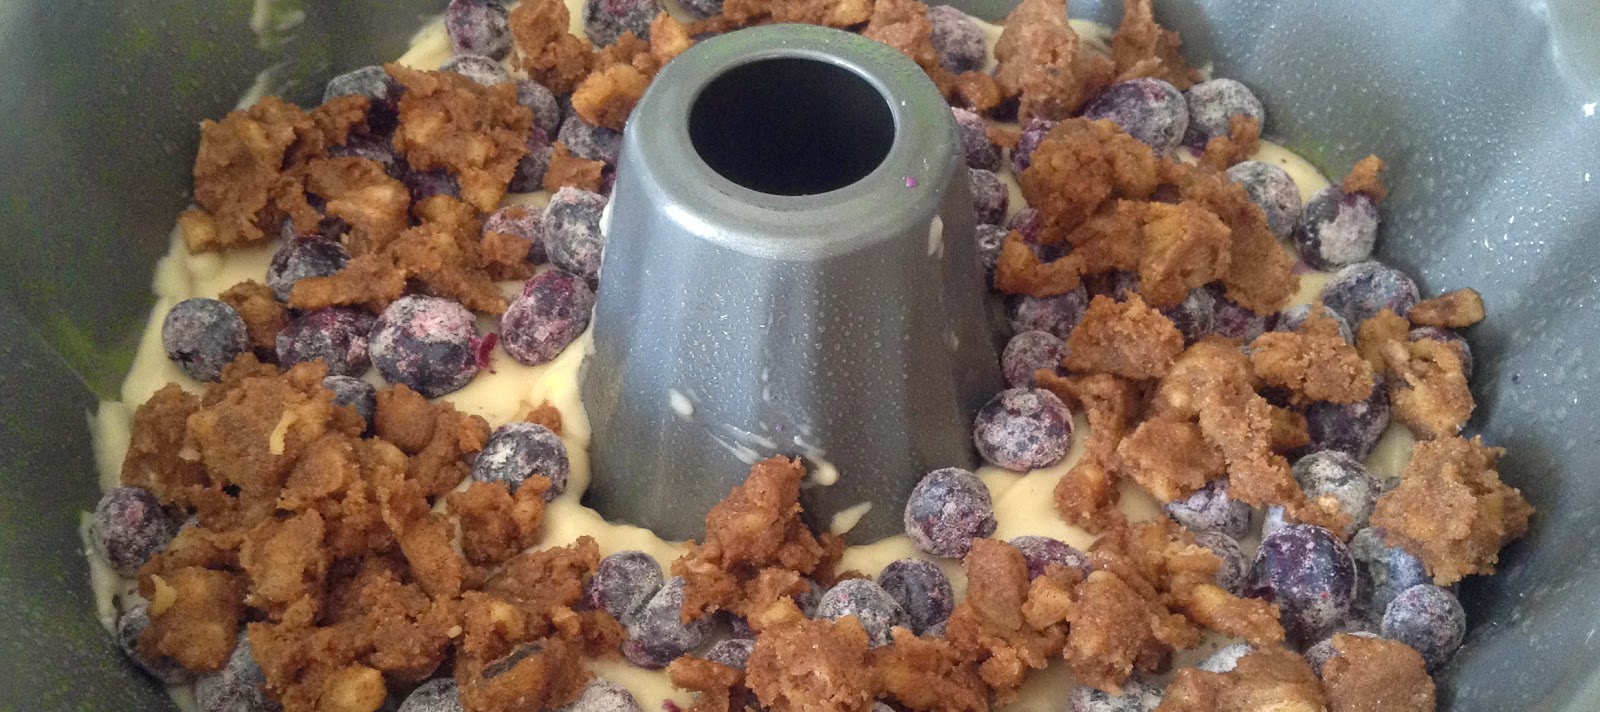
I didn't read 'square pan' until I had already poured the batter into the Bundt Pan. And, well, I kind of decided that I didn't want to only use half the topping, nor did I want to put the topping and blueberries on top - so I followed the basic recipe and just added blueberries along with the first layer of topping in the middle of the batter.

Nut Coffee Cake with Blueberries - in the middle
It doesn't mention it in the recipe, but I usually dust fruit with flour before adding them into the batter. So I did that too.

I did have a bit of concern when I put the final bit of topping on. I thought to myself, "How the heck is this going to work...the cake gets flipped, so this is really the bottom", that's when I read 'square pan', which makes more sense based on the directions! 

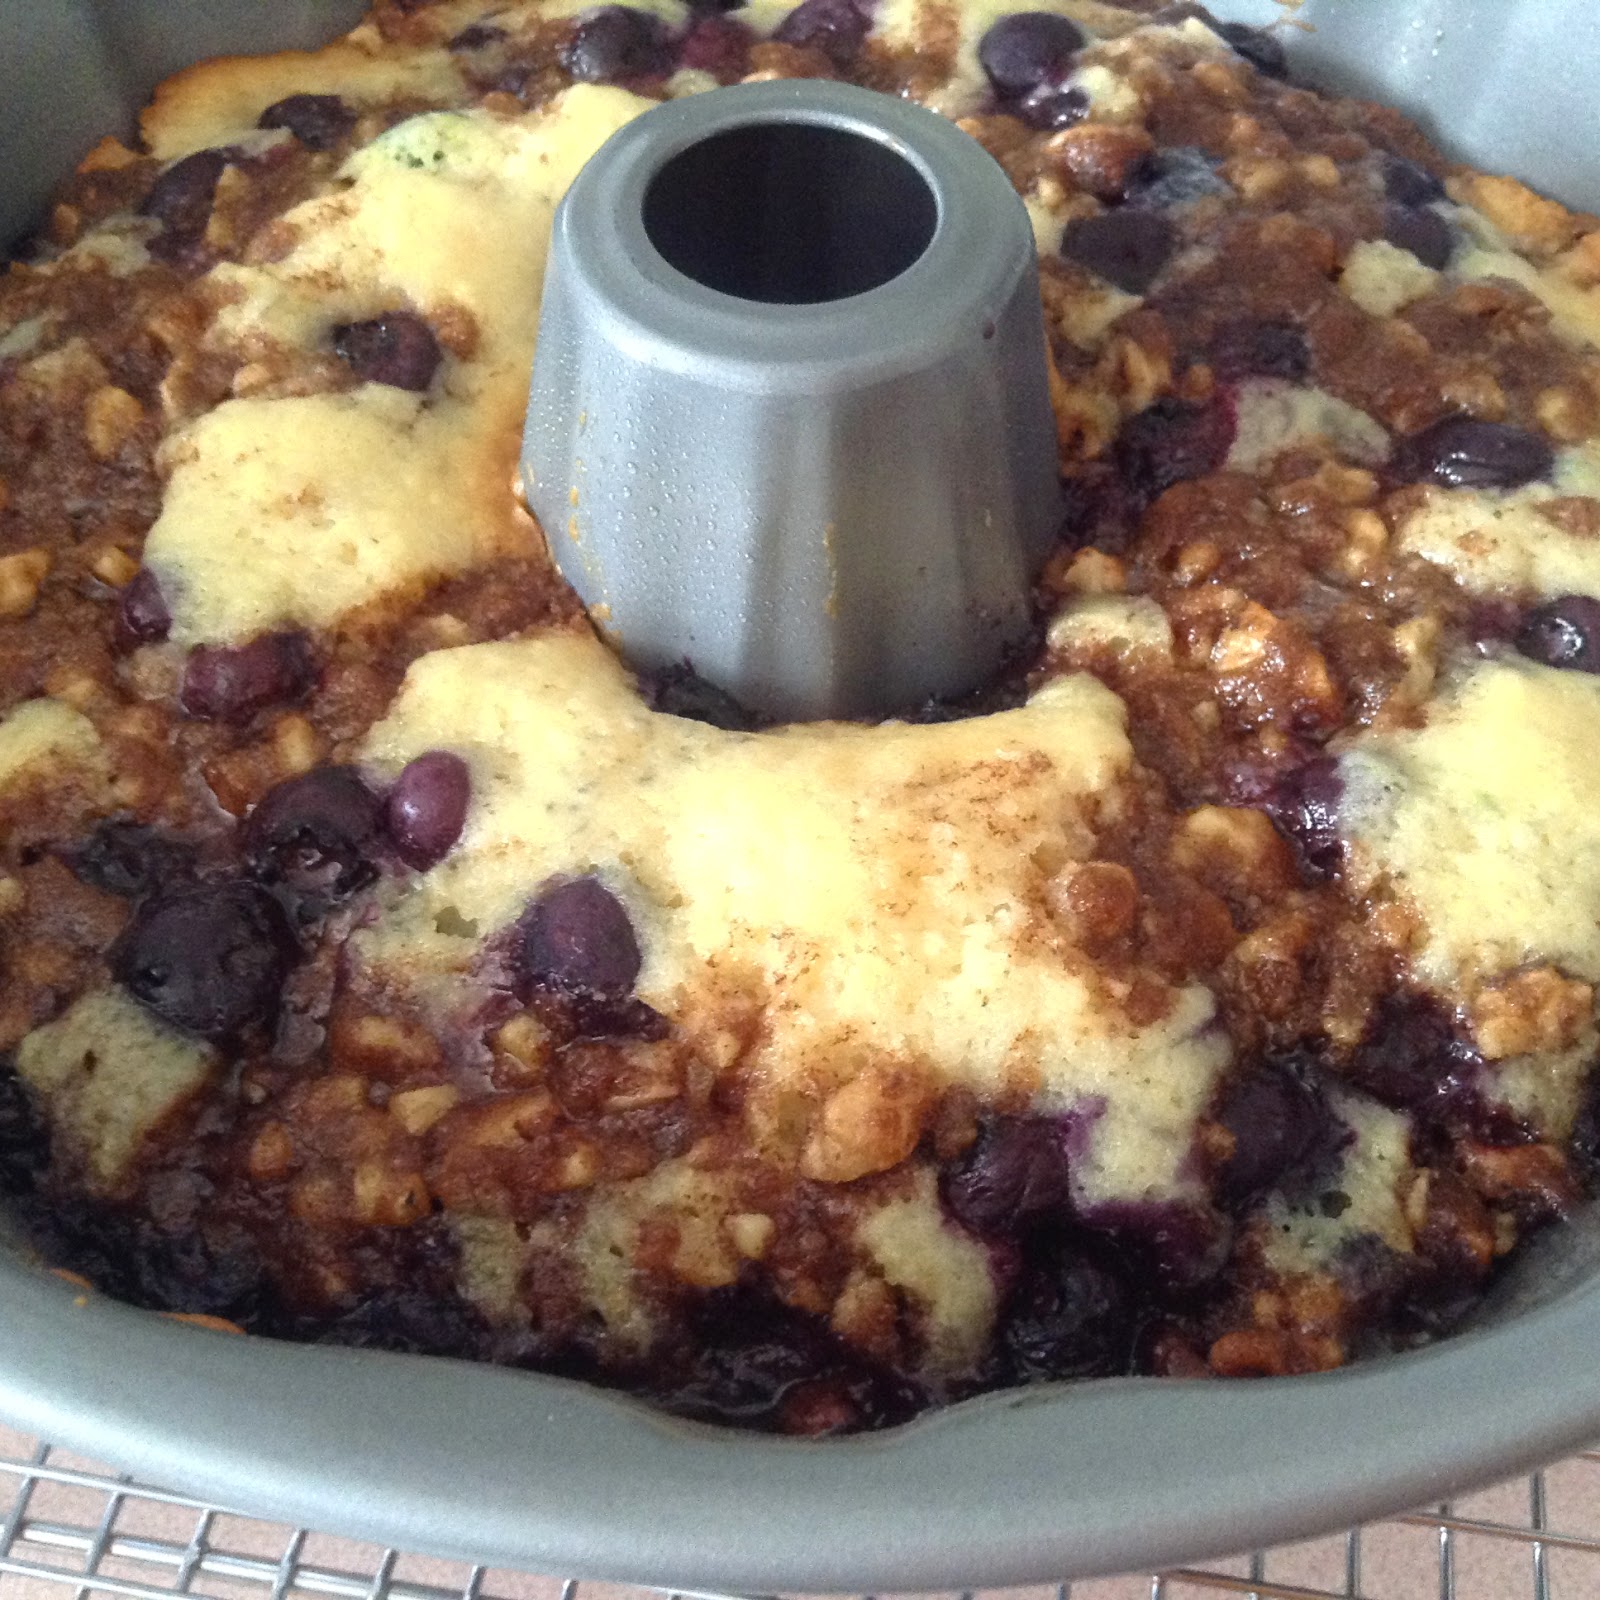
There wasn't anything else to do, but put it in the oven and hope for the best. And..well, it worked out great! The blueberries and nuts sunk in to the batter a bit while cooking, so it didn't leave a weird sticky mess on the bottom when I flipped it over  :) Yay! I won!

I let it cool for the 10 - 15 minutes they recommend and then flipped it out onto a plate.

I wanted to pretty it up, so I lightly sprinkled it with icing sugar.

I took some pictures, and then off to my mom's house, cake in hand :)  Hahah, they didn't wait long to try it, since when I asked how she liked it later on that day, she said she liked it and that it was still warm when she tried it :)


Nut Coffee Cake with Blueberries
Five Roses Flour Cook Book  - 1970?  (pg 37)

Topping

INGREDIENTS
  • 1/2 cup brown sugar
  • 1/2 cup finely chopped nuts
  • 1 tsp cinnamon
  • 3 tbsp butter or margarine

DIRECTIONS 

Combine brown sugar, nuts, and cinnamon. Cut in butter until mixture is the size of large peas.

Batter (Basic Recipe)

INGREDIENTS
  • 1 1/4 cup Five Roses All Purpose Flour
  • 2 tsp baking powder
  • 1/2 tsp salt
  • 2/3 cup sugar
  • 2 tbsp shortening
  • 1 egg - beaten
  • 1 tsp vanilla
  • 2/3 cup milk

DIRECTIONS
  1. Combine flour, baking powder, and salt.
  2. In another bowl, cream together sugar and shortening until smooth.
  3. Add egg and vanilla, and beat until mixture is light.
  4. Gradually stir in dry ingredients alternatively with milk.
  5. Spread half of the batter into greased pan. 
  6. Sprinkle half of topping on top.
  7. Cover with remaining batter and sprinkle with remaining topping.
  8. Bake in a moderate oven.
  9. Allow cake to sit at room temperature in pan on rack 10 -15 minutes.
  10. Cut pieces from pan and serve warm.

Square Pan: 20 cm (8")
Temperature: 180 C (350 F)
Cooking Time: 30 - 40 minutes
Yield: 1 coffee cake

Variations: Blueberries
  • 1 1/2 cup fresh or frozen blueberries, not thawed

DIRECTIONS
  1. Prepare only half of the topping.
  2. Spread batter in greased mould.
  3. Arrange blueberries on top and sprinkle with topping

Sunday, July 27, 2014

Birthday Dinner with the family: Potato Triumph

Cooking is like shopping. You get to a point where unless you LOVE (truly LOVE) something and there are no maybes or ifs (maybe it will look good with my green skirt or if I had red shoes to go with this.. hahah, or my if thought- if I lost 10 lbs!) then you buy it - or in the case of cooking - you'll make it again.

But really, there is no point in wasting the time or money on something you don't unconditionally love. (which really is the same for cooking and shopping) I hate throwing out good food that went bad because of a recipe!  This recipe didn't go bad, but I won't make it again.

Potato Triumph - it sounded like a winner to me!
Potato Triumph

It's from the Culinary Arts Institute Cookbook under the Boiled Potatoes section, which is good to know, since they don't suggest anything in the recipe about which potatoes to use or how they are cooked... so, I had some leeway on the type of potato.

To boil potatoes (as per the book):
In order to retain the fullest food value, cook potatoes in rapidly boiling water, with skins on or scraped off.  Use only enough water to cover.  If skins are to be removed, pare very thin and drop at once into boiling salted water.  Save the drained water in which pared potatoes have been cooked to make gravies, soups, or bread, as it is rich in minerals.
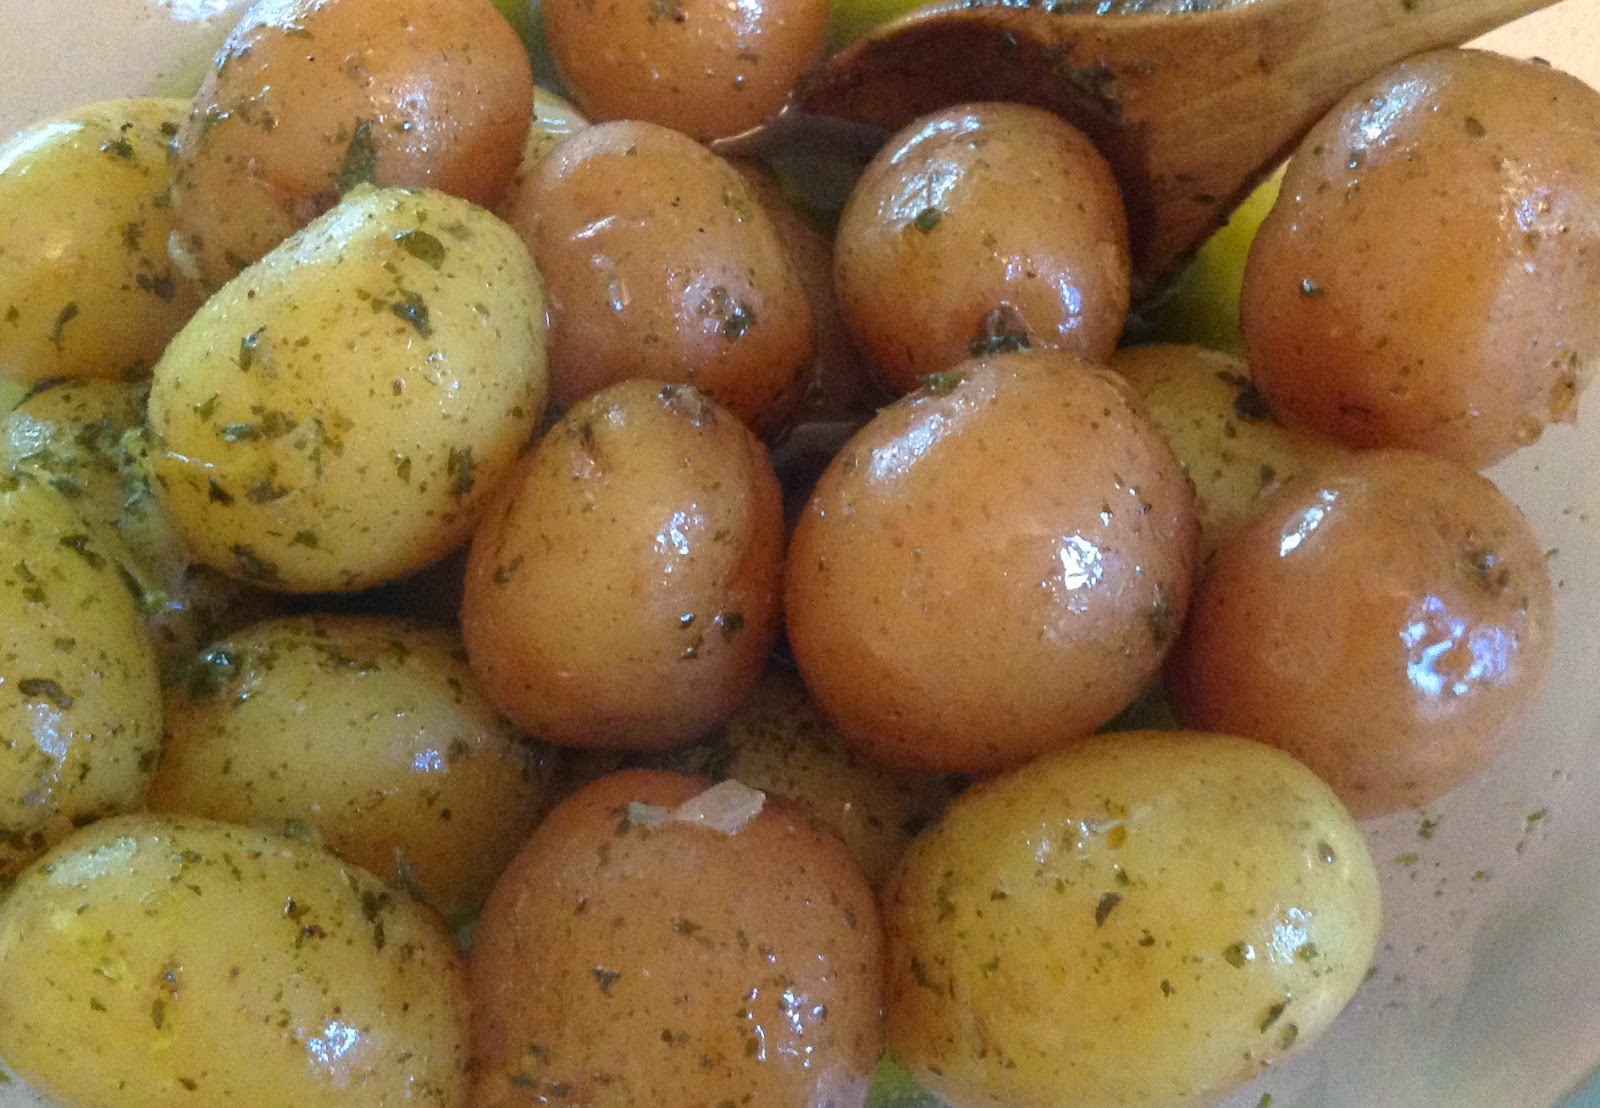
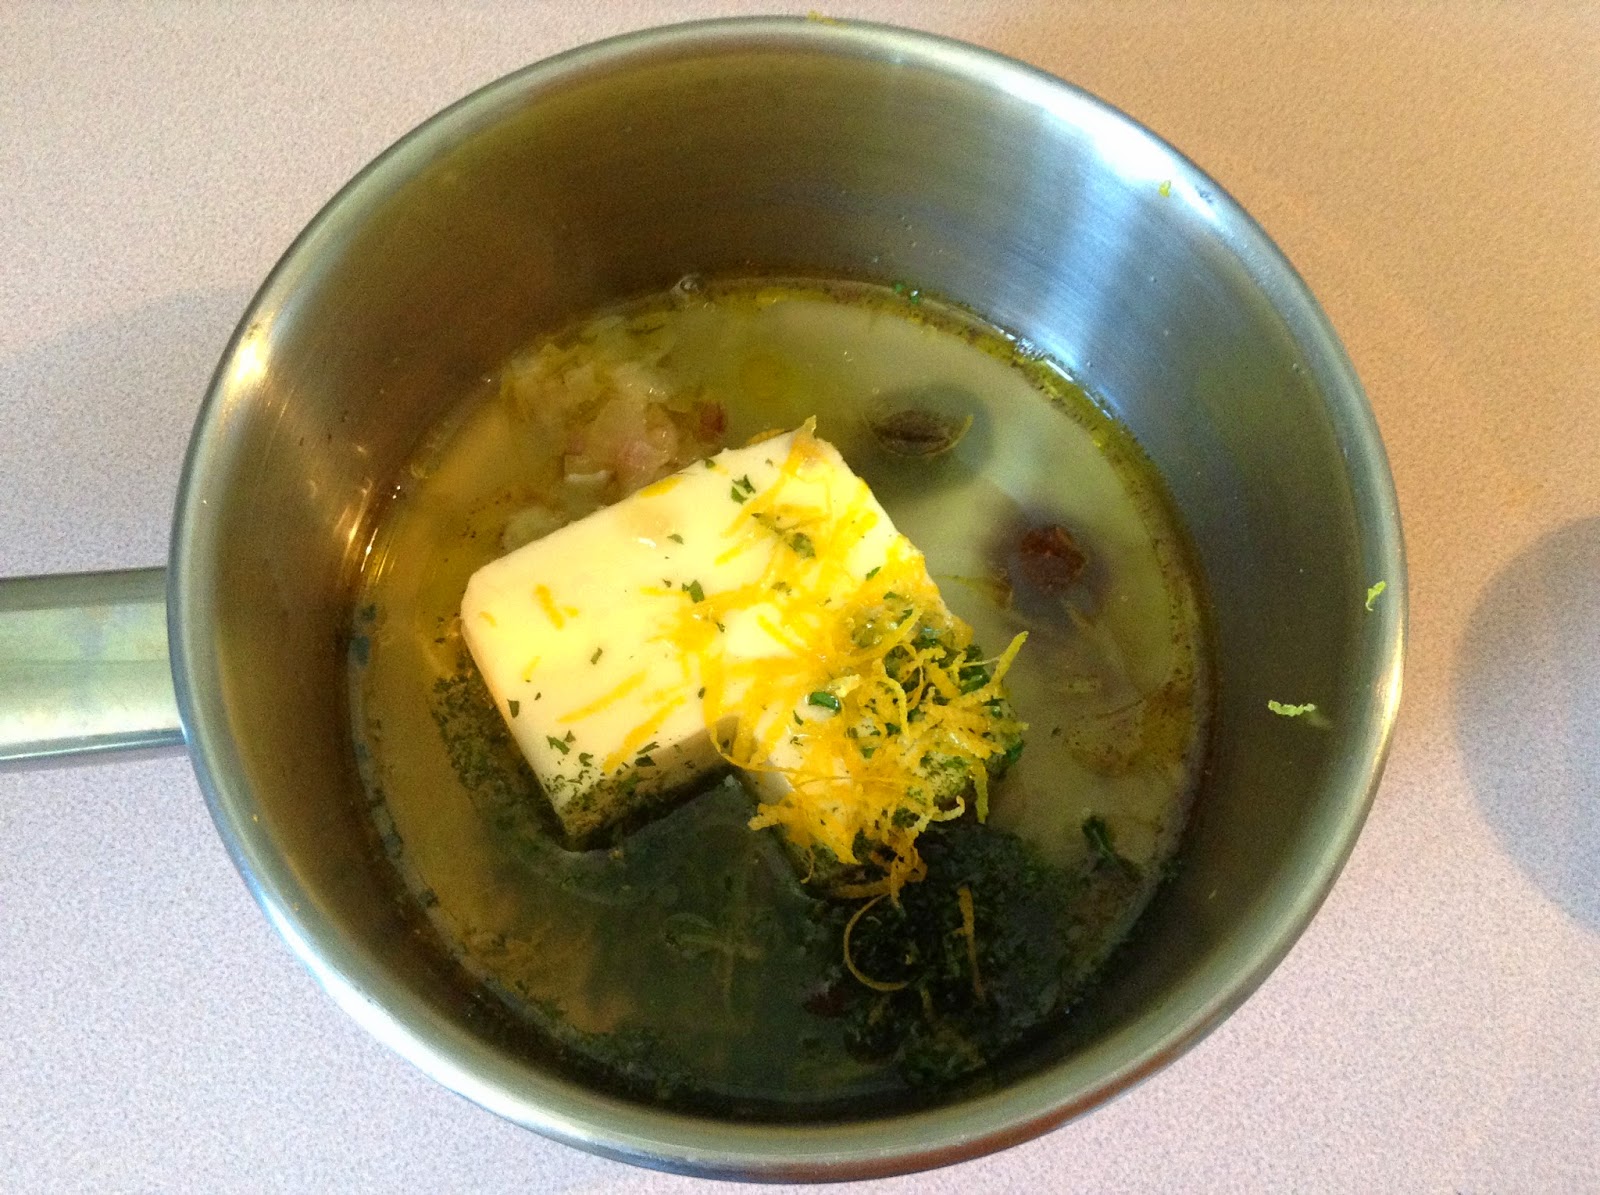
I chose about 25 baby potatoes and boiled them as directed in salted water. Then dumped all the wonderful Triumph ingredients in a pot and let it simmer until the butter had melted.

I didn't have any fresh parsley, so I used dry and I didn't have chives, so I used some sauteed shallots, (which I stole from the Rinktum Ditty). I don't think it affected the flavour at all...maybe it matters, but I don't think I have a refined enough palate for it to make a difference.
Potato Triumph

The flavour was just ok to me, I found the potatoes too oily and overall a bit bland.  Perhaps if I had made more potatoes since the sauce makes a lot then I could of tasted more flavour and less oil. It was definitely more than what I needed. I was feeding 4, not 14!

The kids seemed to like it ok enough, but perhaps they were being nice. I just didn't like it enough to make it a Keeper.


Potato Triumph
Culinary Arts Institute Cookbook - 1950 (pg 483)

INGREDIENTS
  • 1/4 cup melted butter
  • 2 tbsp olive oil
  • 1 1/2 tsp grated lemon rind
  • 1 tbsp chopped parsley
  • 1 tbsp chopped chives
  • 1/8 tsp nutmeg
  • 1/2 tsp salt
  • 1/8 tsp pepper
  • 3 tbsp lemon juice

DIRECTIONS
  1. Combine all ingredients
  2. Pour over potatoes and serve hot.


Thursday, July 24, 2014

Birthday Dinner with the family: Pineapple Nut Stuffing

This whole dinner thing was not living up to my expectations. Hahah, I had hoped for better than 1 good recipe out of the 5 old recipes I tried.

This stuffing could of been the second...it was so close, but I'm here to follow recipes and learn a few new things that I wouldn't have doing my own thing, but I knew...I really really 100% knew in my love of stuffing heart that there was not enough liquid in this stuffing to make it moist. I knew...just knew...and proved it!

Well, this is a very pretty looking stuffing, but the recipe is a bit dry, as you can guess from my previous comments :)  I will try this again, but right now my rule of thumb is that anything I cook or bake has to come from one of the old cookbooks it has to be a new-to-me old recipe. So, I won't get around to trying this again for quite a while.  (Things my mom specifically requests are the exception)
Pineapple Nut Stuffing

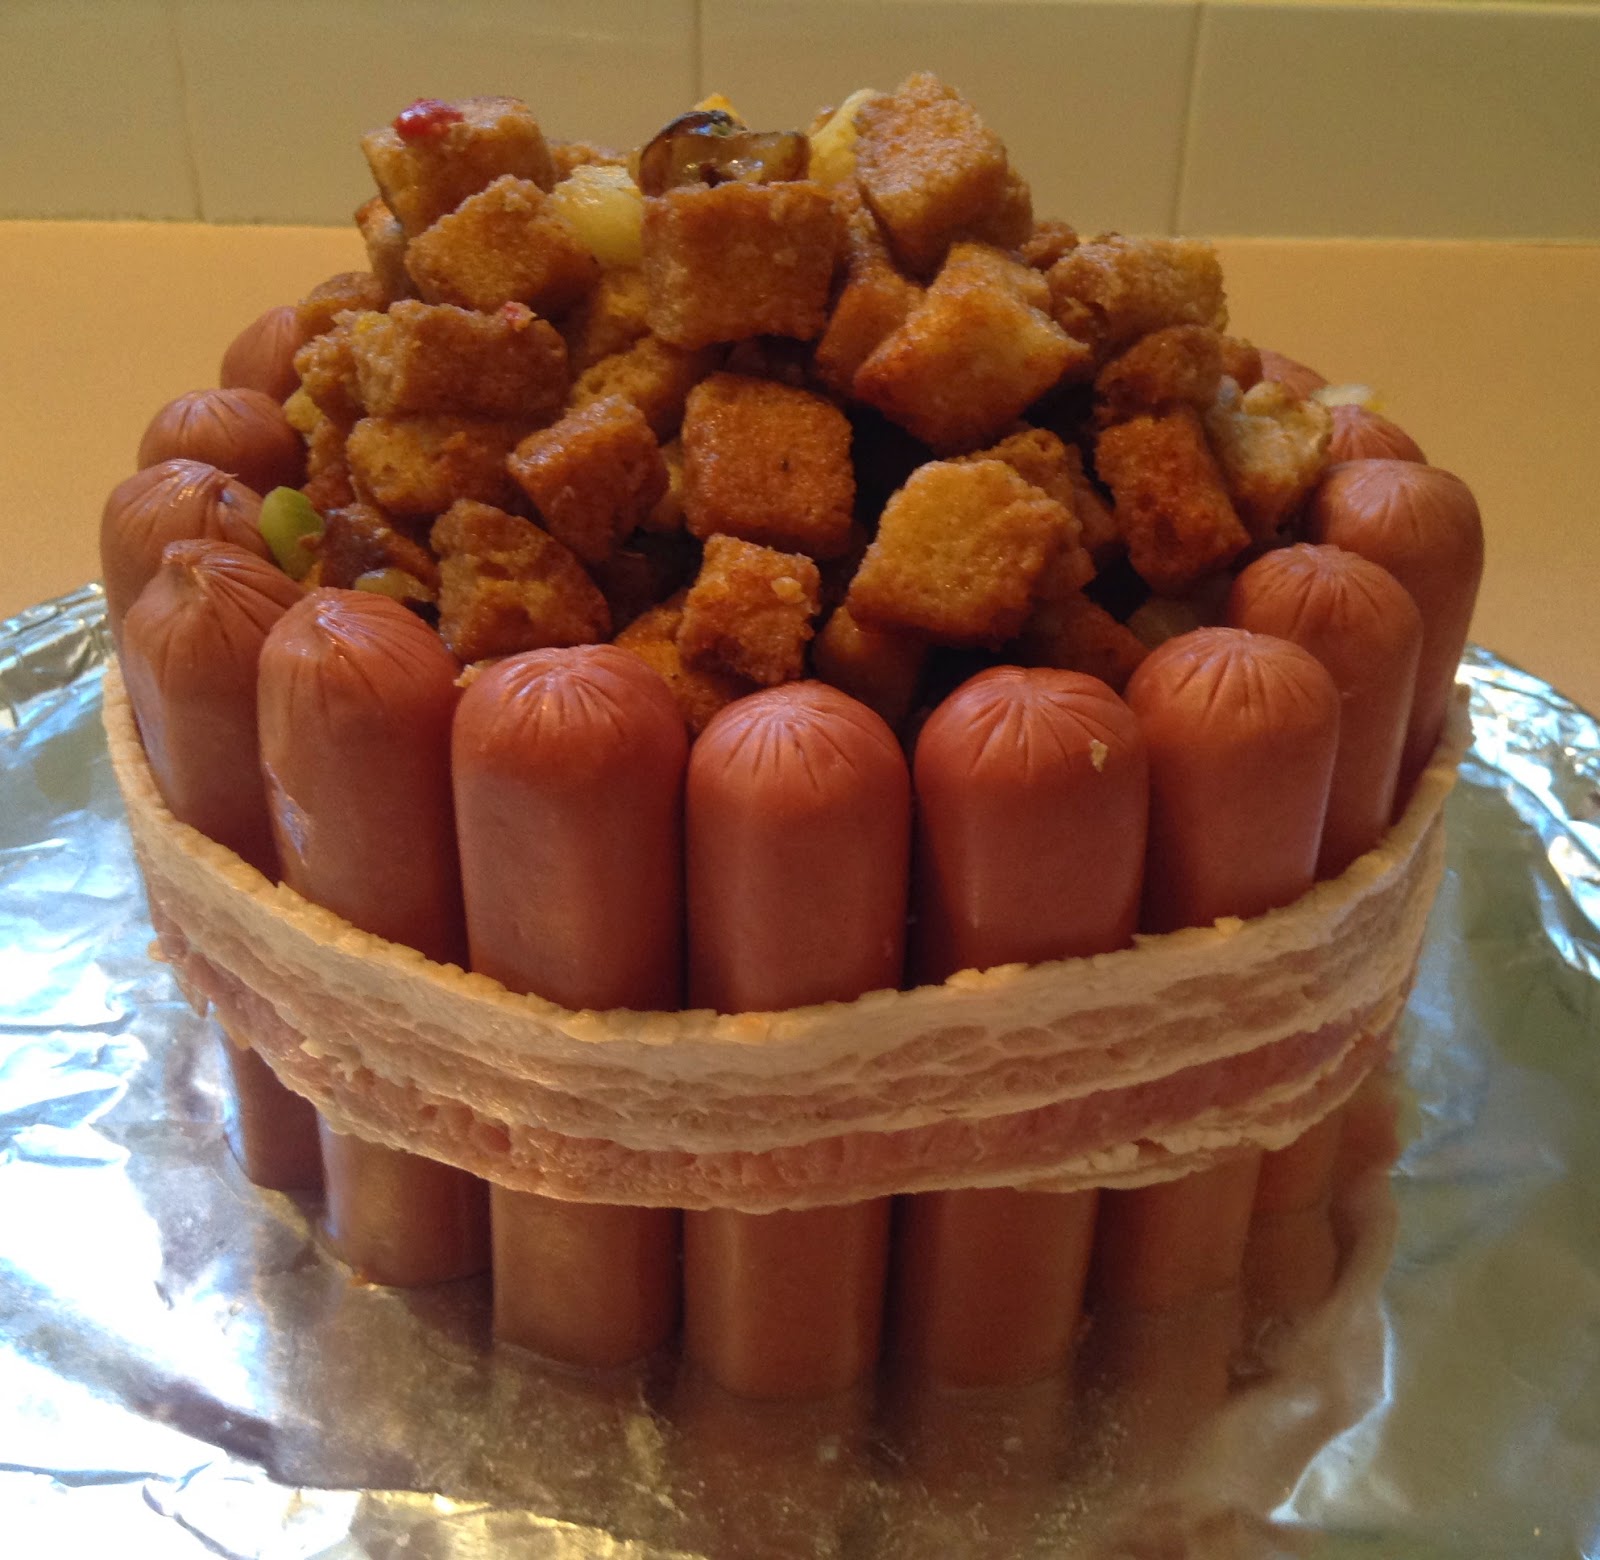
No where in the cook book  (granted I only looked in the Stuffing section...haha which makes perfect sense to me) could I find information on cooking stuffing outside of the inside of a turkey or chicken. Guess back in the day, you ate what could fit in the bird and to heck with the extra bits.  Since I was following the recipe exactly, I ignored my desire to add a lot more fluid and just went with the butter and eggs that the recipe called for. 

Normally, when I make extra stuffing, I put it in the pan, covered with tinfoil,  and cook it for about 30 - 40 mins. It always turns out great. For this, since I was using it in the Stuffed Crown Roast of Frankfurters, I cooked it covered about 15 minutes and then 'stuffed' it in the crown...which I then topped off with a TINY sprinkle of water...and tinfoil.  I really really hoped the bread cubes would soften, but there just wasn't enough liquid... I think I'm done talking about the liquid (or lack thereof) for now.

Even the ingredients look pretty!

I wasn't sure how much 1 canned pimiento was. I only had the option of a bottled diced pimiento, so I used a few tablespoons of it, drained.
Pineapple Nut Stuffing ingredients

Add the 1 1/2 tsp salt, 1 tsp paprika, and the dash of cayenne to the bread, pineapple, pimiento, celery, and walnut mixture.  I used yummy smoked paprika.
Pineapple Nut Stuffing - adding spices

Melt the butter and stir in the unbeaten eggs (to the butter) before adding it to the bread mix. Odd, not the way I would have done it, but that's what the cook book said to do.  It looks good though...but ...just butter and eggs!?

Maybe I should take a look at how they cook their birds, because maybe a lot of moisture comes from that....enough, enough, enough already...hahah, I know :)
Pineapple Nut Stuffing - adding eggs

I baked the stuffing for about 15 minutes at 350 F, covered in tinfoil.
pineapple nut stuffing - baked

Now you get to put the stuffing in something :)  I chose the Stuffed Crown Roast of Frankfurters. At this point I did SPRINKLE it with a TINY bit of water....less than a tablespoon. I couldn't help myself!
Pineapple Nut Stuffing in the Stuffed Crown Roast of Frankfurters

I then covered it with a hat of tinfoil and baked for another 15 - 20 (until the hotdogs were done).

Pineapple Nut Stuffing
Culinary Arts Institute Cook Book - 1950 (pg 448)

INGREDIENTS
  • 4 cups dry bread; 1/2" cubes
  • 3/4 cup finely chopped celery
  • 3/4 cup pineapple wedges
  • 1/2 cup walnut meats, finely chopped
  • 1 canned pimiento, chopped
  • Dash cayenne
  • 1 tsp paprika
  • 1 1/2 tsp salt
  • 1/4 cup butter
  • 2 eggs

DIRECTIONS
  1. Combine bread, celery, pineapple, walnut meats, pimiento, and seasonings
  2. Melt butter, remove from heat, stir in unbeaten eggs, and add to bread mixture.
  3. Toss lightly

Notes:

Use as stuffing for turkey, chicken, or duck.

Use chopped cooked bacon instead of nuts, reduce salt to 1/2 tsp and add grated onion or use red ir green pepper instead of pimiento.